Nail Files: Valentine’s Day Heart Manicure
This Valentine’s manicure is easy to recreate on your own because the designs are simple and sweet. With a little red heart here and a splash of pink polish there, you’ll be well on your way to having the cutest Valentine’s nails around. Scroll down to find out how to do it yourself…

Here’s what you’ll need:
- a small nail art brush or paint brush
- a base and top coat
- pink polish color of your choice
- red polish color of your choice
Instructions:
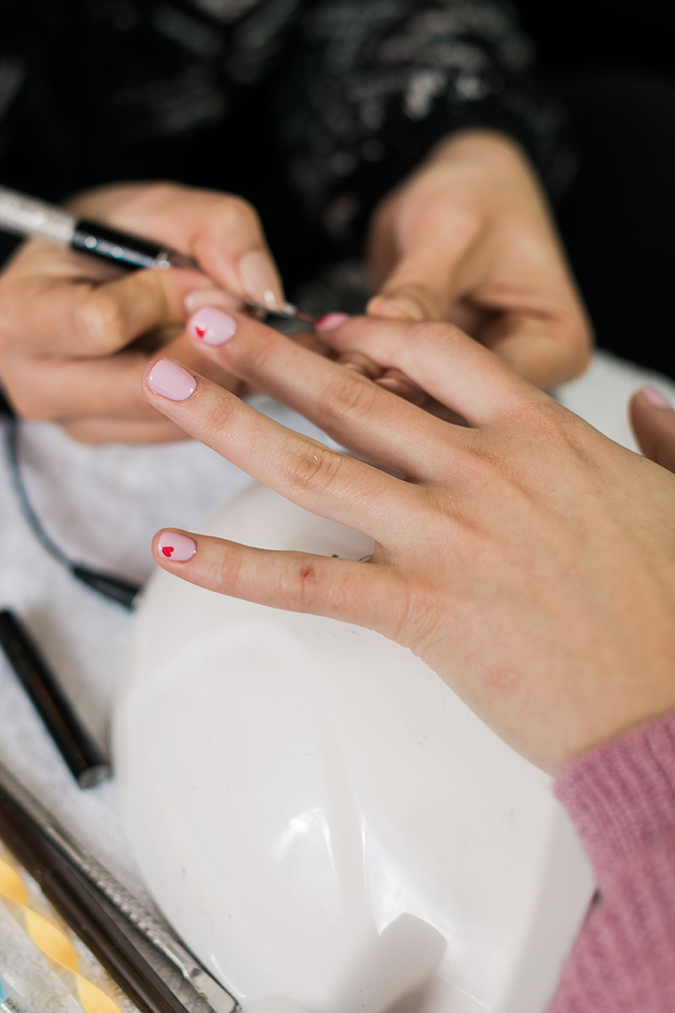
1. Prep the nails by removing all nail polish. (Tip: If you’re wearing glitter polish, wrap an acetone-soaked cotton ball around the nail and wait about 30 seconds. The glitter will come off much more easily.)
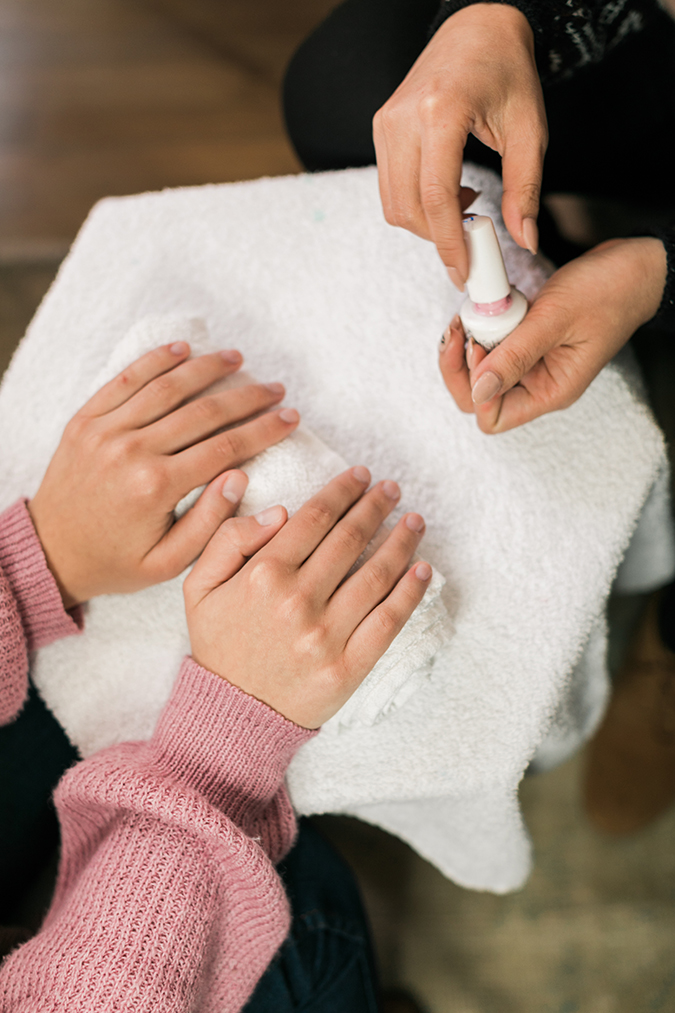
2. Once nails are clean, file them to their desired shape, using long strokes. Buff the surface and push back cuticles (you can also use cuticle oil here, just be sure to wipe it off before the polish goes on).
3. Apply a base coat, let it dry, then apply two coats of a light pink polish color of your choice. Let dry.

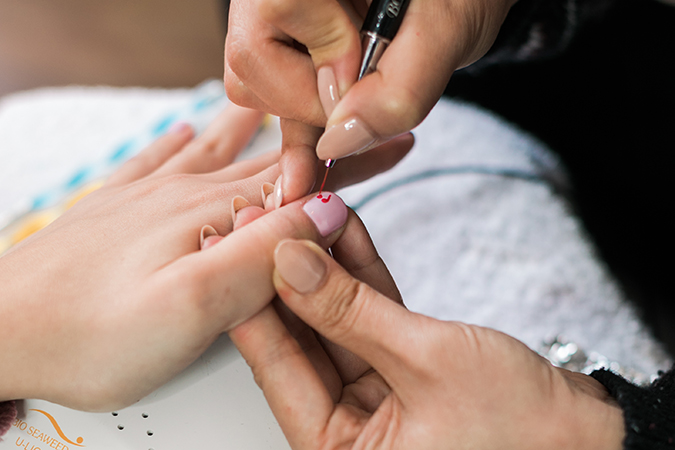
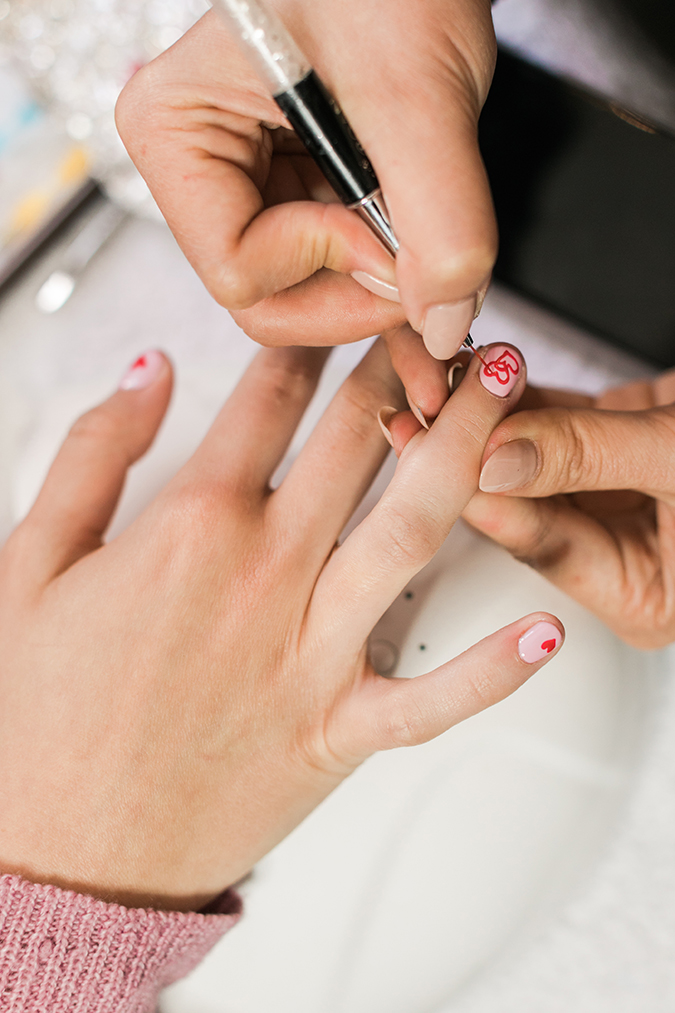
4. After all nails are completely dry, dip a small paintbrush or nail art brush into red nail polish and start to make a small red heart on your thumbnail. Expert tip for making the hearts: Start by painting two dots next to each other—this will be the top of the heart. You can use the end of the paintbrush to achieve a rounder effect for the dots. Next, use the brush side to draw a “V” down from the dots to connect the lower part of the heart. Fill in the space so the heart is completely red and solid.
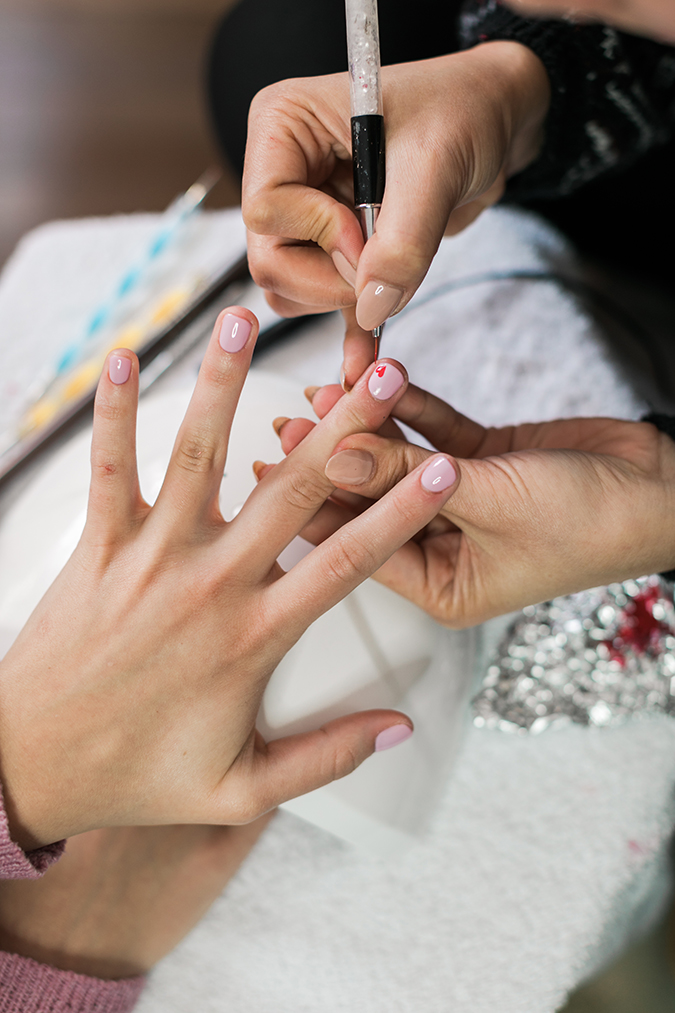
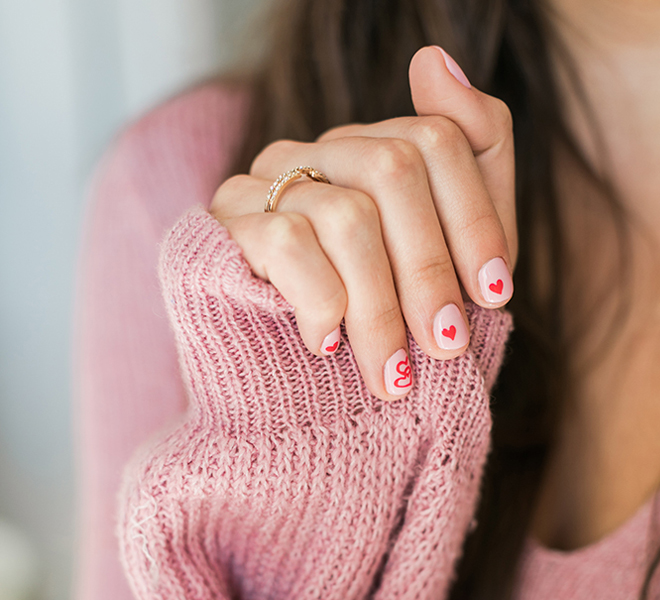
5. Repeat these steps on every finger except for your ring fingers. We placed these little hearts in the top left corner of the nail, and facing away from us, but you can customize this however you like.
6. Now for the ring fingers: Begin by using the small paintbrush to freehand draw a heart, but don’t fill this one in. In order to fit both hearts onto the nail, it might help to angle them slightly. Once your first heart is dry, draw a second heart overlapping the first as shown below. Repeat this step on the other ring finger.
7. Once you’re happy with your design, top it all off with a topcoat (we love this fast-drying one from Seche Vite) and get ready to show off your festive nails.
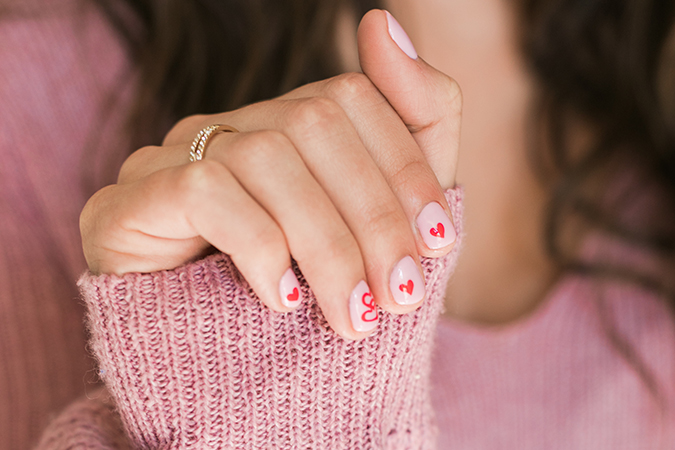
Another big thanks to the ladies at Olive & June for helping us create this festive manicure!
How are you dressing up your nails for the holiday?
XO Team LC
Shop This Story…

