Nail Files: Ornament Manicure
If there’s one way that we love to celebrate an occasion, it’s with a fresh manicure. Whether we’re going to a party, planning a vacation, or simply in the mood to treat ourselves, there’s nothing more rejuvenating than a mani (and in most cases a pedicure too!). It’s no secret that the holiday season is both joyous and chaotic. Between stops at the mall and getting our homes ready to host a soiree or two, things can get a little stressful. That being said, we want to encourage you to take a breather in the midst of all of your planning—put on your favorite holiday movie, grab your favorite nail polish colors, and give your tips and toes a little festive TLC.
Keep scrolling to see how you can create a Christmas manicure using this tutorial from our friends at Olive & June that pairs perfectly with playing in the snow and sipping on some spiked eggnog…
Here’s what you’ll need:
- a small paintbrush
- a base and top coat
- nude and black nail polish
- colorful nail polish of your choice
Instructions:
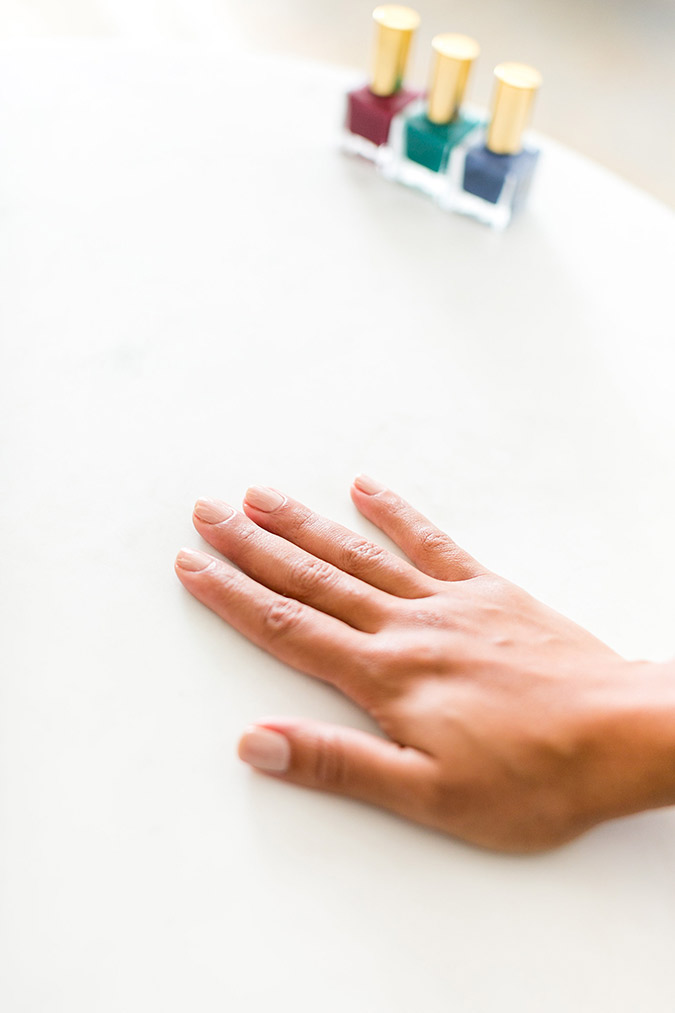
1. Always start your at-home manicure with a base coat. After it dries, paint your nails your favorite shade of nude. We used OPI’s “Do You Take Lei Away.”
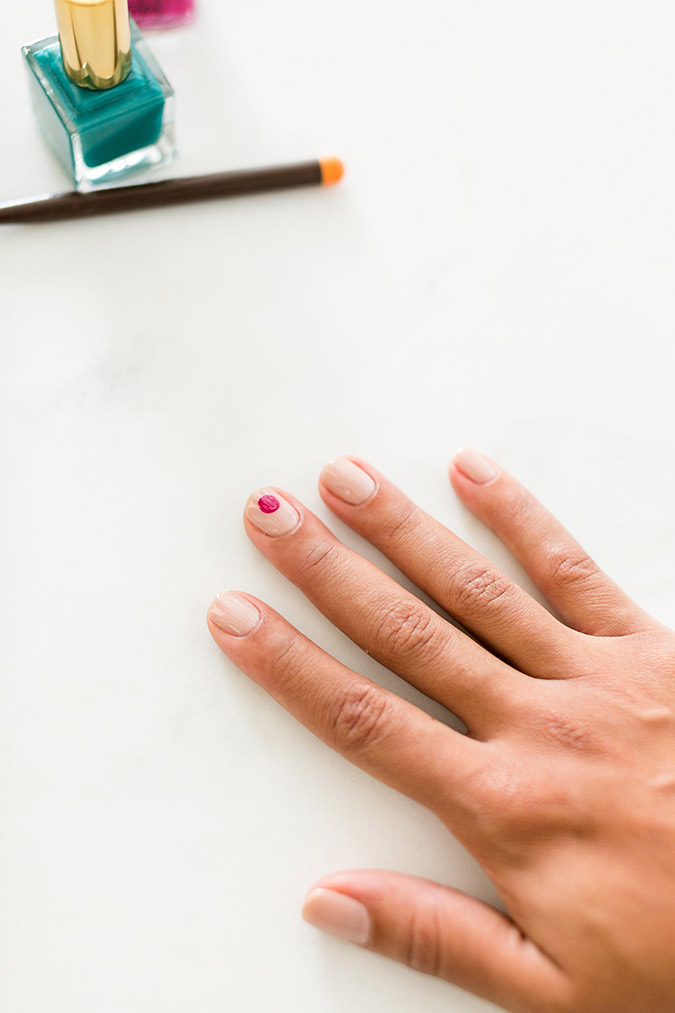
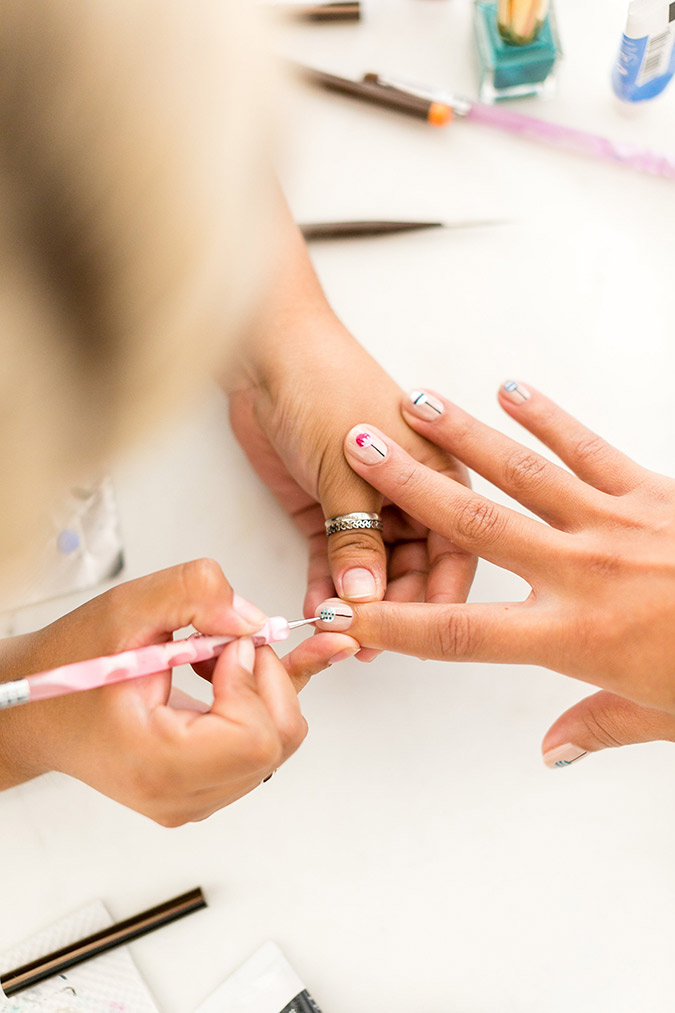
2. Once your nude polish dries, take your first color and use a small, fine-tipped paintbrush to make a circle on your middle finger. This will make your first ornament.
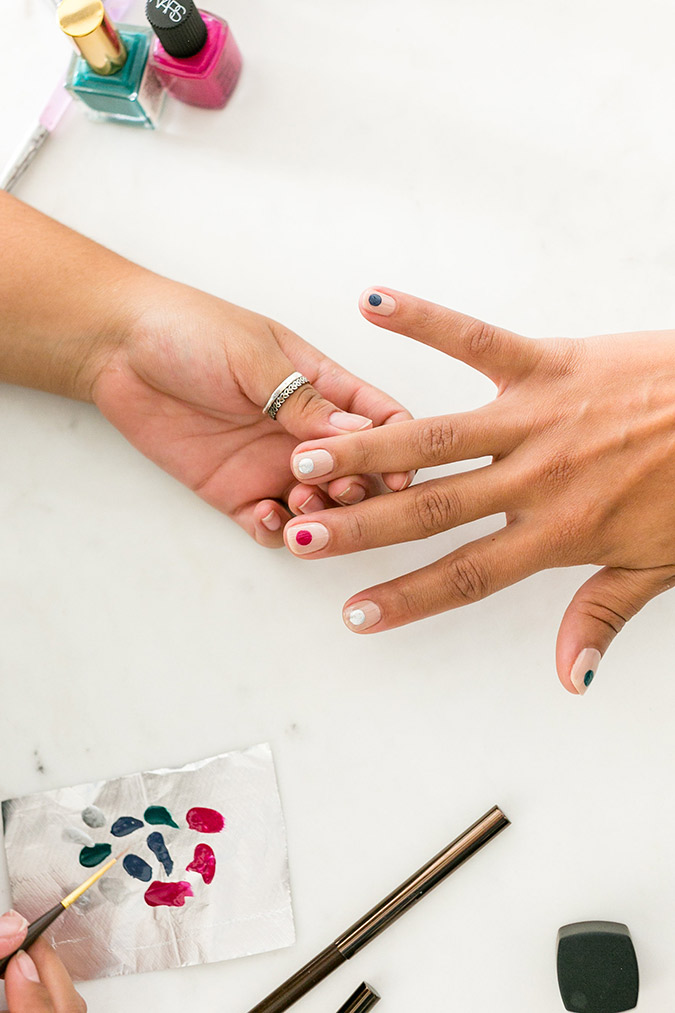
4. Once your ornaments have dried completely, clean off your paintbrush and dip it into black nail polish to create the ornament hooks. Start at your cuticle and connect to the top of the ornament.

5. Now is the fun part! Once the ornaments and the hooks are completely dry, create fun designs on each of the ornaments using a combination of the nail polish colors that you picked out.
6. Once you’re finished with all of the ornament designs top your manicure off with a strong topcoat. Voila!
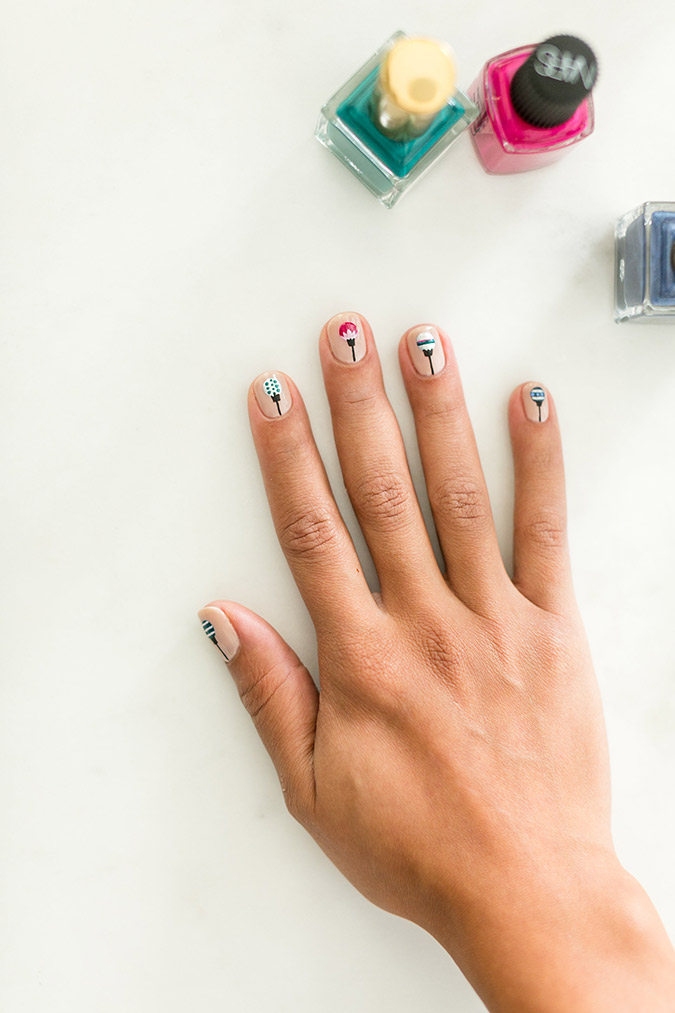

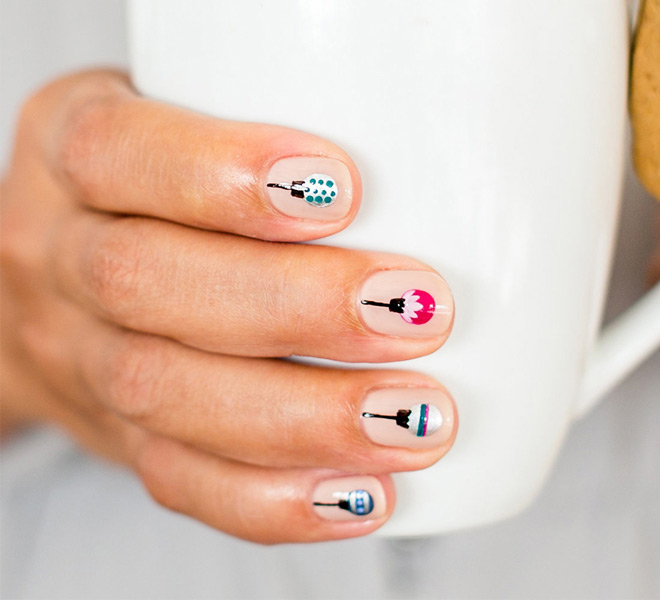
The outcome is one jolly manicure! Plus how cute does it look with a mug of hot cocoa and our homemade gingerbread man mug topper?
Will you be giving this manicure a try?
Let us know in the comments! And be sure to take a peek at our favorite polish colors below…
XO Team LC
P.S. A huge thank you to Olive & June for creating this festive nail art!
Shop This Story…

Photos: Stephanie Todaro for LaurenConrad.com
