DIY: How to Make Flower Crowns
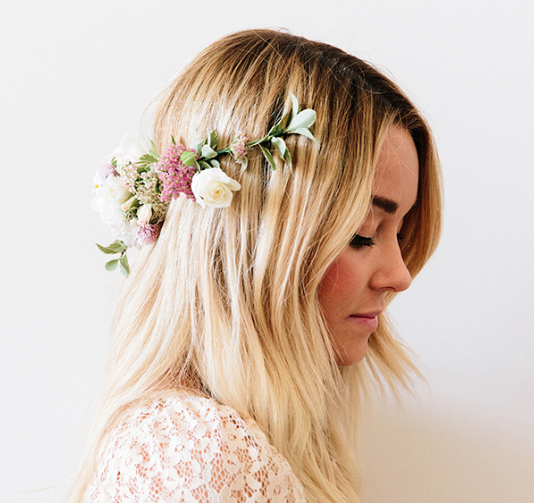
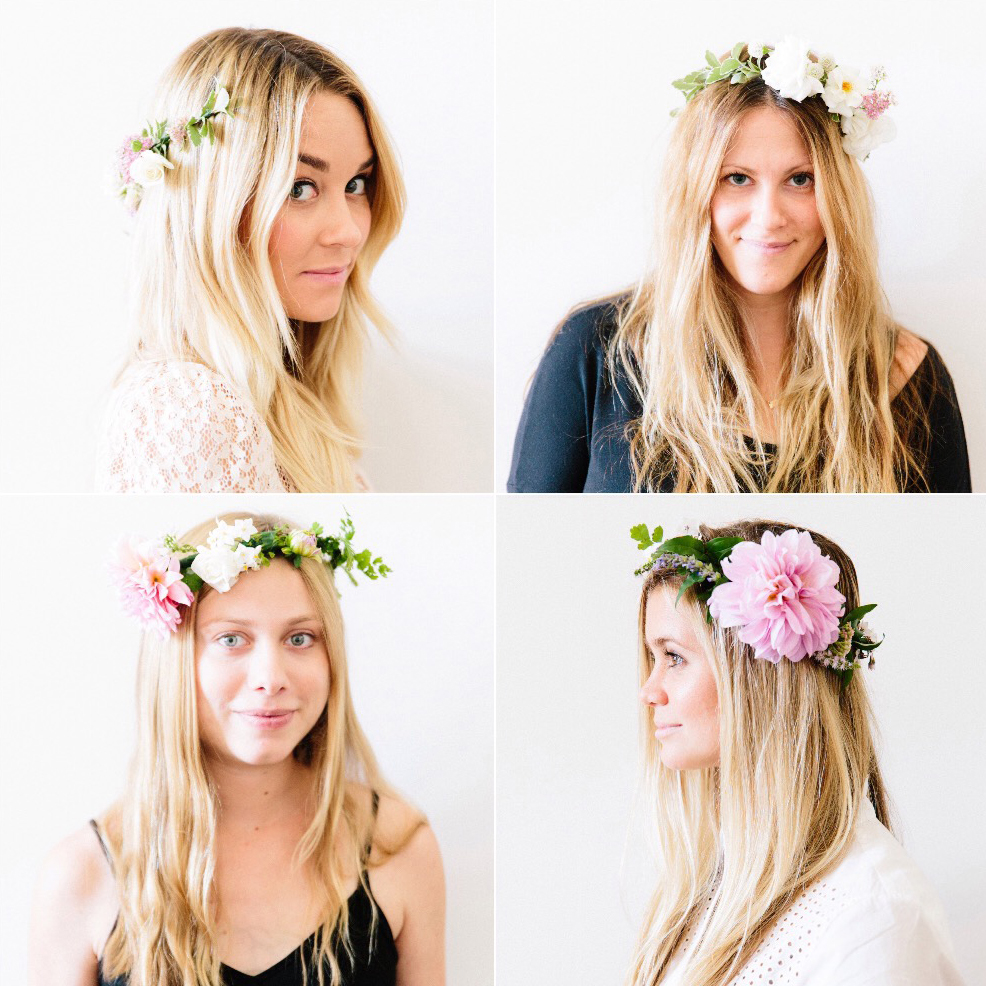
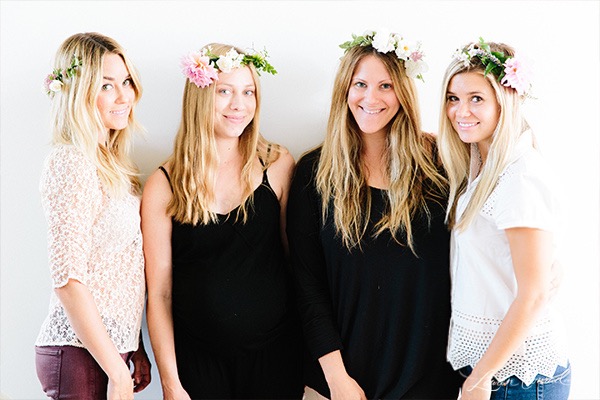
With Lauren at the helm, we sat down for a flower crown building session. Miss Conrad (or should we say Mrs. Tell) taught us the basics of flower crown making, and each of us built our own creation out of blooms straight from Lauren’s garden. These were the final products…
Not bad, right? Now that we know how to make these pretty crowns, we put together a tutorial for all of you so that you can make your very own flower crown for any occasion. Take a look…
How to Make Flower Crowns
Supplies:
- floral wire (we used this one)
- floral tape (you can buy some here)
- floral wire cutters
- greenery
- flowers (real of faux, your choice!)
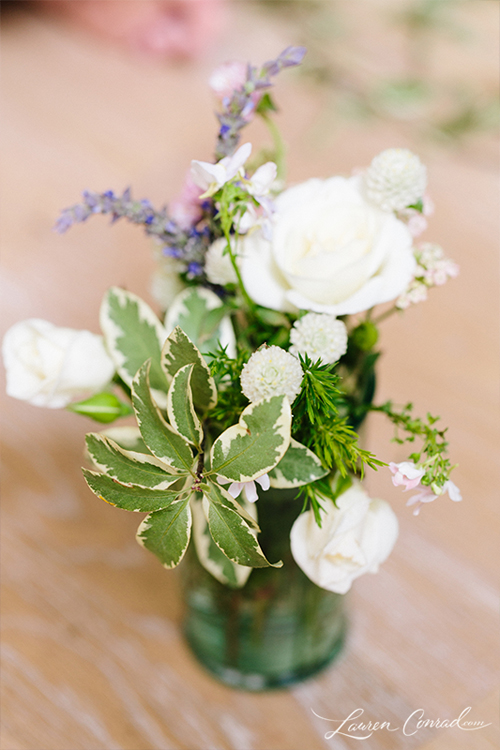
For our flowers we used Lauren’s garden roses, dahlias and an assortment of other beautiful blooms. Depending on the color scheme you’re going for or how big you want the crown to be, you can choose any kind of flower you’d like. And if you want to make a flower crown that will last for more than a few days, you can even use faux flowers (which we’ve done before here).
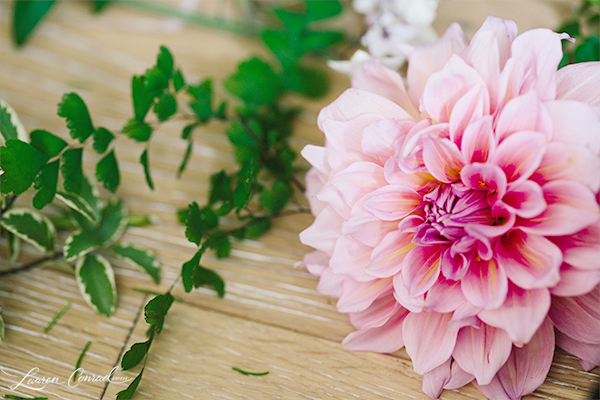
How gorgeous is this dahlia from Lauren’s garden?
Instructions:
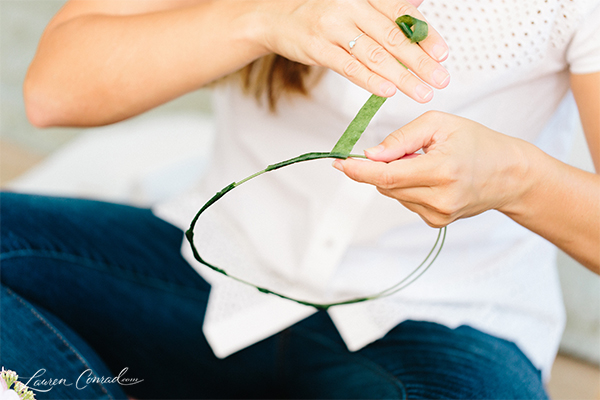
1. Take a piece of floral wire and form it into a circular shape. Rest it atop your head to see how long you need the wire to be to form a loose crown around your head. Cut off excessive wire, and form the rest into a circular shape. Tape the circle shut with floral tape (you’ll want to wrap the tape around the wire several times, like Allison is doing in the above photo).
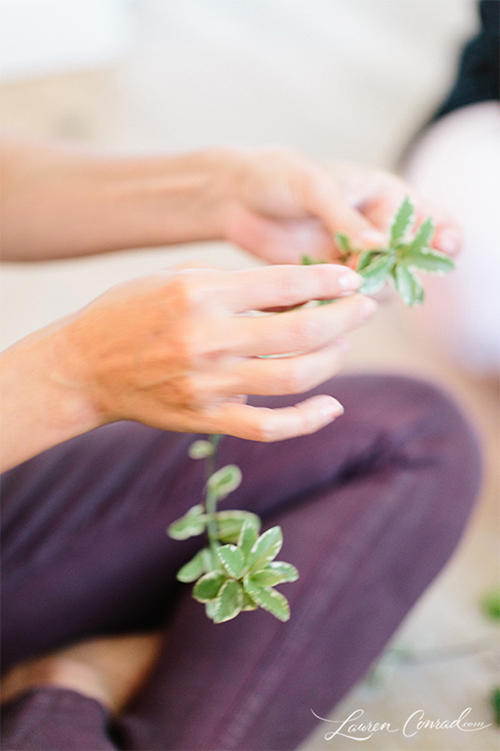
2. Choose your greens and flowers. You’ll want to start your crown with a layer of pretty greenery that covers the wire, which will act as the base of your crown. Once you have your greenery, you’ll tape it to the crown with your floral tape.
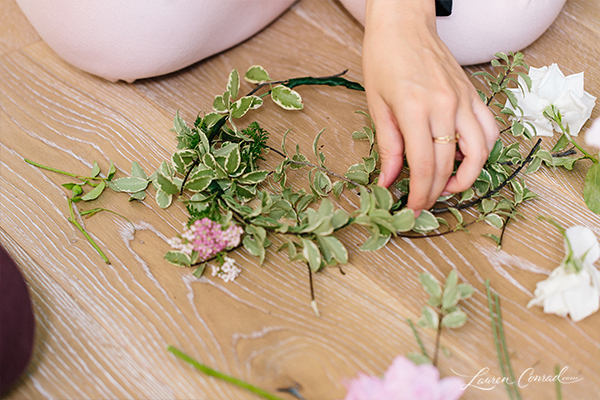
3. Once you have greenery taped to the crown, it’s time to add your flowers. To attach each flower to the crown, make sure the flower stems are at least 3 inches long (you can cut off excess stems with scissors or wire cutters), and, using floral tape, tape the stem to the crown (see photo below). Just like for the greenery, you’ll want to wrap the tape around the stem about four to five times to make sure it stays.

Lauren made a half crown (she was testing out ideas for her wedding hairstyle at the time), and the rest of us made full crowns. You can either pile on flowers equally around the whole crown, or just focus on the front of the crown. Allison and Ilana built their flower crowns around the big pink dahlias that came from Lauren’s garden, while Rachel used smaller flowers for a more understated look.
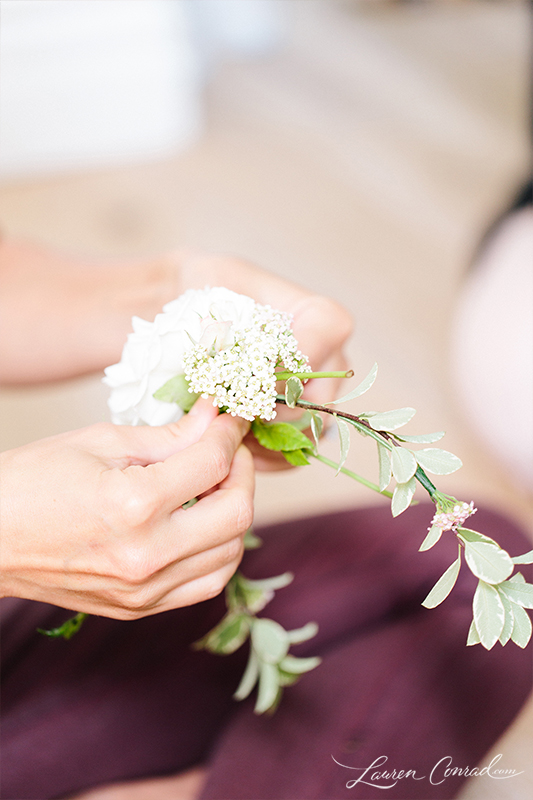
4. Add flowers to as much or as little of the rest of the crown as you’d like. In the photo above, Lauren layered a few different types of flowers for a beautiful and textured look.
To be honest, there’s no wrong way to make a flower crown. It really depends on what occasion you’re making it for, what hairstyle you’re planning on wearing with it and what type of flowers you have on hand. While Lauren is quite the flower crown pro, the rest of us admit to making a few not-so-cute crowns before we got the hang of it. Practice makes perfect, and we’re not sure there’s anything better to practice making than these sweet little crowns.
Do you have any flower crown making tips?
And what do you want us to make next?
Leave your suggestions for our next DIY in the comments and we’ll do our favorite at the next LC.com photoshoot!
XO Team LC
