Everything You Need for the Perfect At-Home Mani
When it comes to making time for self-care, treating ourselves to a manicure is usually at the top of our lists. But sometimes, as much as we love the salon experience, finding the time to squeeze in an appointment can be a little challenging. For that reason, we love the idea of putting together an at-home mani kit, to make doing our own nails a breeze (and it makes a pretty cute gift too!). Once you’ve rounded up the supplies you need, you can recreate the salon experience from the comfort of your living room… and that sounds pretty good to us. Now get ready for the most perfectly polished nails of your life…
DIY Manicure Kit
For our kit, we used The Studio Box from Olive & June, which came pre-stocked with everything we’d need for a salon quality mani. You can pick up one of your own or put together a DIY version with the items below:
- nail polish remover
- nail clippers & file
- buffer
- nail polish
- thin brush for touchups
- cuticle oil
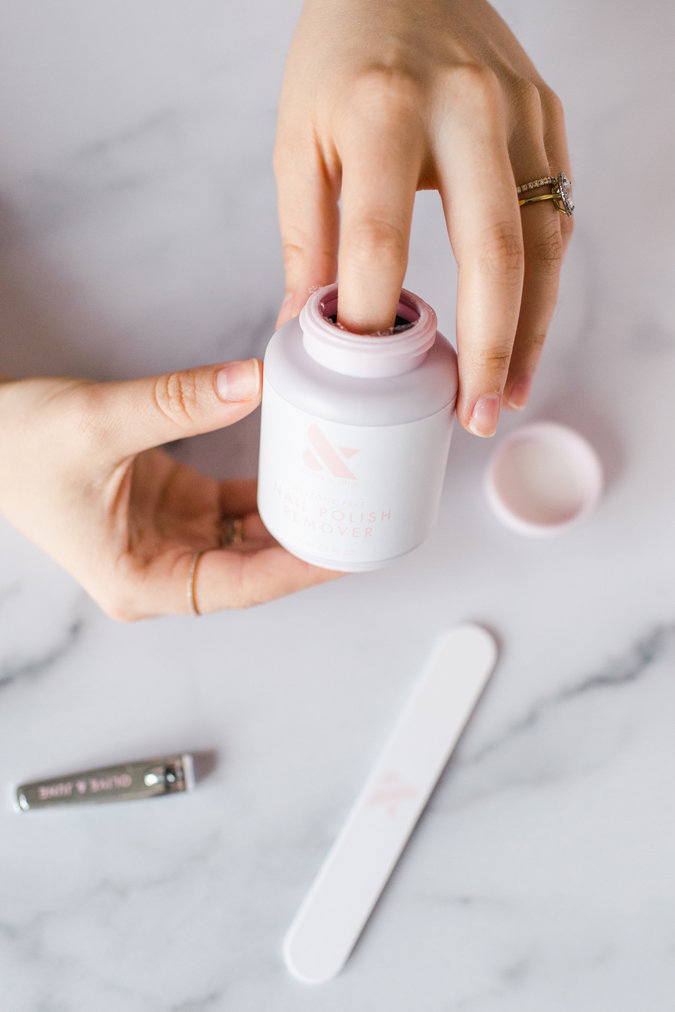
1. Nail Polish Remover
Before you start painting, you’ll want to remove all nail polish—even if you have bare nails to start with. Oils can build up that will make polish application more difficult, so it’s best to start with a clean canvas.
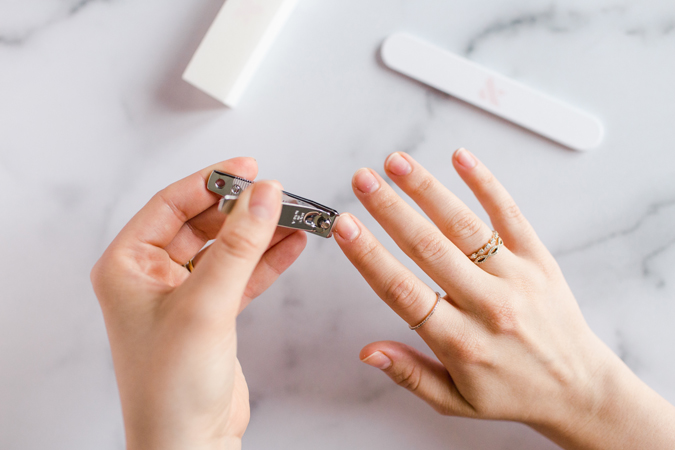

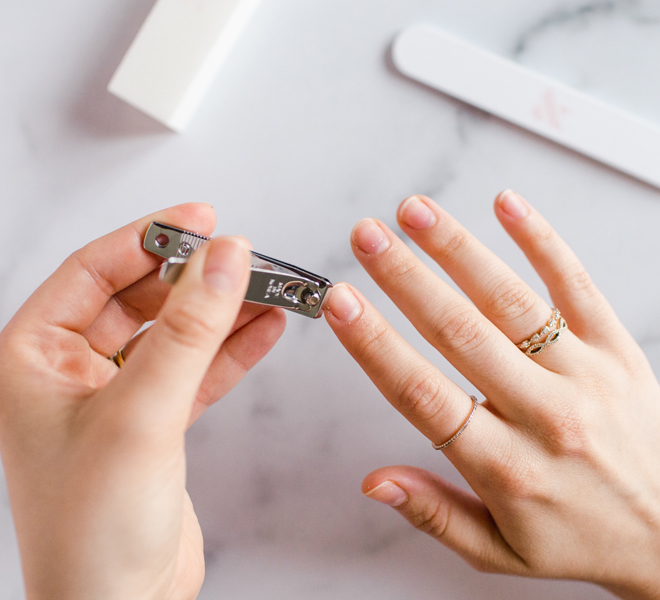
2. Nail Clippers & File
Once your nails are clean, you’ll want clip them down to the desired length, and then file them for a smooth edge. Check out this post for our guide to nail shapes, and look for files with a fine-grit cushion. This means the textured edge won’t rip nails but will still allow you to shape them.
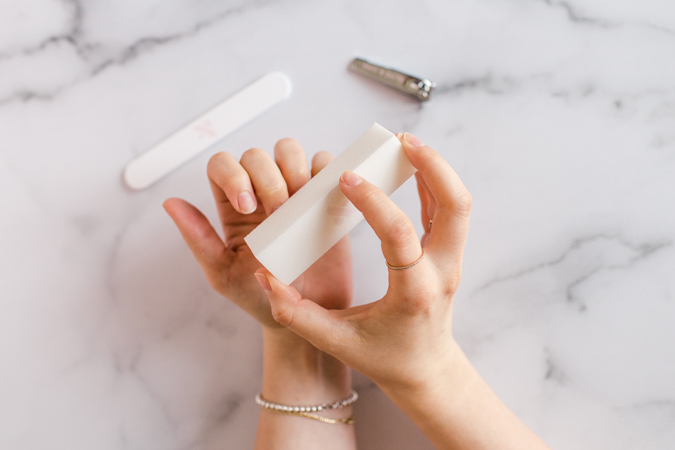
3. Buffer
The buffer is usually of the most under-utilized tools in any nail kit, but we highly recommend adding it into your rotation. After filing, gently buff your nails for a natural shine. If you have brittle nails, feel free to skip this step and learn more about improving nail strength in this guide.
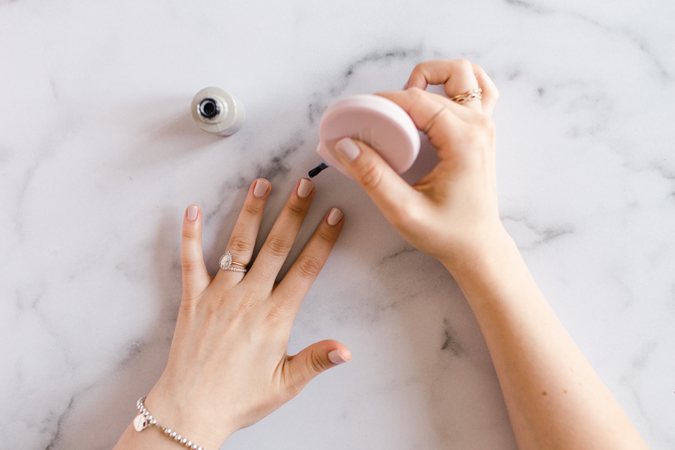
4. Nail Polish & Top Coat
And now the fun part! Select your polish of choice and paint away (these are a few of Lauren’s current favorites). A few swipes are all you need: one for the middle and one for each side of the nail. Depending on the opacity of your polish, you may need a second coat. Make sure to let the first dry completely to avoid smudging, and finish off with a clear top coat.
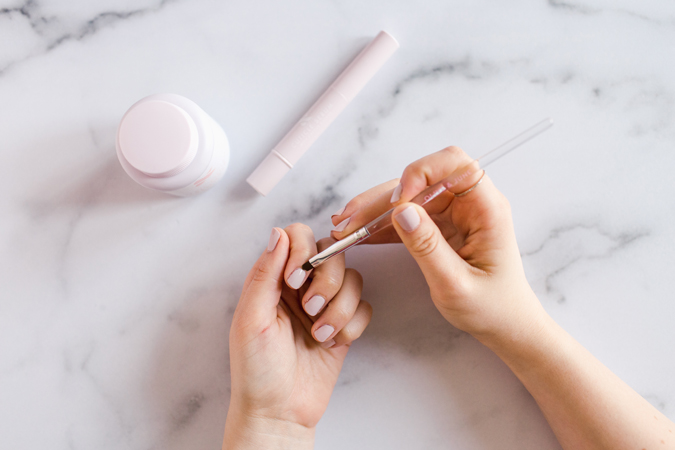
5. Thin Brush
Unless you have a rock steady hand, chances are you might need to clean up the edges of your nails after painting. We recommend keeping a paintbrush with a thin tip handy, which you can dip in remover and use to dab away the excess paint.
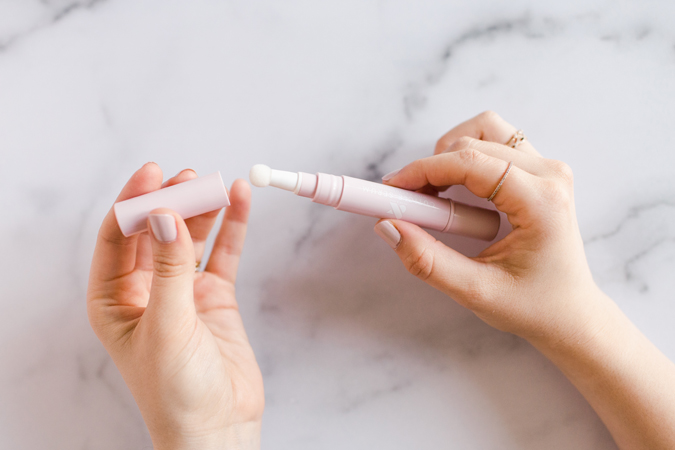
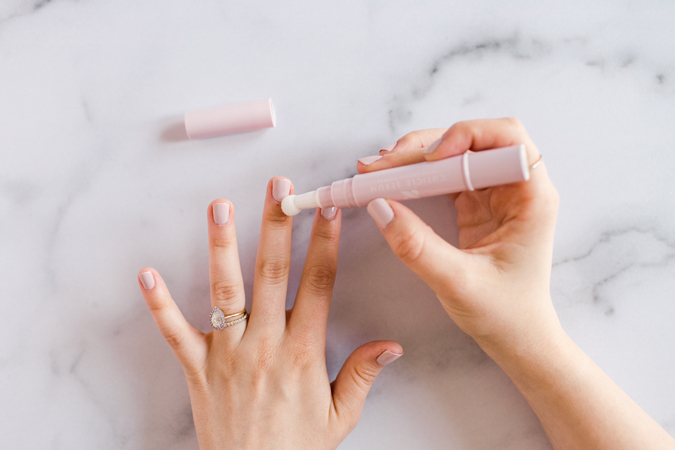
6. Cuticle Oil
Cuticle oil, cuticle oil, cuticle oil. We can’t stress this enough—cuticle oil is the key to a lasting manicure and long-term nail health. Dry cuticles are a dead giveaway that it’s been a while since your last salon mani.
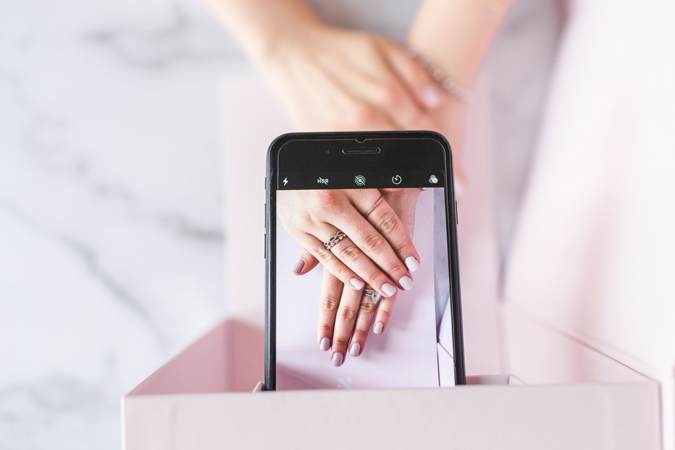
Once your DIY manicure is complete, don’t forget to snap a picture of your handiwork!
What would you add to an at-home manicure kit?
Let us know in the comments—we’ll keep them in mind the next time we’re trying out a new color!
XO Team LC
Photos: Jessi Burrone
Affiliate links may have been used in this post.
