Party Planning: A Perfectly Pink Rosé Tasting Luncheon
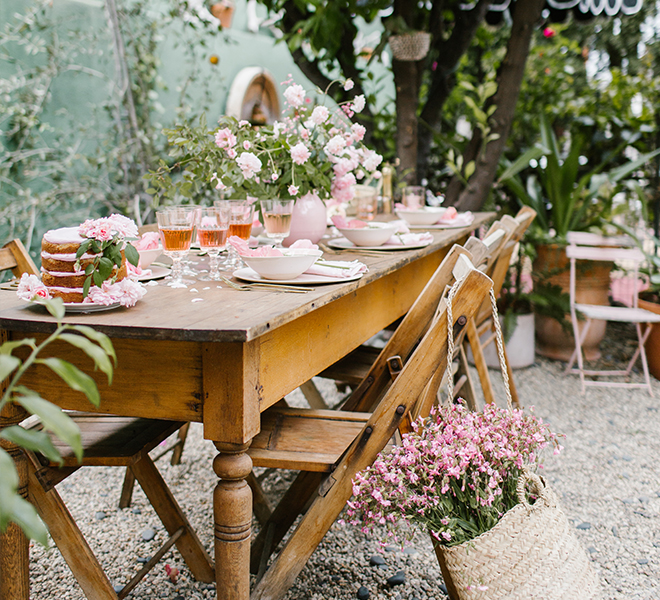
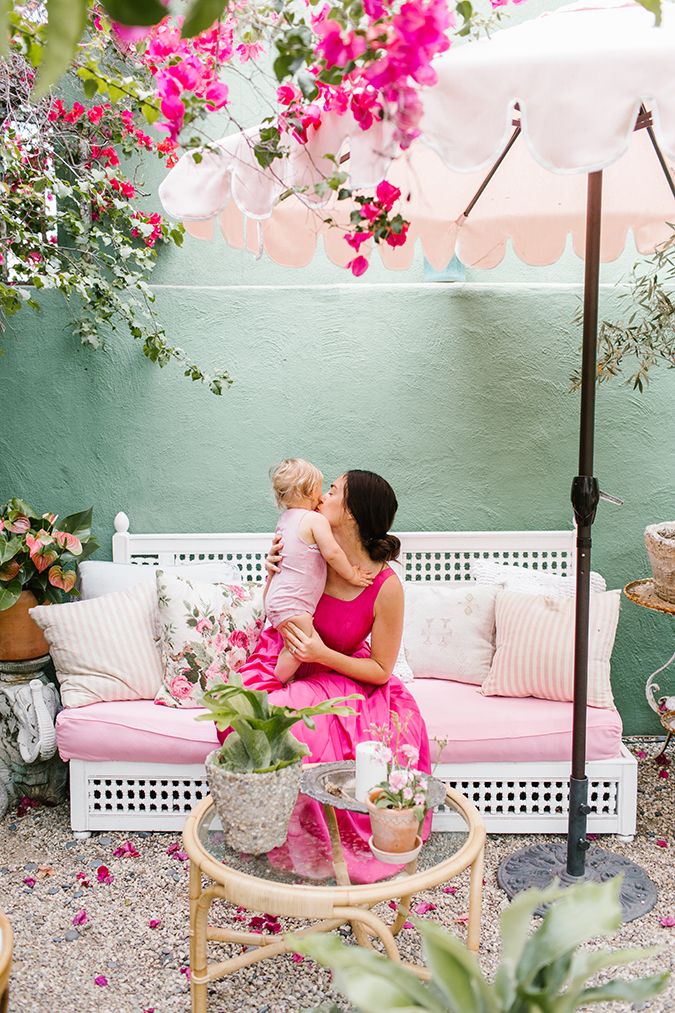
Hey LC.com babes, it’s Kate Martindale here. It’s been a while since I shared a post with you, but with summer upon us, I’ve been feeling inspired to entertain outdoors and share some party planning tips with you all. When I throw a luncheon, I like to make it just a little more casual than a dinner party. Even for the grandest of occasions like a wedding, I always find that guests feel most comfortable at daytime events if they are a bit more casual. For today’s party planning post, I kept things loose, natural and organic with the flowers, linens and plates.

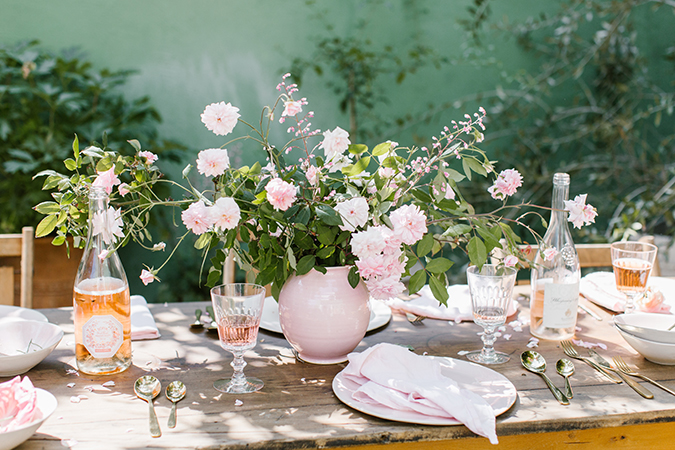
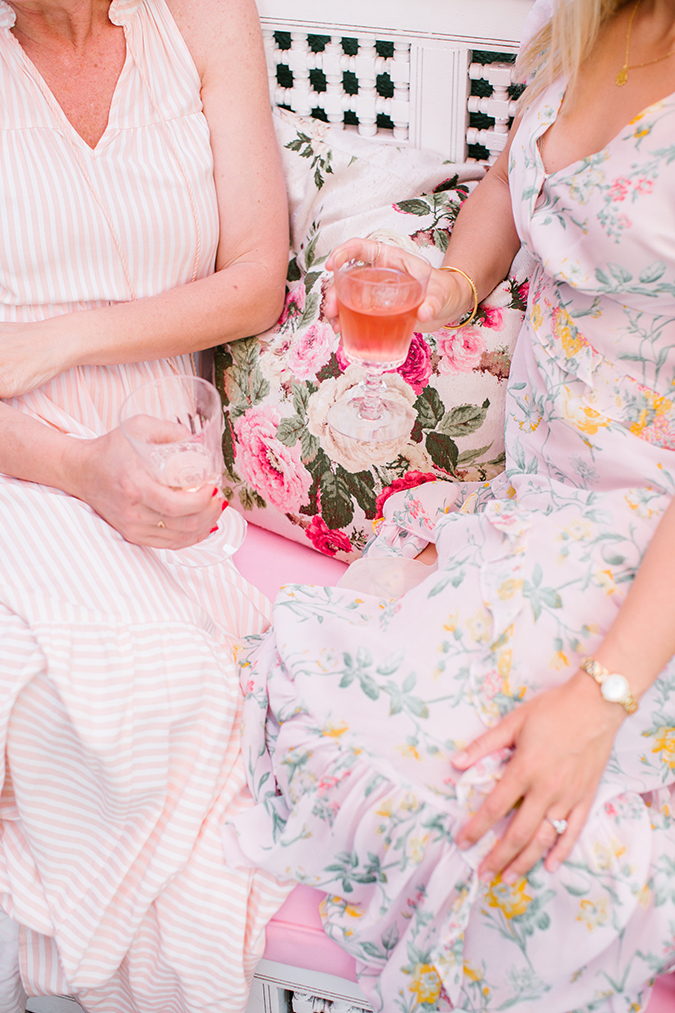
For my rosé tasting party, I couldn’t resist a pink theme. I am aware that pink and rosé is such an obvious pairing, but what can I say—I love pink! This picnic was the perfect excuse to bring out my pink napkins, and beautiful pink plates and bowls to set the table. I also used some really adorable (and affordable) pink water glasses from Ikea. You can shop them here.
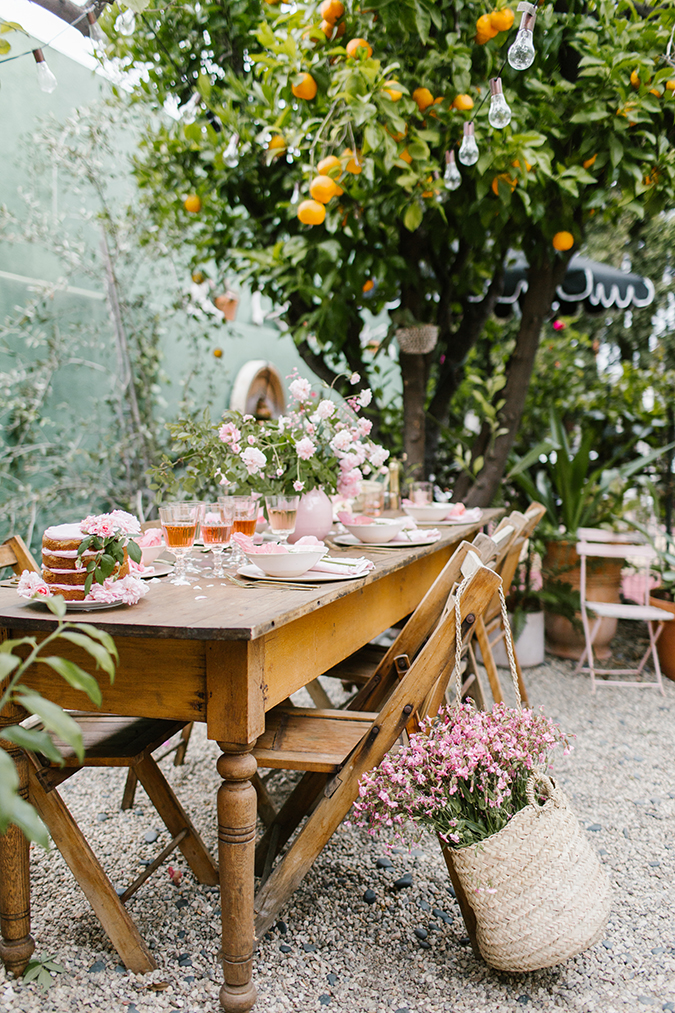
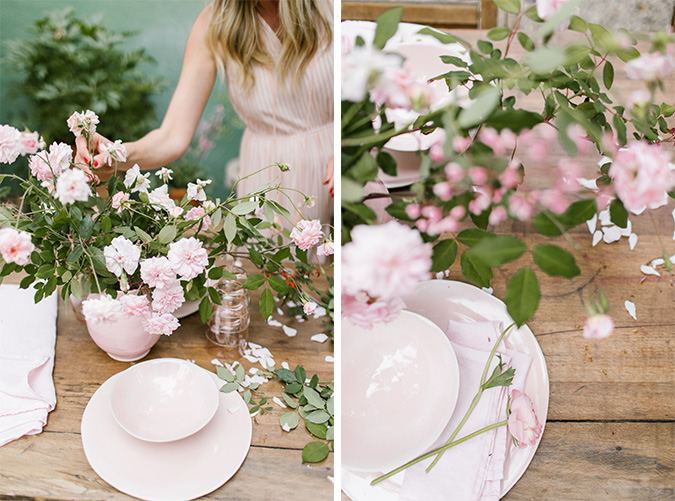
I added florals to each guest’s place setting for an extra feminine touch, and because I love the look of having a flower or sprig of greenery nestled on a napkin or tucked under the corner of a plate. The centerpiece consists of Cecil Bruner roses, which is a climbing rose I snipped right from my garden. It provided a really pretty, foraged look.
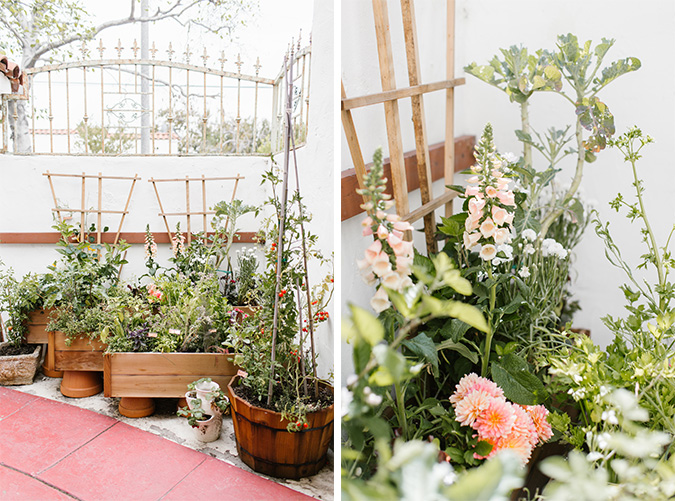
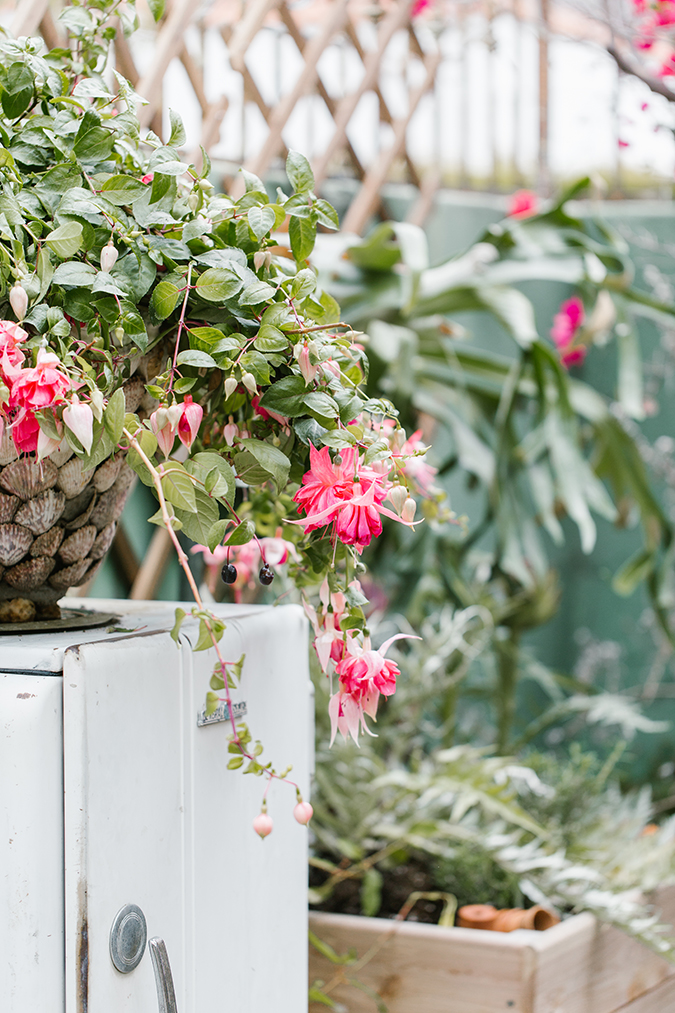
One thing I encourage if you entertain often, even if you live in a small space, is to plant a floral box garden. It doesn’t have to be big, but make sure to find a spot that gets plenty of sunshine. You can plant dahlias, small garden roses, carnations, and of course herbs, which can also be used in your centerpiece and provide a wonderful scent as an added bonus. It gives you the ability to create a quick and beautiful floral arrangement that is casual and wild in aesthetics, right from your very own backyard.
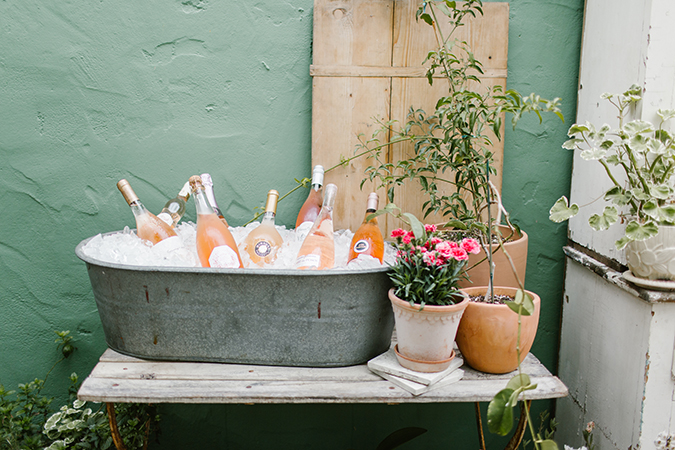
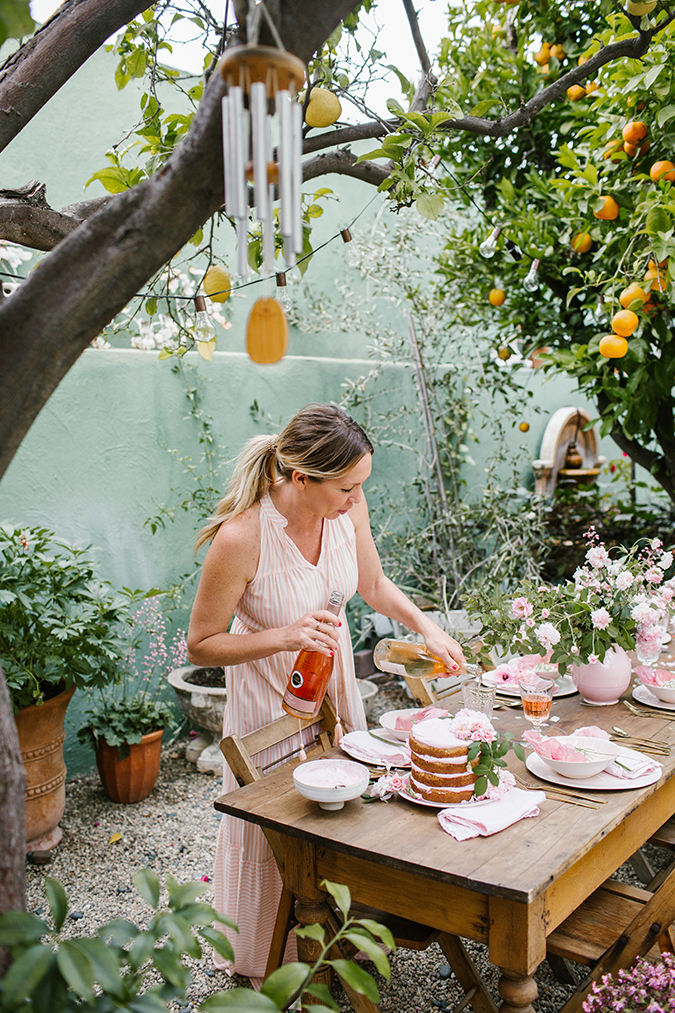
When throwing a get together that involves wine or any chilled spirit, I always fill a large bin with ice and my selected bottles to keep them nice and cold. You will want to prep this at least an hour before guests are due to arrive.

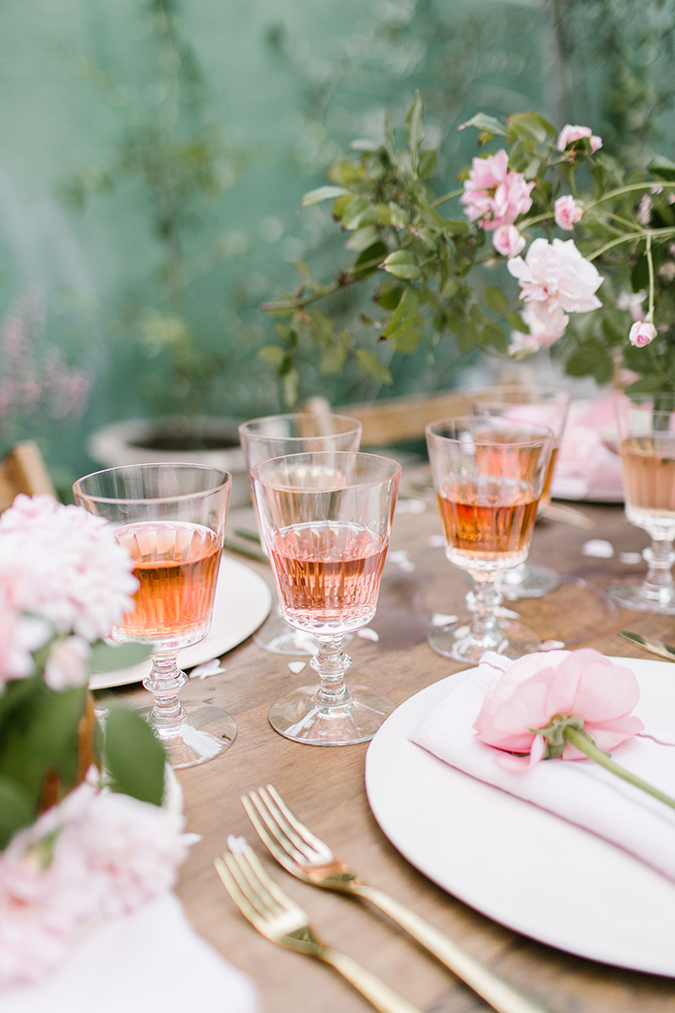
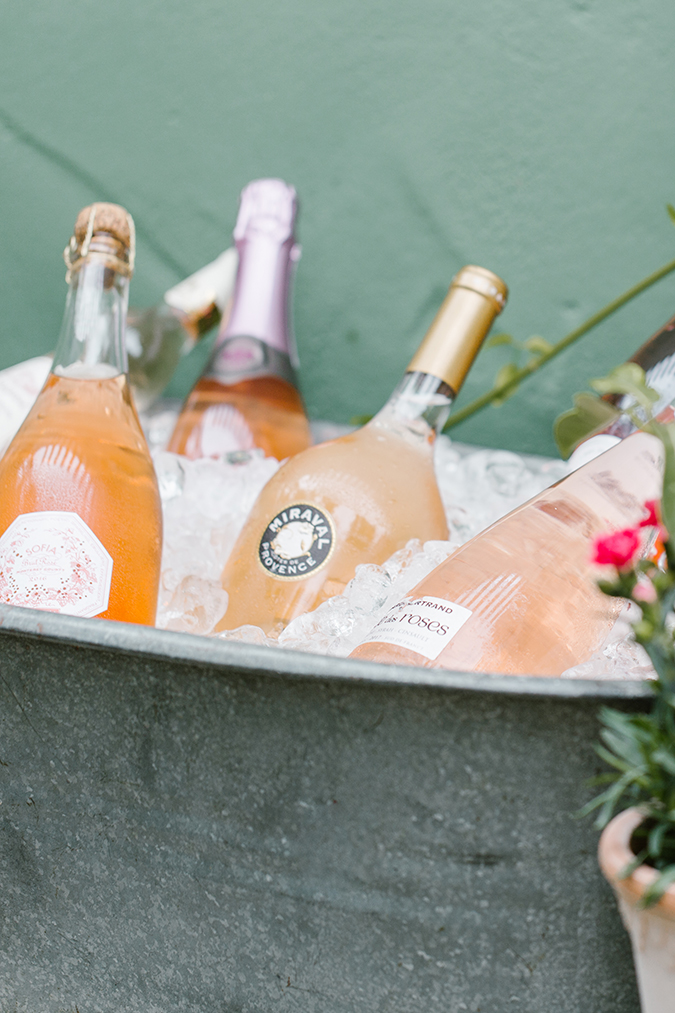
Since the whole concept behind our get together involved doing a rosé tasting, I wanted to make sure I provided a nice variety of bottles. I recommend choosing 6-8 different wines—some that are drier, like French rosés, and some that are sweeter or even savory (a sales associate at a market or wine shop can help you find these). From there, the process is easy: have plenty of wine glasses displayed so your guests can fill up, take sips, and determine their favorites. It’s also a good idea to keep little note cards and pens on hand so that guests can write down the name of the bottle and their notes, which helps keep track of flavor likes and dislikes. I like to make sure there is a place to dispose of any wine a guest does not like during a tasting—an empty silver bucket does the trick. This lets your guests feel that it is okay to try something without the pressure to finish it if it’s not to their liking.
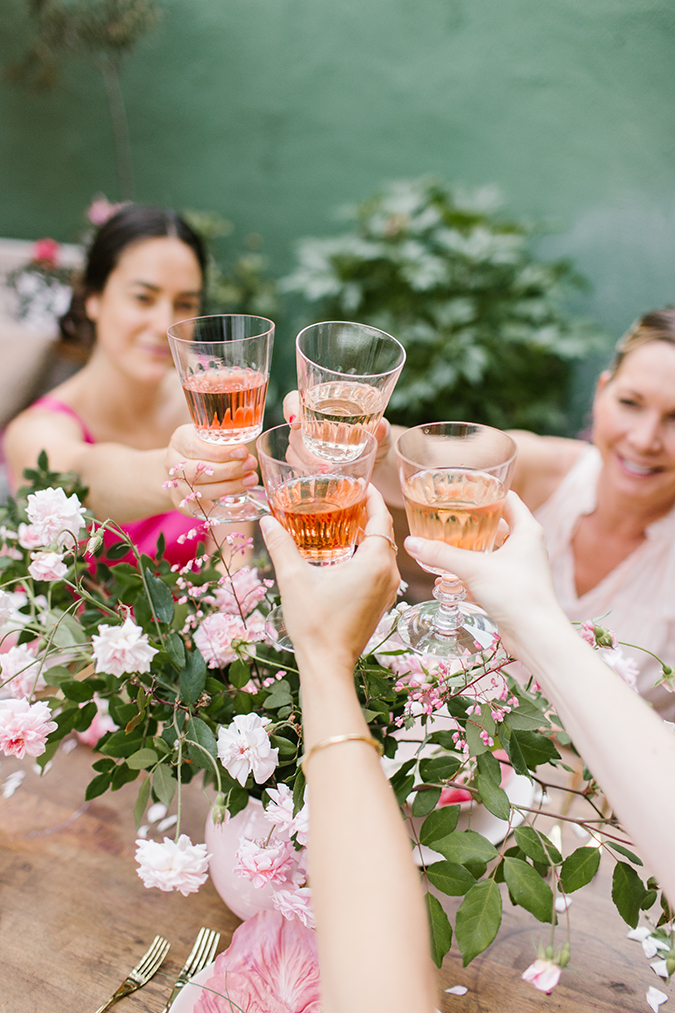
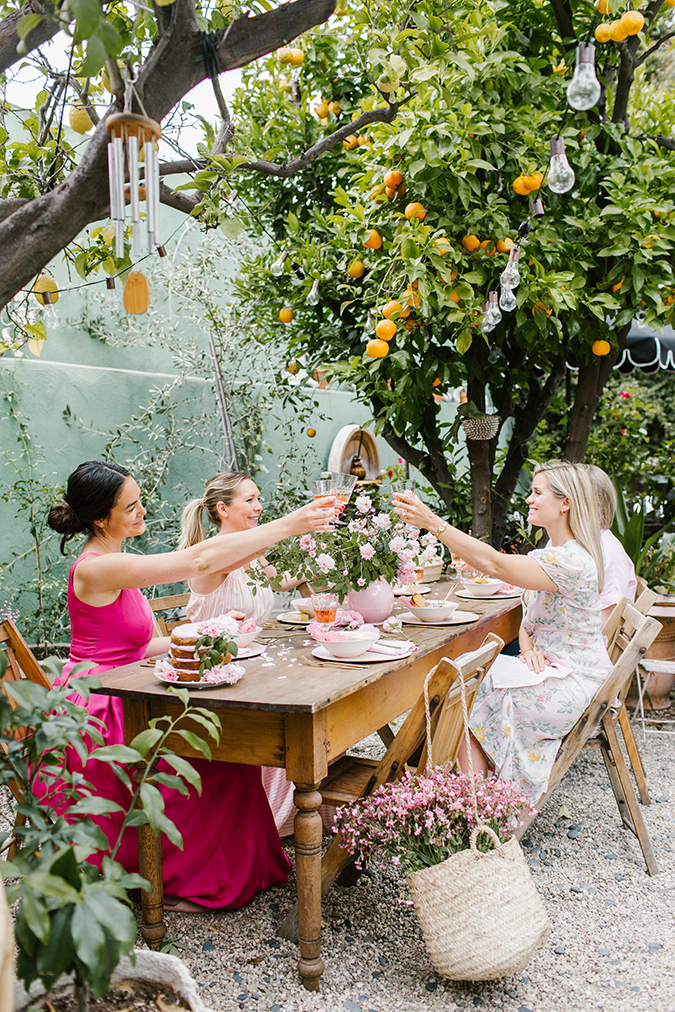
If the wines are different enough and you’d like to provide something to clean your guests’ palates, opt for a small fruit and cheese board to separate the tastes of each wine. By the time lunch was served (more on that recipe coming later this week!), we were all talking about which rosé we liked best and we filled our glasses with our favorite to go with our meal.
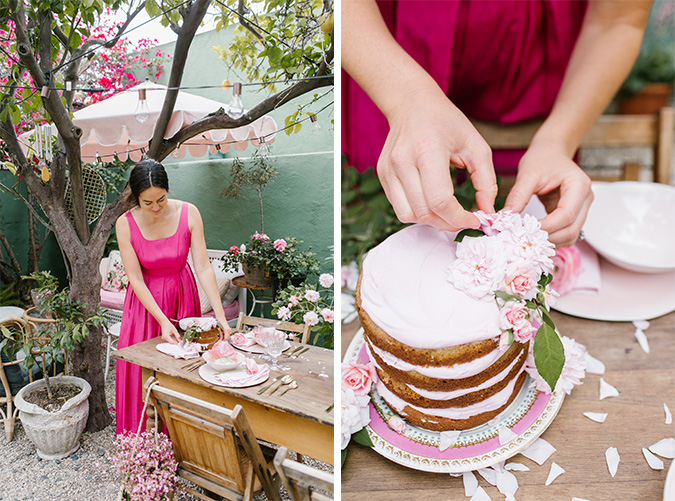
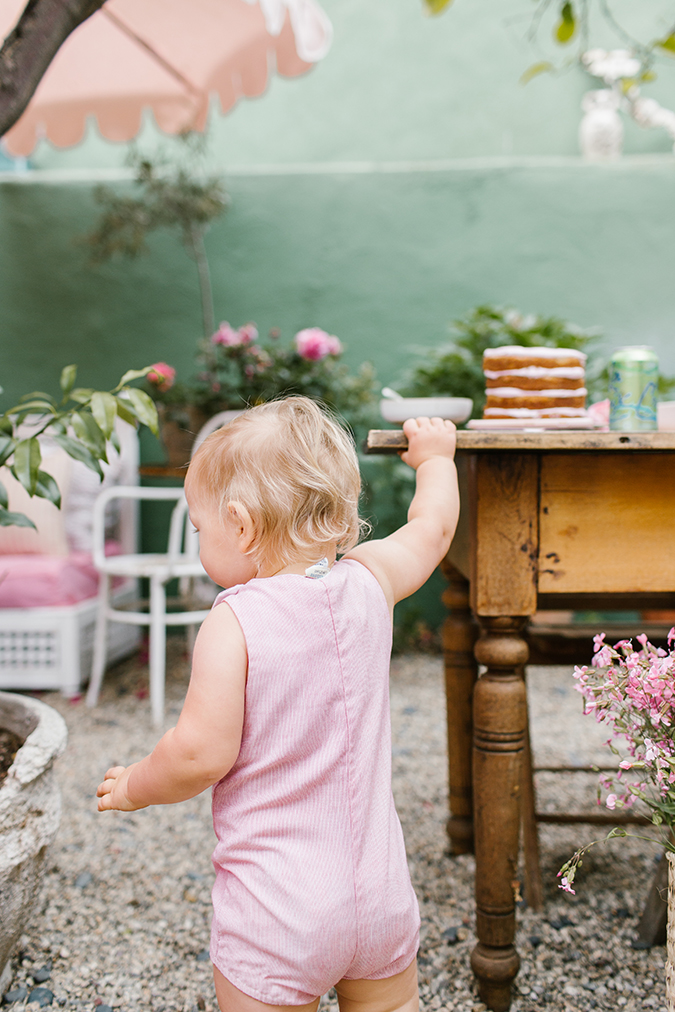
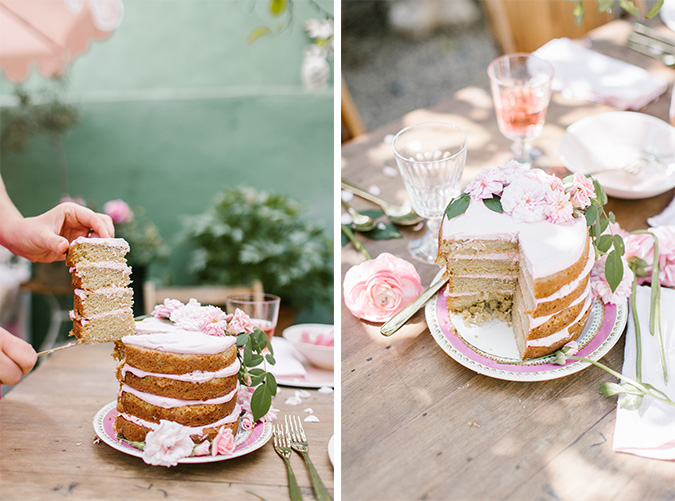
At the end of any party, even if it’s taking place in the afternoon, I like serving something to satisfy the sweet tooth. We enlisted none other than our friend Laurel of Sweet Laurel to whip up one of her delicious grain-free, dairy-free and refined-sugar free cakes. I can’t even begin to tell you how decadent her cakes taste, and I love that they’re guilt-free.
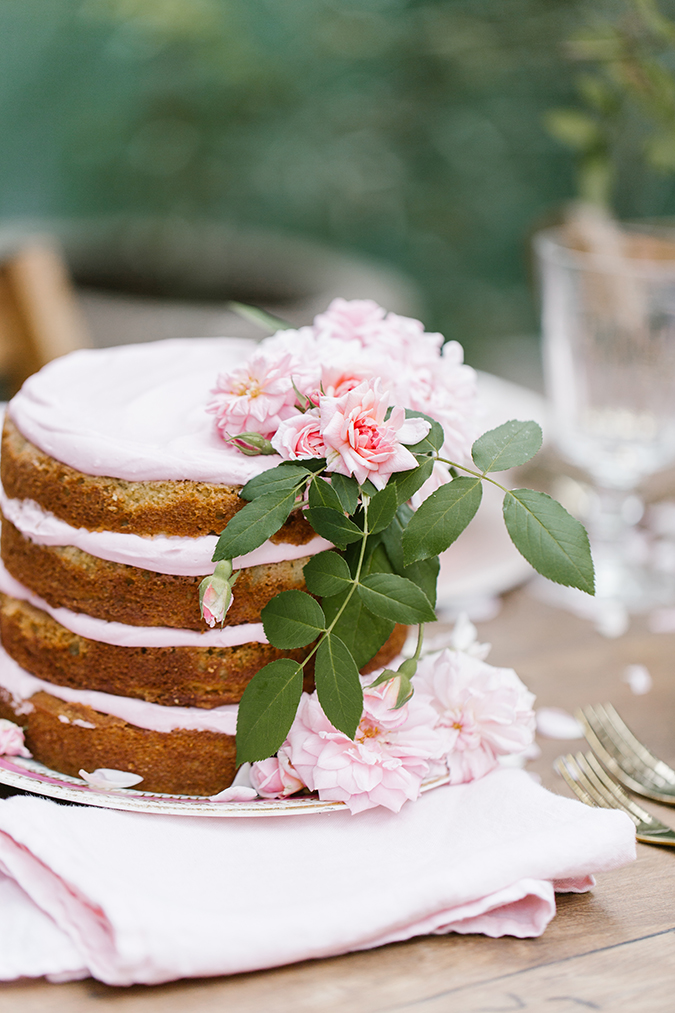
She made one of her most popular recipes, her vanilla coconut jam cake, and layered it with coconut whipped cream that was dyed a fantastic shade of pink using beet juice. We all shared slices and each bite was heavenly. Not to mention that we were thrilled that she brought along her mini sous chef, Nico! Here is the cake recipe:
Vanilla Coconut Jam Cake with Pink Coconut Whipped Cream
Makes four 6-inch layers or two 8-inch layers
For the cake:
Ingredients:
- 1 cup coconut oil, melted, plus more for greasing the pans
- 1 cup coconut flour
- ½ teaspoon baking soda
- ½ teaspoon Himalayan pink salt
- 1 cup 100% maple syrup
- 8 large eggs
- 1 tablespoon vanilla extract
Instructions:
1. Preheat the oven to 350°F. Line four 6-inch cake pans or two 8-inch cake pans with parchment paper rounds, then grease the sides of the pans with coconut oil.
2. In a large bowl, whisk together the coconut flour, baking soda, and salt. In a separate large bowl, combine the coconut oil, maple syrup, eggs, and vanilla. A little at a time, add the dry ingredients to the wet, stirring until a batter forms.
3. Divide the batter evenly among the prepared pans and bake for about 25 minutes, until a toothpick inserted into the center comes out clean. Invert the cakes onto racks and allow to cool completely. Then, make the coconut whipped cream…
For the pink coconut whipped cream:
Makes 2 cups
Ingredients:
- two 13.5-ounce cans full-fat coconut milk, refrigerated for at least 24 to 48 hours
- 2 tablespoons maple syrup
- 1 tablespoon vanilla extract
- 1 beet, quartered
Instructions:
1. Place cut beet in saucepan and cover the beet with water, about one cup. Simmer on low for about 10 minutes. Remove from heat and allow to cool. Set aside, this will be used to color the coconut whipped cream.
2. Remove the solid coconut cream that has risen to the top of the can and spoon it into a stand mixer fitted with the whisk attachment. Beat the coconut cream on high speed until it begins to thicken and peaks form. The remaining coconut water can be added, a teaspoon at a time, if the whipped cream is too thick. Otherwise, discard it.
3. Using a rubber spatula, slowly fold in the maple syrup and vanilla. Slowly add in liquid from simmering beets, one tablespoon at a time and stir. Add beet liquid until the coconut whipped cream is the desired color.
4. Transfer the whipped cream to a metal or glass bowl, cover, and refrigerate until ready to use.
You can find this recipe and so many other must-bake treats in the new Sweet Laurel cookbook, available for purchase here.
As you can see, we all had the dreamiest afternoon together. It had me feeling ready for summer entertaining al fresco and reminded me how important it is to take advantage of planning outdoor parties with friends this time of year.
Will you be recreating this pink rosé tasting party this summer?
What summer parties do you have planned?
Stay tuned to find out what I recipe I served for lunch at our party, coming to LaurenConrad.com later this week!
And, be sure to check out my pastel pumpkin tablescape and my blush pink gallery wall posts if you haven’t already.
Xx Kate
Photos: Jessi Burrone for LaurenConrad.com
Affiliate links may have been used in this post.
