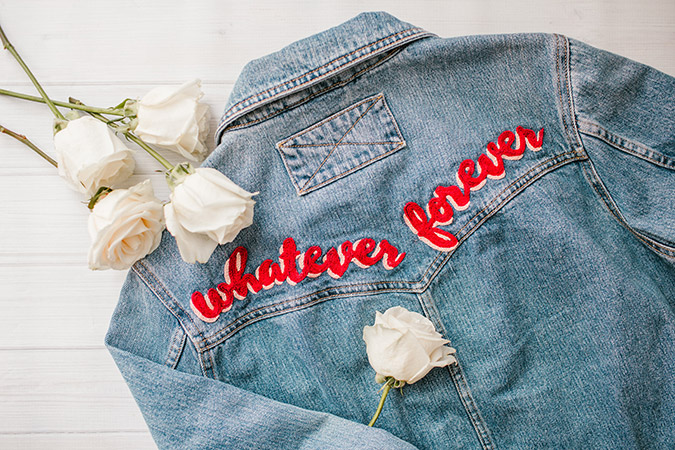
DIY: Hand Embroidered Denim
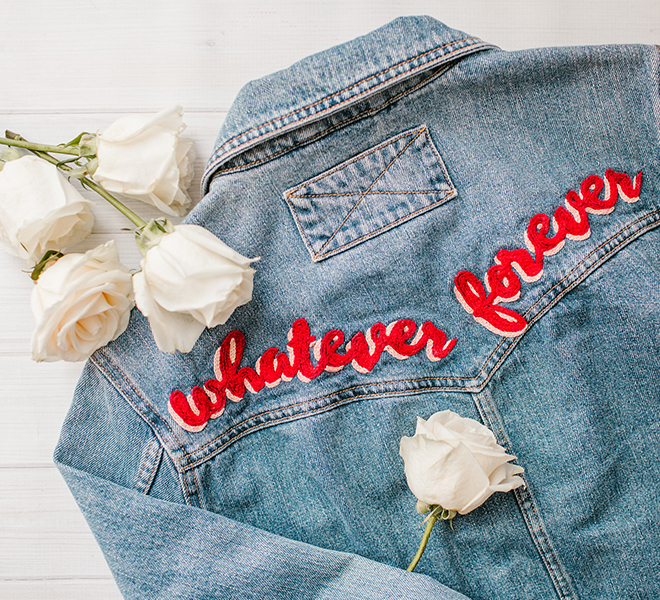
If you’re anything like me, then you know the satisfaction of wearing something with a one-of-a-kind, handmade detail—especially when you’re the one who made it. I have to admit, I’m not a routine crafter by any means, but when I find an idea I love, executing it becomes a full fledged obsession. And that’s exactly what happened when I found myself pinning inspiration photos of embroidered denim to my Pinterest board one night… for hours.
Needless to say, I dove head first into this trend and committed myself to bringing this vision to life with my own two hands. I took a trip to the craft store, bought enough supplies to last me a lifetime (we’re all guilty of it), claimed the comfiest spot on the couch, and got to work. It ended up being one of my favorite projects I’ve made to date, and it’s so fun knowing I have a unique piece that can’t just be added to someone’s online shopping cart or found in a store. (By the way, it’s also THE most relaxing activity and the perfect companion to hours of binge watching Netflix.) If you want to learn how to embroider your own denim at home then follow along below…
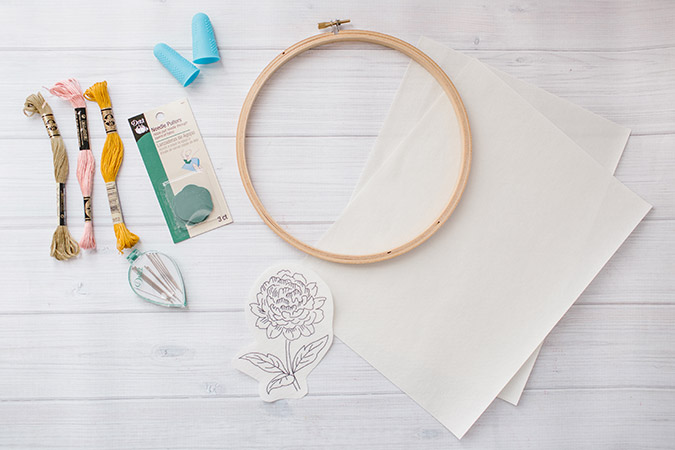
Supplies You’ll Need:
- embroidery hoop
- embroidery needles
- 3-4 skeins of embroidery floss (will vary depending on size of your design)
- sticky, water soluble stabilizer for stencil
- iron-on backing
- rubber thimbles or finger pads
- denim jacket (this project is perfect for a second-hand or well loved jacket)
Directions:
To prep your denim…
1. Before you do anything, make sure the denim you’re working on has been washed and dried. This will ensure that your finished design won’t shrink and/or warp when you wash your piece of denim for the first time.
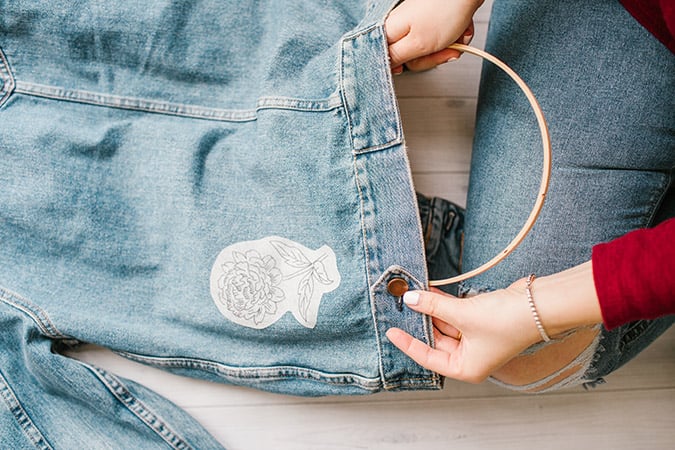
2. Start by printing your stencil of choice on your water-soluble stabilizer (this will dissolve in the wash when you’re finished with your piece, and won’t leave a trace!). It can be put in a regular printer, and printed with any design. Just make sure it is bold enough for you to see when you’re stitching over it.
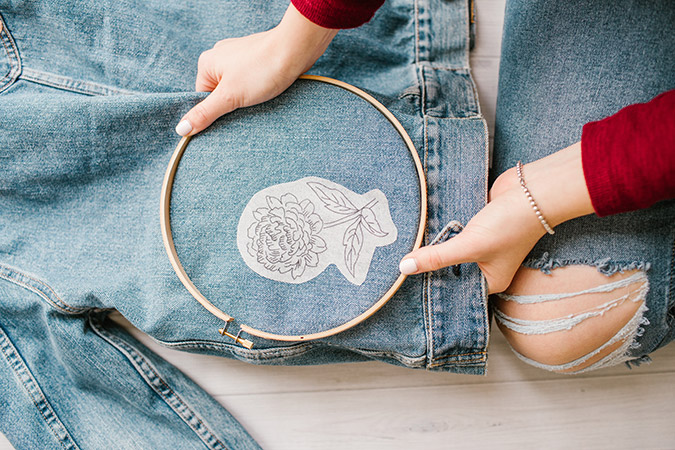
3. Cut out the stencil, peel away from its paper backing, and stick it onto the area of your denim you want to embroider.

Note: If you want to embroider your jacket freehand and your denim is soft, simply stick the blank stabilizer to your denim for some extra support while stitching. Or, if your denim is rigid enough, you can skip this step.
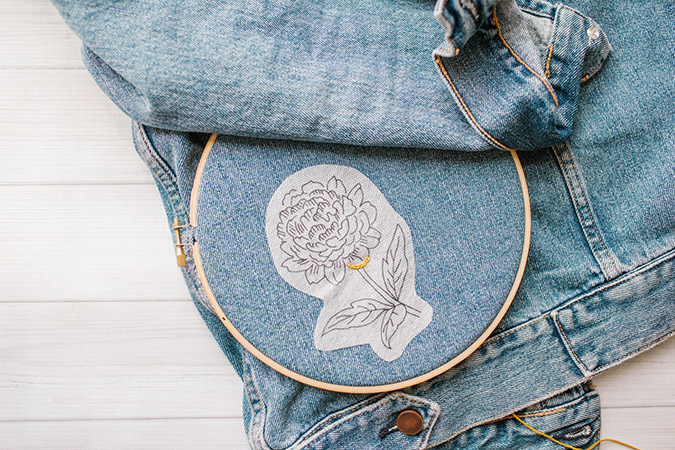
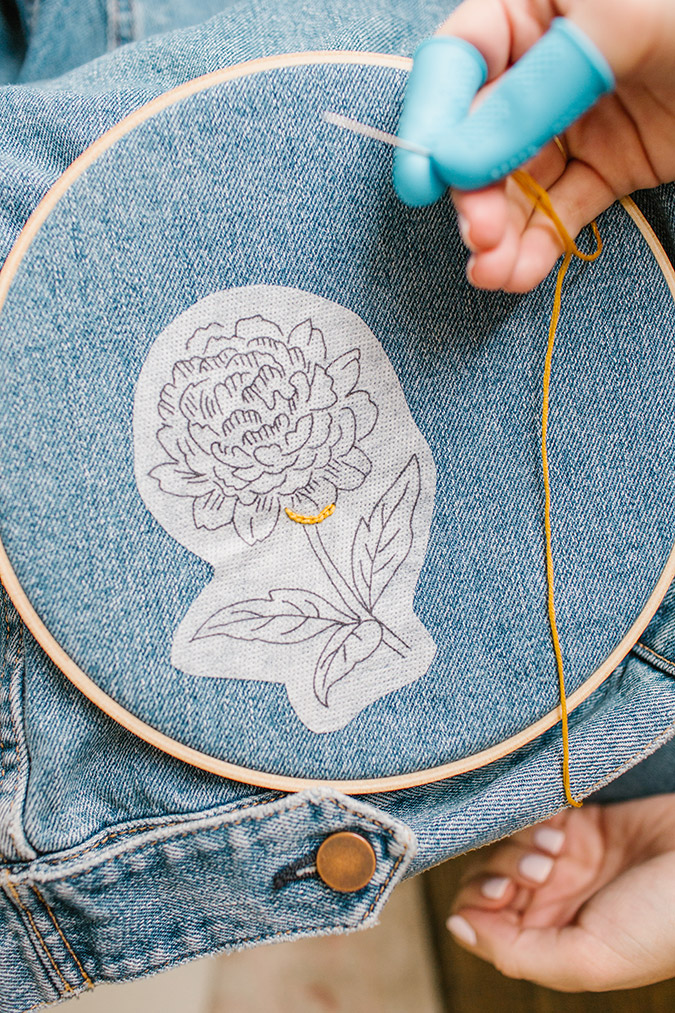
4. Next, place the inner ring of your embroidery hoop under your denim, making sure that your design lies in the center of the hoop.
5. Place the second ring on top of your denim, and push down until it hugs your first hoop underneath your denim. Make sure your denim is taught across the hoop, and tighten the two hoops together with the adjustable screw.
To stitch your design…
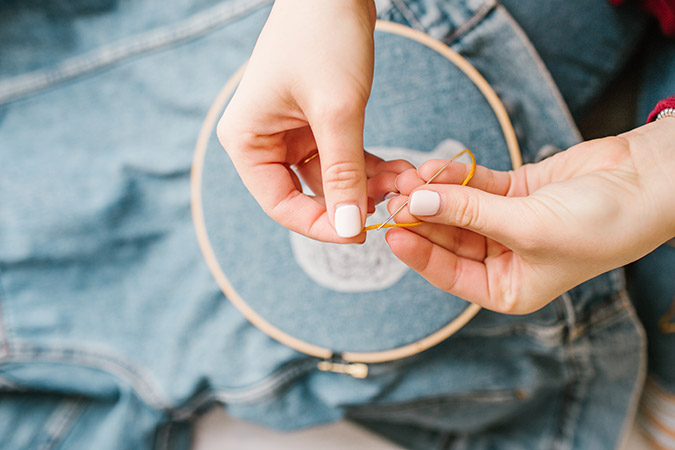
1. Start by cutting a piece of embroidery floss about the length of your arm span and threading it through your needle. Leave a “tail” a few inches long, and double knot the opposite end of your thread.
Tip: At this point, you may want to put your rubber thimbles on your thumb and pointer finger. After stitching for several hours through thick denim your fingers WILL get sore (it’s a labor of love!), and the thimbles will help protect your skin as well as help you grip the needle more easily.
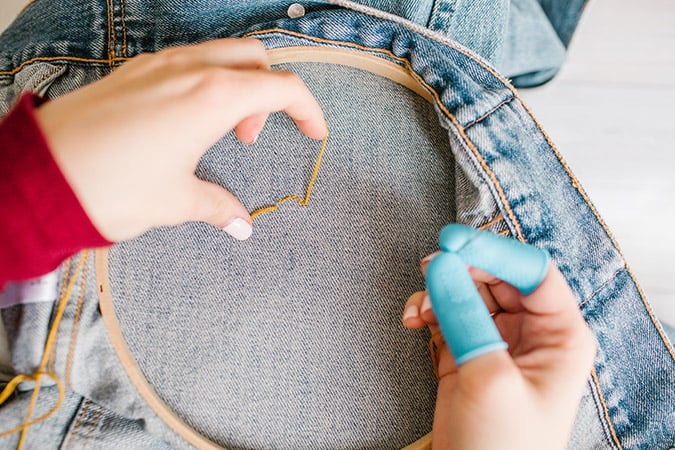
2. There are countless stitches you can use in hand embroidery, but the one I used for my design is a simple chain stitch. Start this stitch by pushing your needle up through your denim from the backside of your hoop. Pull the thread all the way through until you reach the knotted end of your thread.
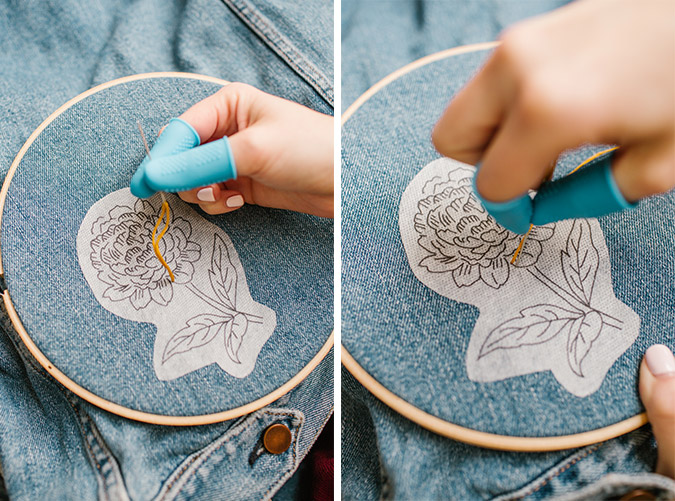
3. Push your needle back down through your denim a few millimeters away from your first hole, then push it up again through the backside, another few millimeters away.
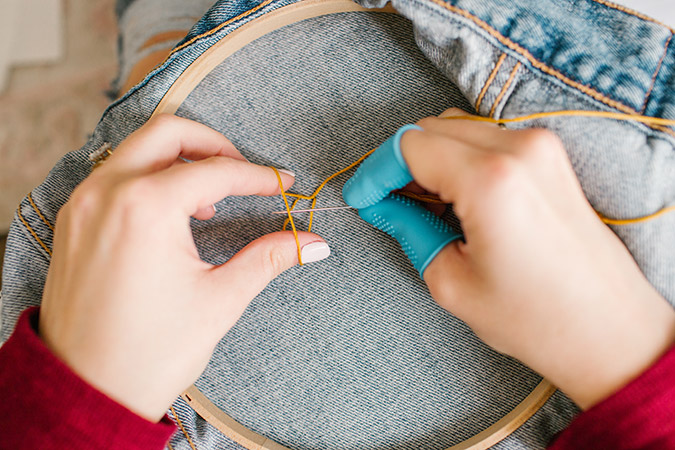
4. Insert your needle horizontally under your first stitch, and pull your thread through. Push your needle back down through the hole you just made, creating a looped stitch.
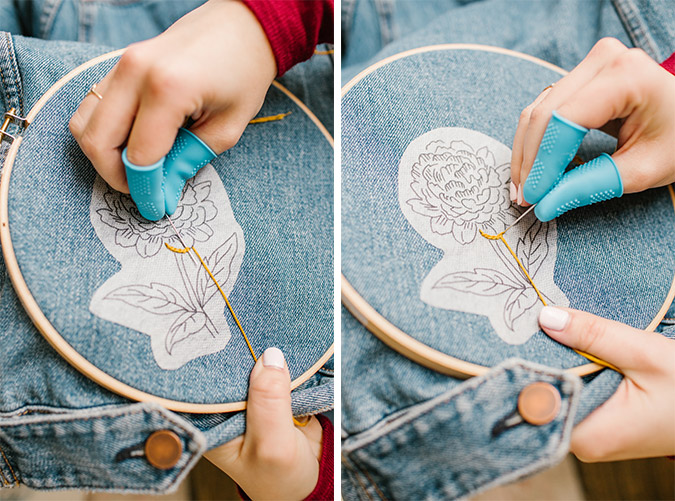
5. Bring your needle up through your denim from the backside once again, loop under your previous stitch, and push back down through your starting point. Repeat to create as many stitches as you’d like.
6. To fill in a solid design (rather than just an outline), simply turn your stitch around, and stitch a row in the opposite direction so that the two lines of stitching touch. Or, try one of these other embroidery stitches to fill in the needed space.
Tip: Make sure to check the back of your design regularly while stitching. If you don’t pull each stitch neatly and completely through to the other side, they can get tangled and messy on the backside of your denim.
To end a stitch and start a new one…
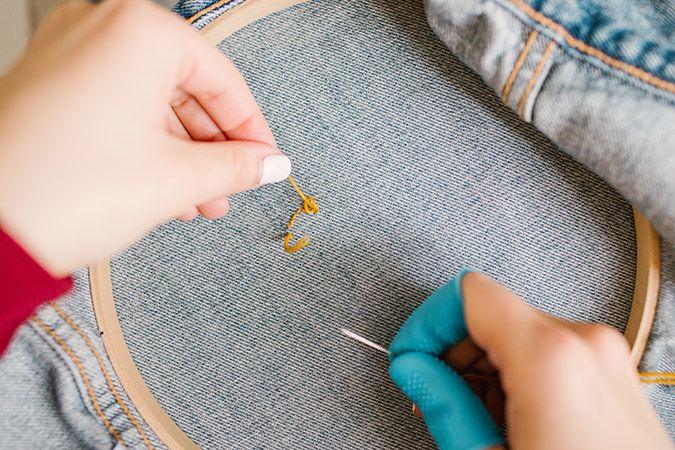
1. If you run out of thread while stitching, simply leave enough slack to knot your thread on the back. Do this by tucking your needle under your last stitch, and pulling it through the loop to create a knot before pulling tight.
2. Repeat this twice each time you end your length of thread, and do the same to secure your design when you’re finished with your last piece of thread.
To finish your design…
1. After you’ve securely knotted your thread on the back side of your design, go back and cut off any lengthy ends. Leave a tail at least an inch long to ensure it doesn’t unwind later on.
2. To avoid your stitches unraveling, snagging, or rubbing against your skin during wear, finish your piece with an iron-on protective backing on the underside of your design.
3. Enjoy your denim, and don’t be afraid to keep adding designs over time!
Are you going to try this DIY?
I promise it’s so fun. Let me know if you’re going to give it a shot in the comments below, and good luck!
xx
Tessa
Team LC
Shop This Story…

Photos: Jessi Burrone for LaurenConrad.com
Affiliate links may have been used in this post.
