Edible Obsession: Metallic Painted Easter Egg Sugar Cookies
If there’s anything better than decorating Easter eggs to perfection this time of year, it would probably have to be decorating Easter egg shaped sugar cookies. Yep, you read that right… I’m talking about using edible paint to make any designs your heart desires on cookies shaped like little Easter eggs. At our spring LaurenConrad.com photoshoot, we did just this and the process was just as fun as it was delicious. You may remember seeing Lauren Lowstan’s Awards Season Metallic Sugar Cookies on the site a few months ago… Well, these treats are a seasonal spin off on those. I like the idea of getting a group of friends, family and kiddos together over Easter weekend to decorate these sugar cookies and wrap up in cellophane bags with pretty pastel bows to give out as holiday gifts!
The ingredients and instructions are almost idental to our Awards season cookies, with a few changes here and there. So, without further ado, here’s how to get everything ready for your own Easter egg cookie decorating party this spring…
Metallic Painted Easter Egg Sugar Cookies
Ingredients:
For the Sugar Cookies:
- 2 cup butter, softened
- 2 ¼ cup sugar
- 2 tbsp. vanilla
- 1 tsp. lemon zest
- 2 eggs
- 4 tsp. baking powder
- 6 cup flour
- 1 tsp. salt
- star cookie cutter
- egg shaped cookie cutter
Royal icing & decorating ingredients:
- 2 tbsp. meringue powder
- 7 tbsp. water
- 4 cups powdered sugar
- edible luster dust in gold and silver
- edible disco dust in gold, silver and white
- vodka (just a few drops)
Instructions:
For the Sugar Cookies:
1. In a mixer with a paddle attachment, cream together the butter, sugar, lemon zest, and vanilla for about 3 minutes, until well mixed and creamy.
2. Add the eggs and mix until incorporated.
3. Sift the flour, baking powder, and salt in a separate bowl.
4. With the mixer on low, slowly add the dry ingredients into the sugar-butter mixture, and beat just till incorporated.
5. Chill the dough for about 20 minutes. Once the dough is chilled, roll out on a lightly floured work surface until the dough is about ¼-inch thick. Cut out cookies with an egg shaped cookie cutter. Place your cookies on a parchment-lined baking sheet and chill in the freezer until the cookies are rock solid.
6. Once your cookies are hard, immediately bake in a 350-degree oven for about 6-10 minutes. Tip: You don’t want the cookies to turn golden at all!
7. Let cool completely.
For the Royal Icing:
1. In a bowl of a stand mixer, whisk the meringue powder and water until frothy.
2. Add in all the powdered sugar and beat with a paddle attachment until thick and fluffy, for a couple minutes. Tip: Don’t skimp on this step! The longer you beat it, the fluffier it will become. At first it may look too thin, but it will thicken up the longer you beat it. This will be for your piping and outlining. Once thick and fluffy, add a little to a piping bag fitted with a #3 or #4 piping tip (or any other small tip). Set aside.
3. Now, make the rest of your icing a tad thinner to flood your cookies by adding a couple more tablespoons of water and beating for a couple more minutes. Add in more water if need be. Add this to a large piping bag (without a tip) and set aside. Tip: Make sure to keep your royal icing covered with plastic wrap at all times. If it sits out, air will harden it.
4. Take your thicker royal icing (the first batch) and outline all of your cookies. This will create a “dam” and trap in the thinner icing.
5. Once you’re finished outlining all of your cookies, flood them with the thinner icing: Cut a small tip off the end of your piping bag and start to fill in with the icing. Once each cookie is finished, hold onto the sides of each cookie and lightly tap it down on your work surface. This helps to bring all the air bubbles to the surface of the cookie. Tip: If you see a major air bubble you can pop it with a toothpick!
6. Let your cookies harden until the royal icing is completely dry, at least 12 hours. Yes, you read that correctly… In fact, the longer the better!
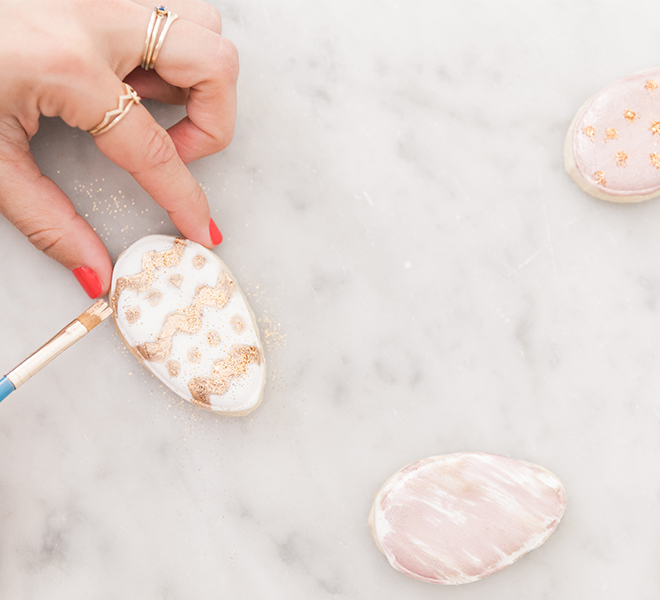
7. Once your icing is nice and hard, prepare your luster paint. Add some luster dust to a very small bowl and add a couple drops of vodka in there. Stir with a paintbrush until the two become one. You want the consistency of actual paint. If it’s too thin, add more dust. If it’s too thick and clumpy, add more vodka.

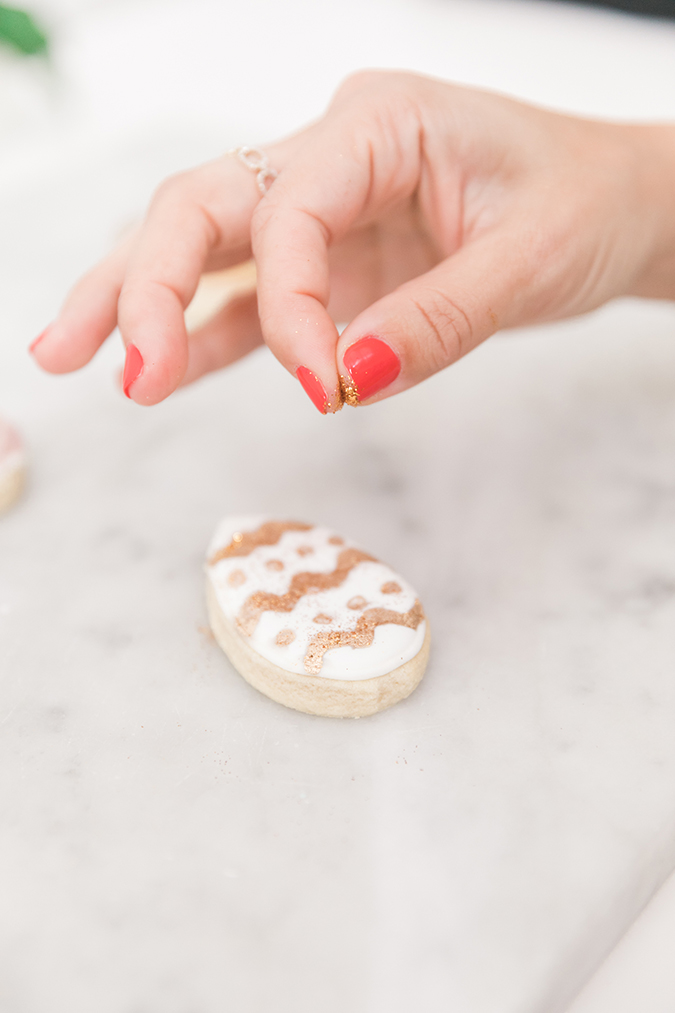
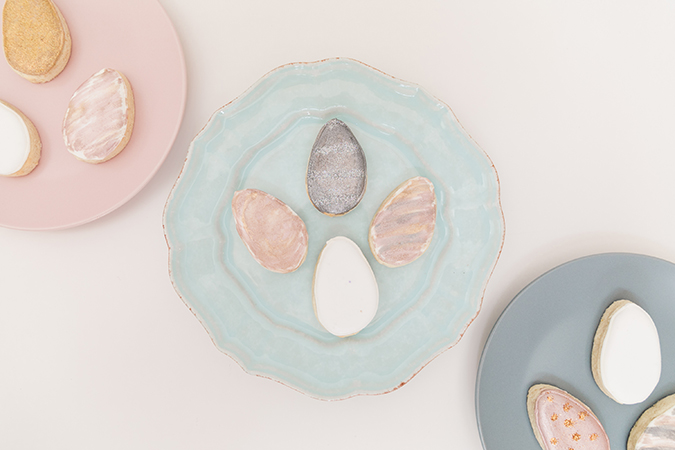
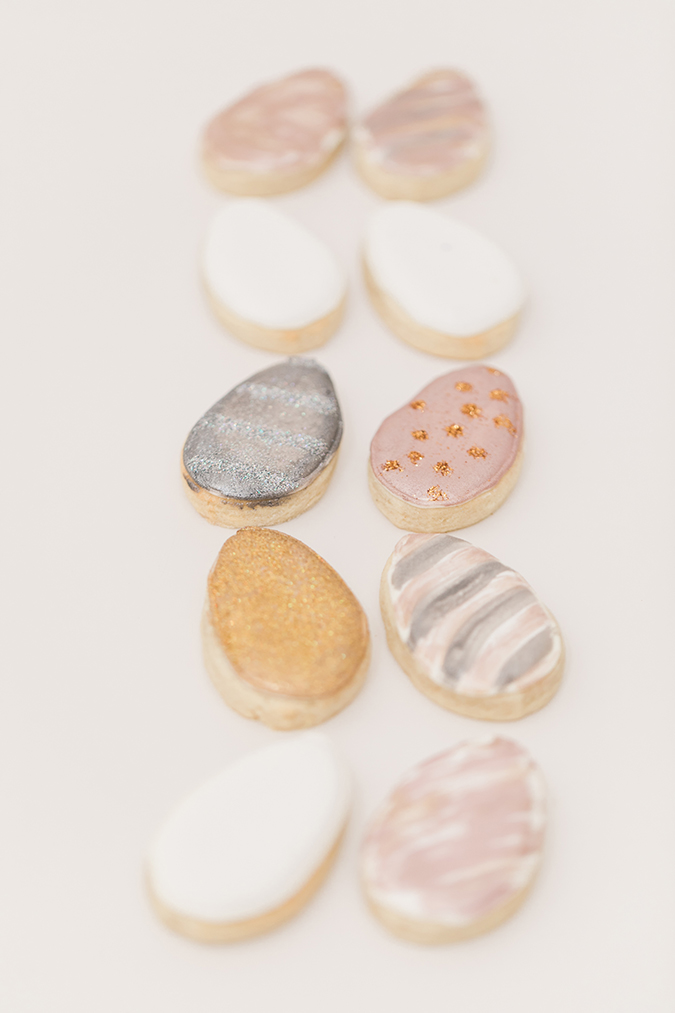
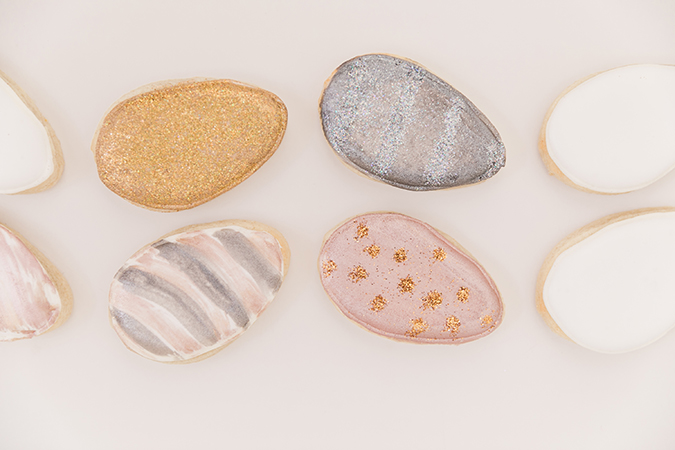
8. Now for the fun part… Paint any fun design you’d like onto your cookies! We had fun painting zigzags, stripes, chevron patterns and polka dots. This is the fun part—it’s totally up to you! After you’re finished painting and pleased with your designs, top it all off with a sprinkle of disco dust.
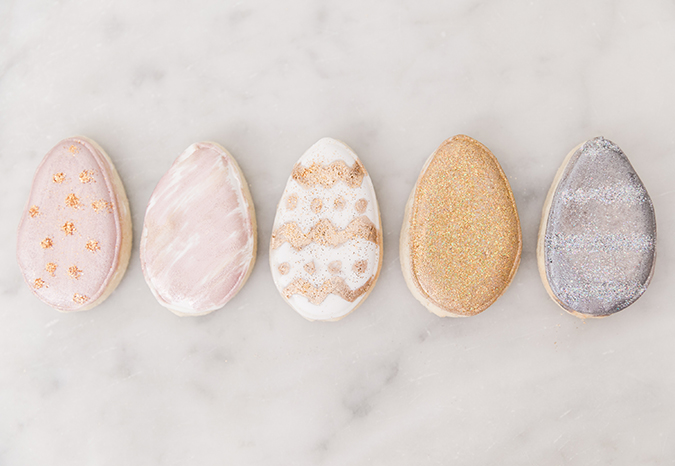
And there you have it! Whether you choose to display your cookies at Easter brunch or hand them out to family and friends to spread a little Easter cheer, they are sure to be a crowd pleaser.
What treats do you love to make leading up to Easter weekend?
Do you have any suggestions for desserts you’d like to see us whip up here on the site?
Leave your two cents in the comments below, and I’ll be sure to read them!
XO Lauren
