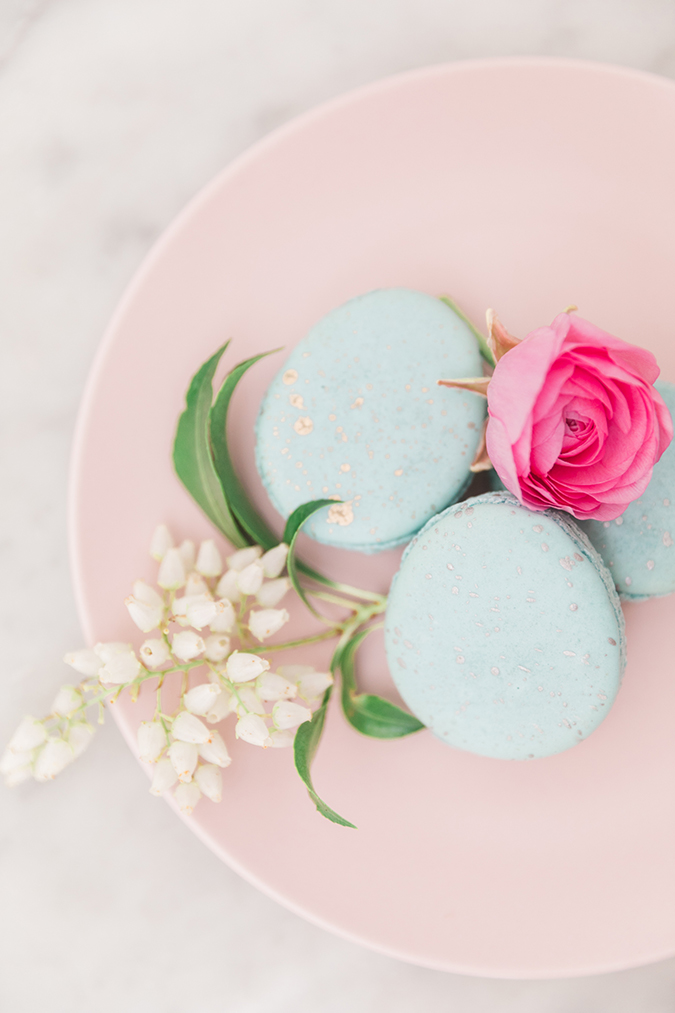
Edible Obsession: Easter Egg Macarons
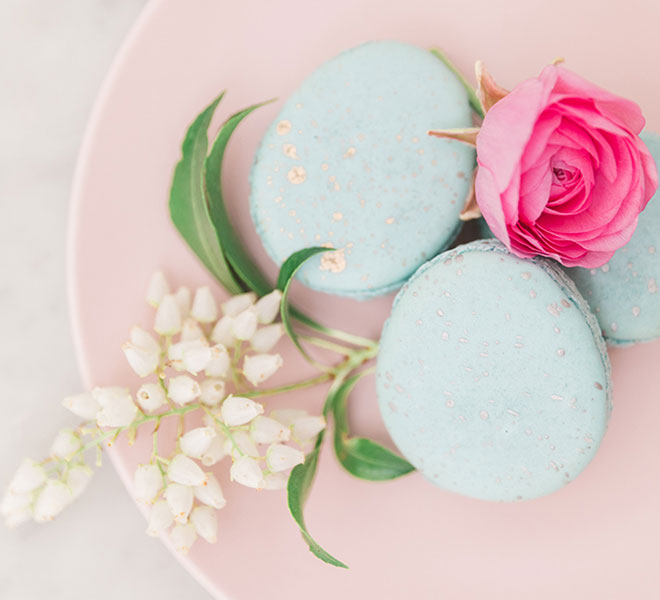
This month is shaping up to be one of the sweetest, and I mean that literally. My team has been hard at work whipping up not only the prettiest spring-themed desserts, but the most delicious as well. So far this month we’ve tasted metallic painted Easter egg sugar cookies and I can promise you that you’ll see quite a bit more tasty treats, starting with this next recipe. I think I speak for most of us when I say that macarons are easily one of the most coveted cookies. They come in so many shapes and flavors nowadays, and I truly haven’t met a macaron I didn’t like. Lucky for us, LC.com resident baker Lauren Lowstan worked her magic and created Easter egg macarons that connect the beloved treat and the upcoming holiday. If this is your first time making macarons (or if you’re a seasoned pro), roll up your sleeves and prepare to make the cutest macarons ever. Keep scrolling for the full instructions…
Easter Egg Macarons
Ingredients:
- 85 grams almond flour
- 150 grams powdered sugar
- 87 grams egg whites (at room temp)**
- 65 grams granulated sugar
- 3 drop teal or sky blue food coloring
- 1/4 cup of your favorite buttercream or frosting
- metallic luster dusts
- vodka
**the day before making your macarons, measure out your egg whites, keep them in a sealed container, and leave out at room temp until the next day.
Instructions:
1. Measure out all of your ingredients before you do anything else. You want the ingredients ready right when you need them.
2. Once your ingredients are measured, get all of your supplies together. Since macarons are all about doing things at the right time, you want everything set up and ready for each step.
3. Line a baking sheet with parchment paper. (This is a must! No skipping this step). Get a large piping bag ready by cutting the tip off and adding a small piping tip in at the bottom.
4. In a food processor, grind the almond flour and powdered sugar for about 3 minutes. You want the powder to be as fine as possible.
5. Sift the mixture through a fine mesh strainer into a large bowl and set aside. If there are any large clumps left over, just toss them and don’t try to use them.
6. Add your eggs to a mixing bowl fitted with a whisk attachment, and start whisking on medium. After about 15 seconds (once the eggs are frothy) add in all of the granulated sugar. Keep mixing on high speed until you have STIFF peaks. (You know you have stiff peaks when you take your whisk out of your mixture, and the peak of egg whites does not move at all).
7. Add in your food coloring to get the robin’s egg blue color. Mix until stiff and glossy.
8. Scoop out the beaten egg white and add it into the bowl with the ground almond flour and powdered sugar.
9. With a rubber spatula, carefully blend everything together, using a folding motion. Work your way from the bottom of the bowl and slide your way up the sides, folding the batter back onto itself.
10. When the batter is evenly mixed, it will look shiny and creamy. You know you’ve mixed enough when you scoop some batter up with your spatula, and it SLOWLY drips off your spatula.
11. Now it’s time to add your batter to a piping bag. You need to hold the tip of the pastry bag with one hand to guide it, and hold the larger end with the other hand to push the batter down. Place the tip very close to the parchment paper, holding the bag upright, and pipe out to 1 to 1.5-inch discs, piping a little extra at the bottom of the circle. This will give you that egg shape. When you’ve hit the desired size, just lift the piping bag up and stop putting pressure on the bag. This is tricky, you will just need to practice the pressure and piping out to get the desired size.
12. Once your tray is full, tap your baking sheet on your work surface about 5 times. This takes all of the air bubbles out.
13. Set your baking sheet aside and let your macarons dry out. The time depends on the humidity in the room. It usually ranges from 15 to 30 minutes. You’ll know they’re done when you lightly touch the tops with your finger and they will be completely dry—not sticky at all.
14. Halfway through the drying time, preheat your oven to 275 degrees. Once your macarons are dry, bake for 10 minutes. They’re done baking when you touch the tops of them and the bottoms don’t move. If they slightly push down on the bottom (the foot of the macaron), bake for an extra minute.
15. Let the macarons cool completely and pop them in the freezer for 10 minutes. This makes them so easy to slide off the parchment paper.
16. Take an offset spatula and slide it under each macaron. This slips them off the parchment right away.
17. All of my macarons are slightly different shapes. I like to match mine up so each sandwich matches each other. Fill each one with buttercream and sandwich them together.
18. To make your metallic paints, mix luster dust with a couple drops of vodka and mix with a paintbrush.
19. To get the speckled effect, dip the paintbrush in the paint, hold with one hand over the macaron, and flick the ends of the brush with your other hand. This gives a light speckle effect, instead of big blobs of paint on top.
20. Let the paint dry about 30 minutes before handling and enjoy!
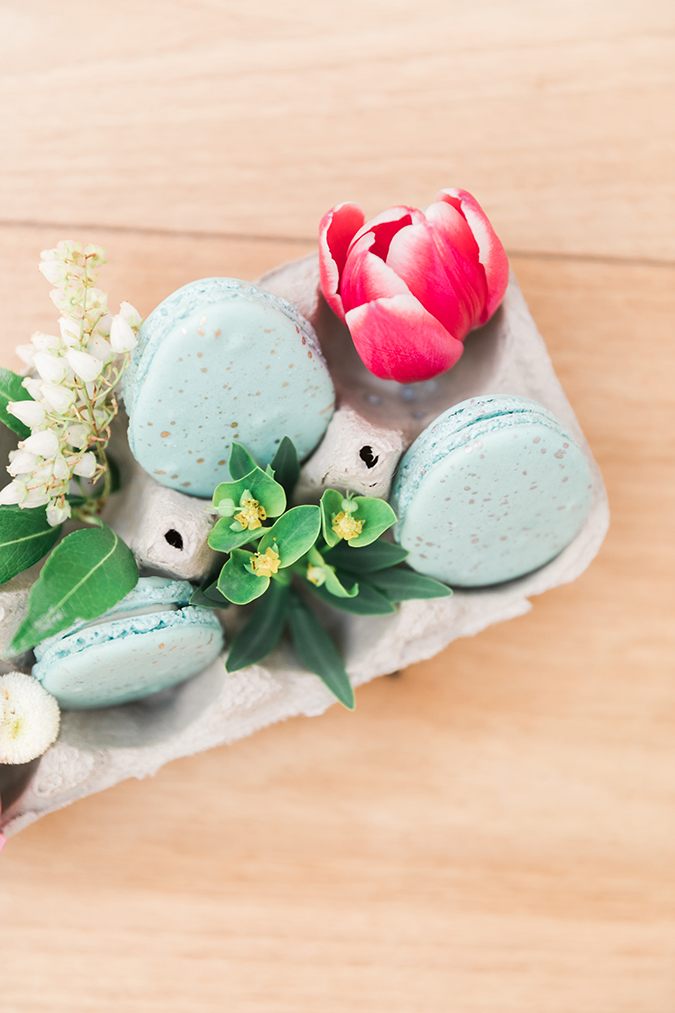
Adorn your Easter brunch or bring these little treats to your next spring soiree and you’re bound to be a crowd favorite. Plus how adorable do these Easter egg macarons look in an empty egg carton? Spring blooms not included!
Will you be trying your hand at these Easter egg macarons?
I think you should! Be sure to let me know if you do in the comments!
Photos: Valorie Darling for LaurenConrad.com
