Holiday Special: DIY Advent Calendar Christmas Ornaments

Hey everyone! It’s Kate Martindale here, LaurenConrad.com’s resident prop stylist. The holiday season is a pretty magical time of the year, and to me, it’s important to decorate accordingly. You might remember me saying in my Thanksgiving tablescape post I shared last month that when I decorate, I like to veer as far away from traditional colors as possible. I believe that the fun truly lies in reinventing the (color) wheel each holiday season so that your décor feels updated and fresh. So, this year, I got together with my LC.com girls and created a pink and gold glittery Christmas tree (complete with a funky and fun tree topper) that’s every bit feminine and fun. And, I adorned the branches with my DIY advent calendar Christmas ornaments, which brings us to today’s post!

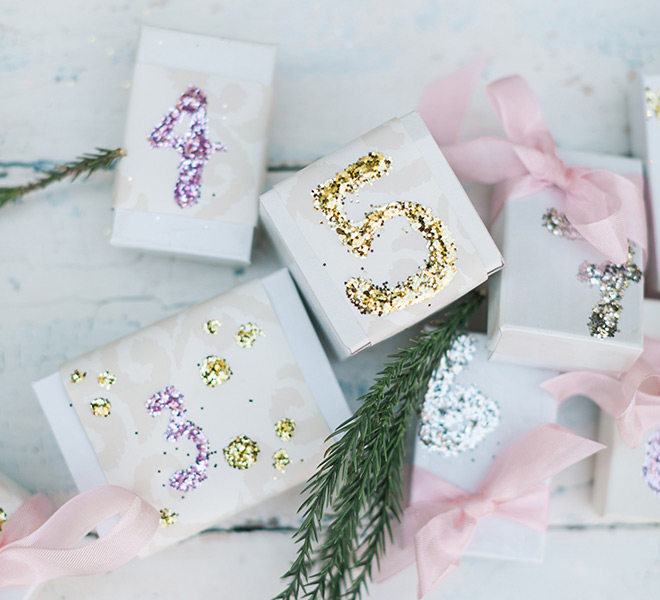
Who doesn’t love a good old advent calendar? Most of us probably have memories of waking up so excited each morning to open advent calendars to find chocolates or other goodies. So, I thought of these DIY ornaments as a hanging advent calendar on my tree. Each one is numbered on the outside and contains a little present inside. This craft is the perfect way to get into the holiday spirit with whomever you’re sharing your tree with… your sweetheart, your roomie, or even your little ones. What you put inside of each box is up to you, so it’s super easy to personalize them. If you live with a girlfriend, I love the idea of filling each box with girly gifts like a mini bottle of perfume, a pocket sized lip gloss, a fro-yo gift card… You get the idea.

You will love how easy these ornaments are to make, and how cute they will look on your tree. Ready for the tutorial? Here we go…
You Will Need:
- mini jewelry boxes (you can find these at your nearest craft store, or it’s a great way to recycle ones you already have laying around the house)
- loose glitter in colors of your choice (we used silver, gold and pink)
- ribbon in color of your choice
- Elmer’s glue
- small gifts to put inside the boxes
Instructions:
1. Using your Elmer’s glue, draw a number on the top lid of your jewelry box.
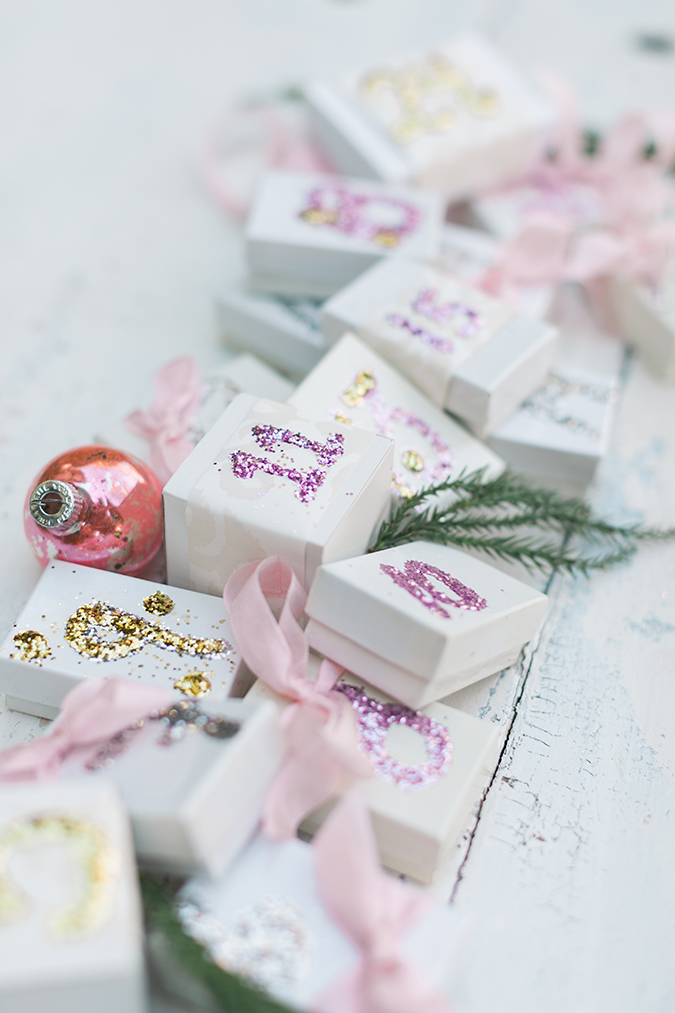
2. Cover the glue number with loose glitter and let dry. Note: With some of the boxes, I went one step further and wrapped a bit of pretty wallpaper around them (you can use gift wrap if you’d like), securing off with tape or glue. I then added my glittery number over the wallpaper. This touch ties in the whole look of the tree, especially if you’re using the wrapping paper that’s going on your gifts.
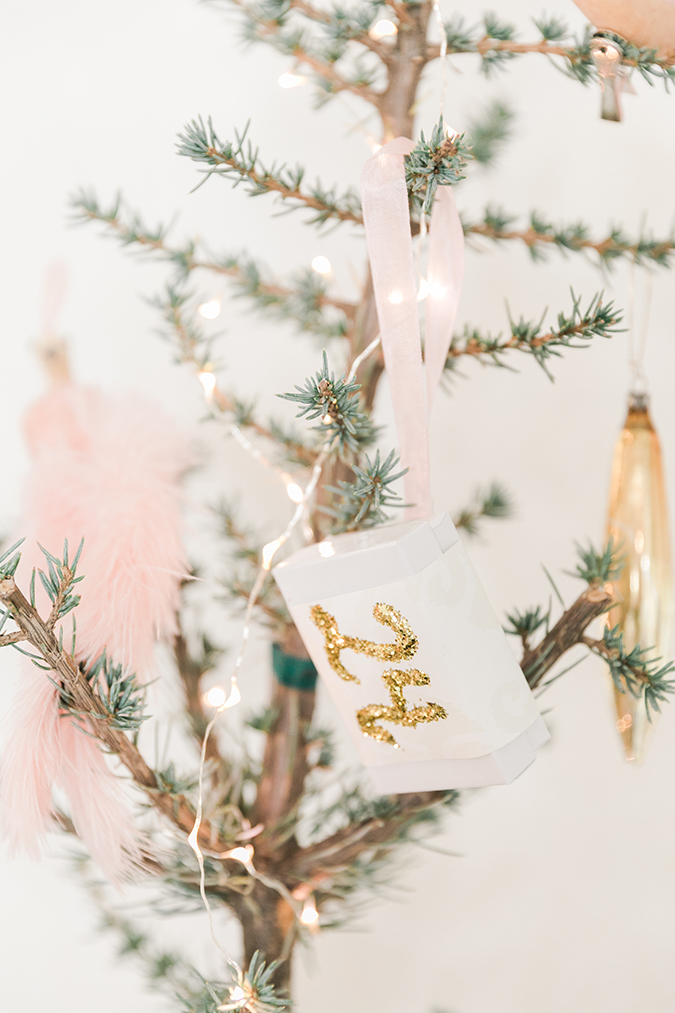
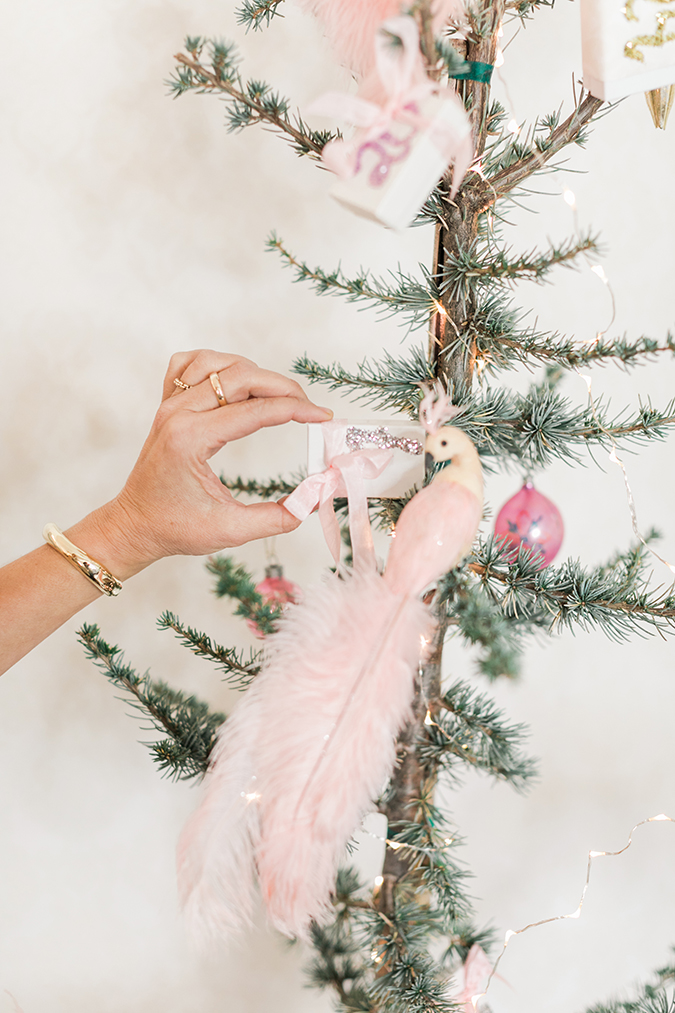
3. Once dry, you can tie off with pretty bows or make a loop with your ribbon and glue the ends of your loop to the back of the box so that you can hang it from a branch of your tree. Let dry completely, and hang up on your tree.

These look so fun in a Charlie Brown-esque tree that has skinny little branches. I actually like to tuck most them into the branches instead of hanging them because I love they way they look nestled into the tree.

I hope you enjoyed this holiday craft tutorial! Be sure to catch the other half of this post on my DIY pink and gold glittery tree topper today right here.
How will you be decorating your tree this year?
Xx Kate
Photos: Valorie Darling for LaurenConrad.com
