Odds & Ends: How to Dry Your Own Herbs
This year my husband and I decided to try our hand at urban farming. The thought of being a sustainable household was very appealing to us. To paint you a picture, we transformed our little suburban backyard into a lush garden with all of our favorite veggies. I won’t sit here and boast about having a green thumb though—my husband has done most of the labor and I reap the sweet, sweet benefits. Tomatoes, corn, broccoli, kale, peppers…you name it and we’ve probably tried growing it. One of my absolute favorite sections has to be the herb garden.
Dinner has been way more flavorful ever since we decided to plant an array of herbs to cook with. It’s so much easier to step a few feet outside and pick homemade ingredients as opposed to taking a trip to the grocery store. If I haven’t convinced you to try your hand at gardening, then I have one more trick up my sleeve. I recently learned how to dry my own herbs and cooking will never be the same. Since I had so much fun doing it myself, I thought I’d share the process with all of our LaurenConrad.com readers. Keep scrolling to see how you can dry and preserve your own herbs at home…
How to Dry Your Own Herbs
Here’s what you’ll need:
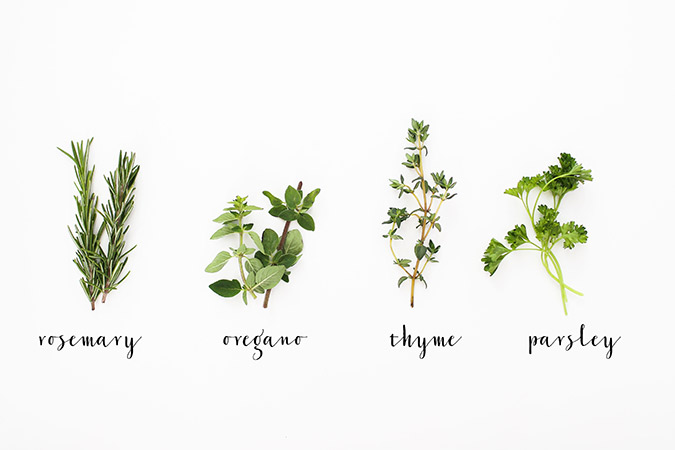
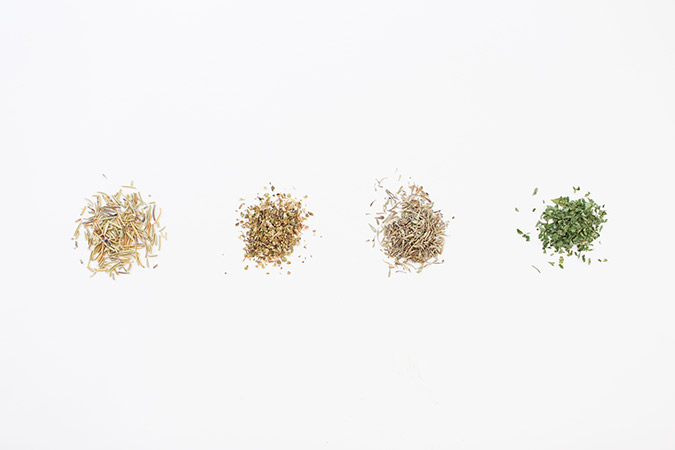
- herbs of your choice (I used rosemary, oregano, thyme and parsley)
- twine
- paper lunch bags
Instructions:
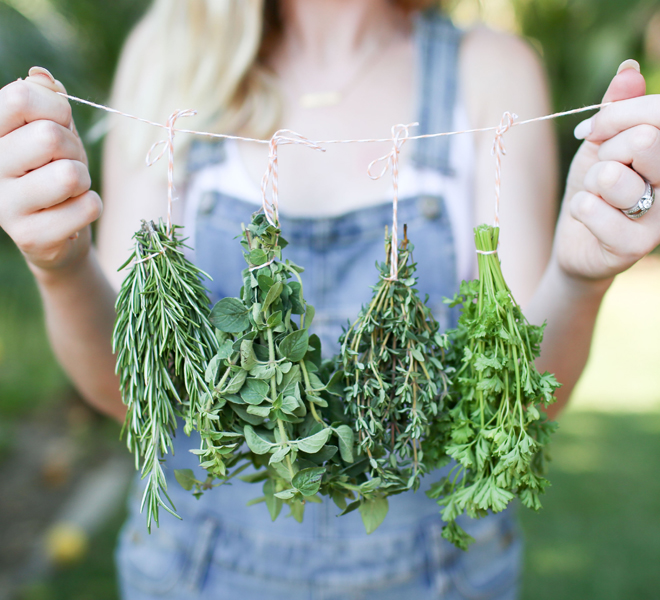
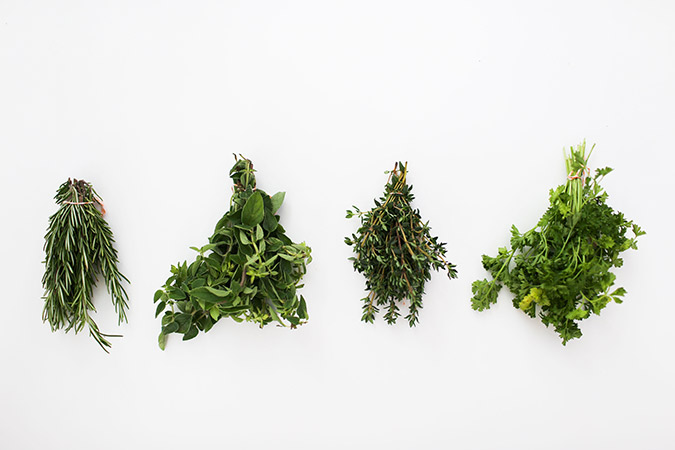
1. Begin by rinsing your herbs thoroughly, especially if they’re from your garden. No bugs or dirt allowed! Take a small bunch of your freshly picked herbs and tie them together with twine.
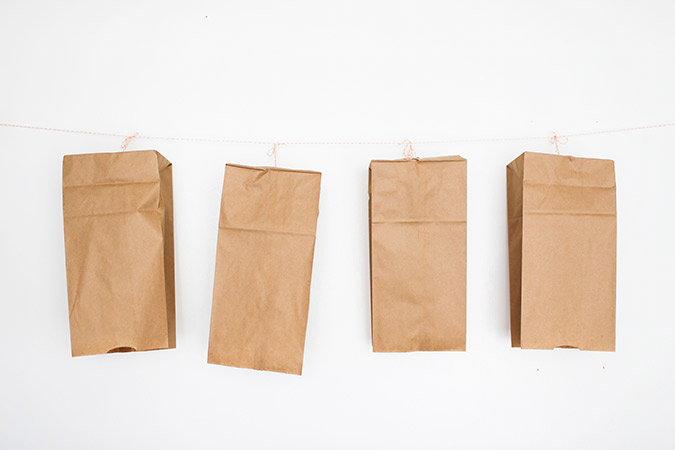
2. Next you’ll want to hang each bunch of herbs upside down from a longer piece of twine. Be sure to hang them in a warm and dry indoor area so that your herbs are able to dry thoroughly. Space them out so that you have room to cover each bunch with a paper lunch bag in the next step.

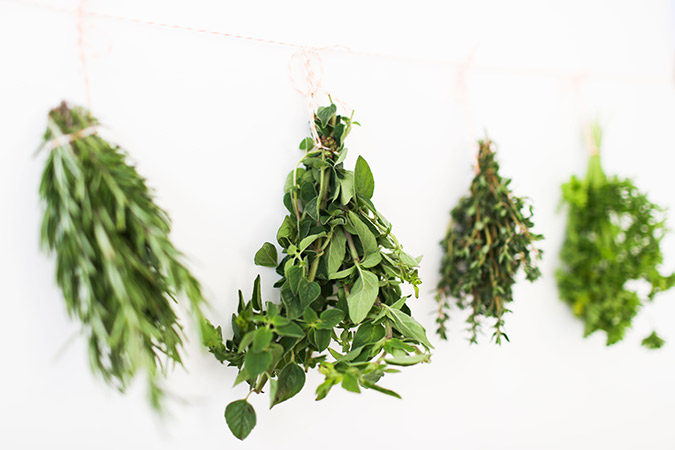
3. Cover each bunch with a paper lunch bag. This step ensures that your herbs will stay completely dry throughout the preserving process.
4. Once your herbs are completely dry, remove them from the paper lunch bags. Make sure that the herbs are nice and crispy and remove the leaves from their stems. Chop the herbs into fine pieces and seal them in an airtight container (small jars or plastic bags do the trick!). Below is a photo of what your final product should look like…
I’m not going to lie, it was pretty fulfilling to see something that I grew from a seed turn into a useful kitchen necessity. Yes, you can also repeat this process with store bought herbs if a garden is unavailable…
Now that I know how to dry my own herbs I’m already planning gift baskets for birthdays and holidays! If you have a friend that loves to cook, a foursome of dried herbs would make the perfect gift. Plus they’ll be super impressed that you did it yourself!
Do any of you have your own garden?
I’d love to hear about them in the comments if you do!
xo
Jessi
Team LC
Photos: Jessi Burrone for LaurenConrad.com
