Celebrate Sneak Peek: DIY Wrapping Paper
Design Your Own Wrapping Paper
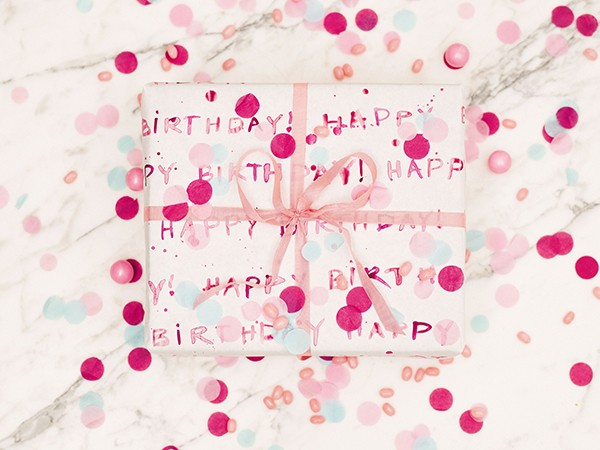
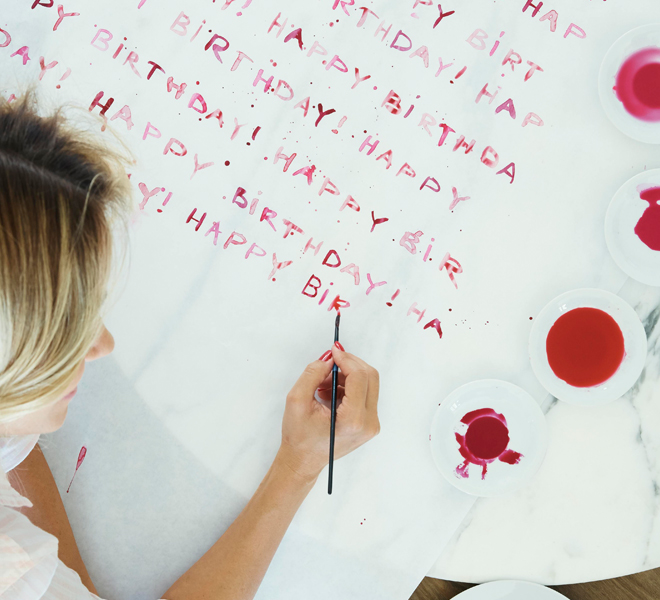
One way to dress up a gift is to make your own wrapping paper. All you need is a roll of solid white butcher paper, paint, and a brush. For my best friend Maura’s birthday party (which is featured in the book), I stuck with the party theme and spelled out “Happy Birthday!” in several shades of pink. It’s amazing how elegant a DIY watercolor design can look, even if you don’t consider yourself a talented artist.
For this wrapping paper, I used five different shades of water color that I picked up at a local art store, and alternated shades for each letter. Depending on the theme or colors of the party, you can switch up the design and color combinations appropriately. I made a similar wrapping paper for my mom’s gift on Mother’s Day last year, but you can use this technique for any holiday. And for something like a birthday, you can make an entire roll of paper at once, because chances are you’ll end up using the whole thing. But for more specific events, like Mother’s Day, you can cut the butcher paper to fit the gift, and just paint that one piece.
Just one thing to note: Make sure you paint your wrapping paper before wrapping the present, since it can be tricky to navigate your paintbrush around the corners of the package.
What do you think?
Are you going to get yourself a copy of Celebrate tomorrow?
I know you’re going to love it!
XO Lauren
