DIY Chain Stitching Tutorial
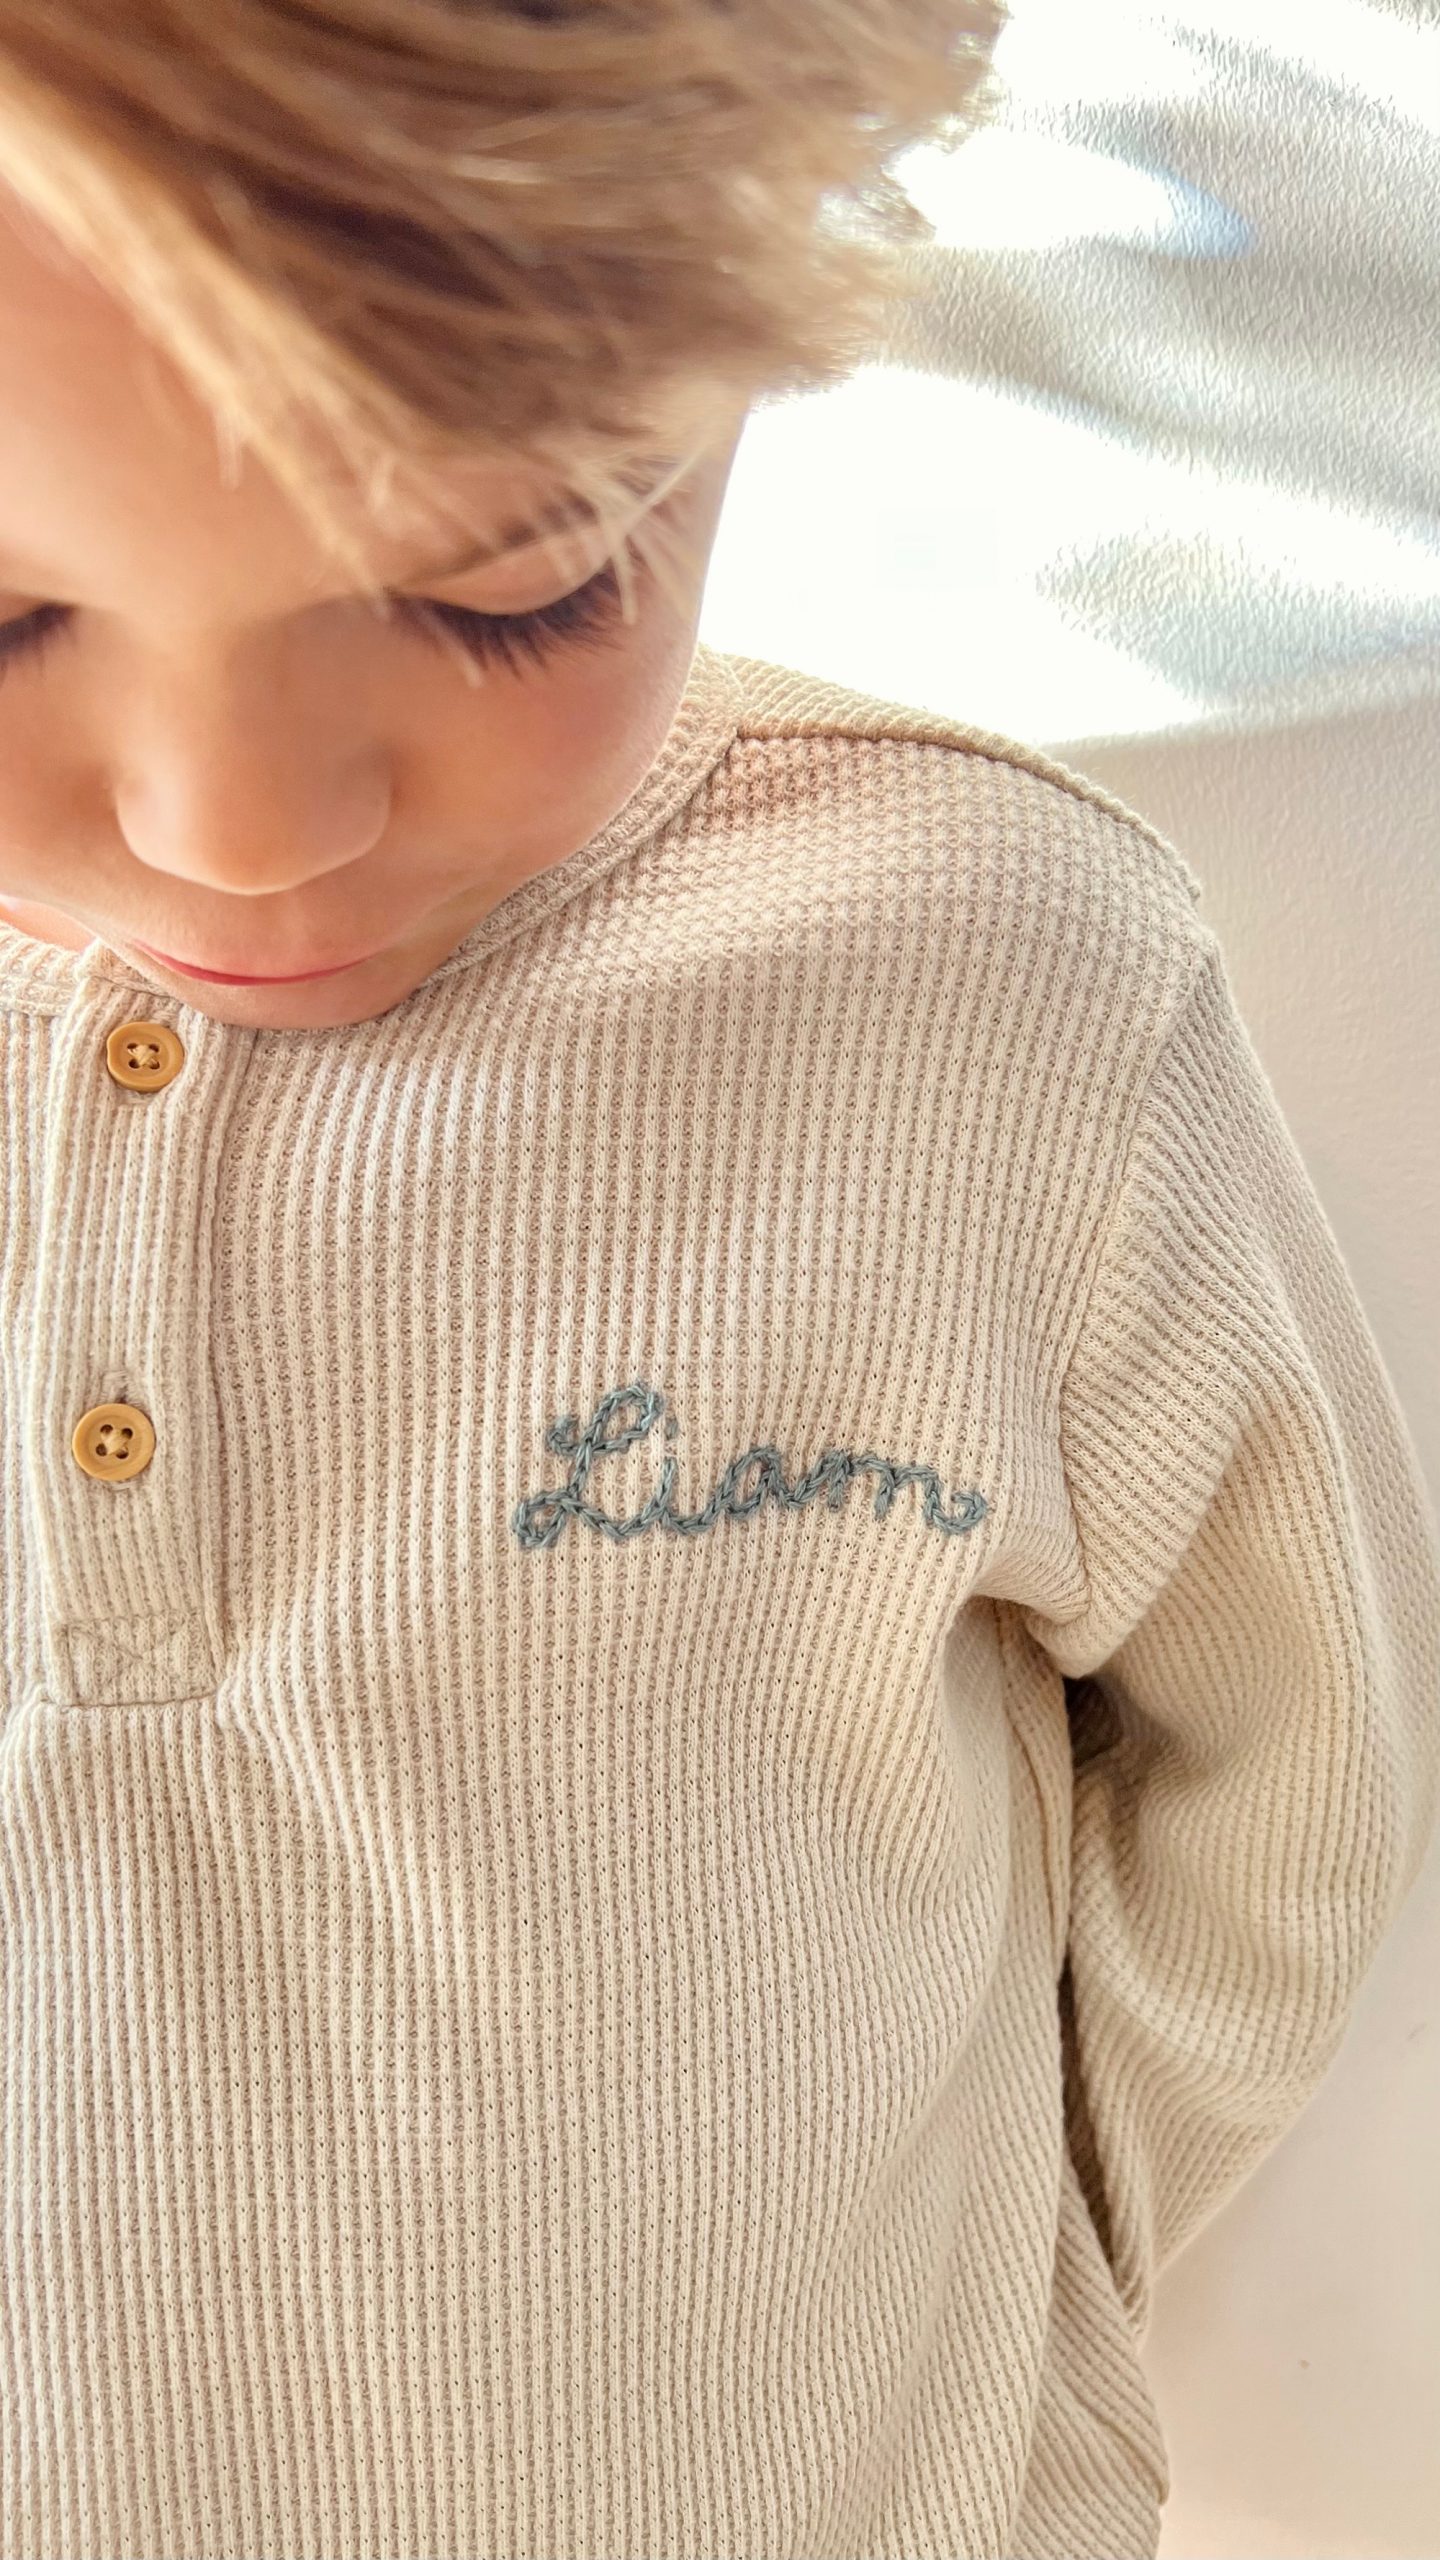
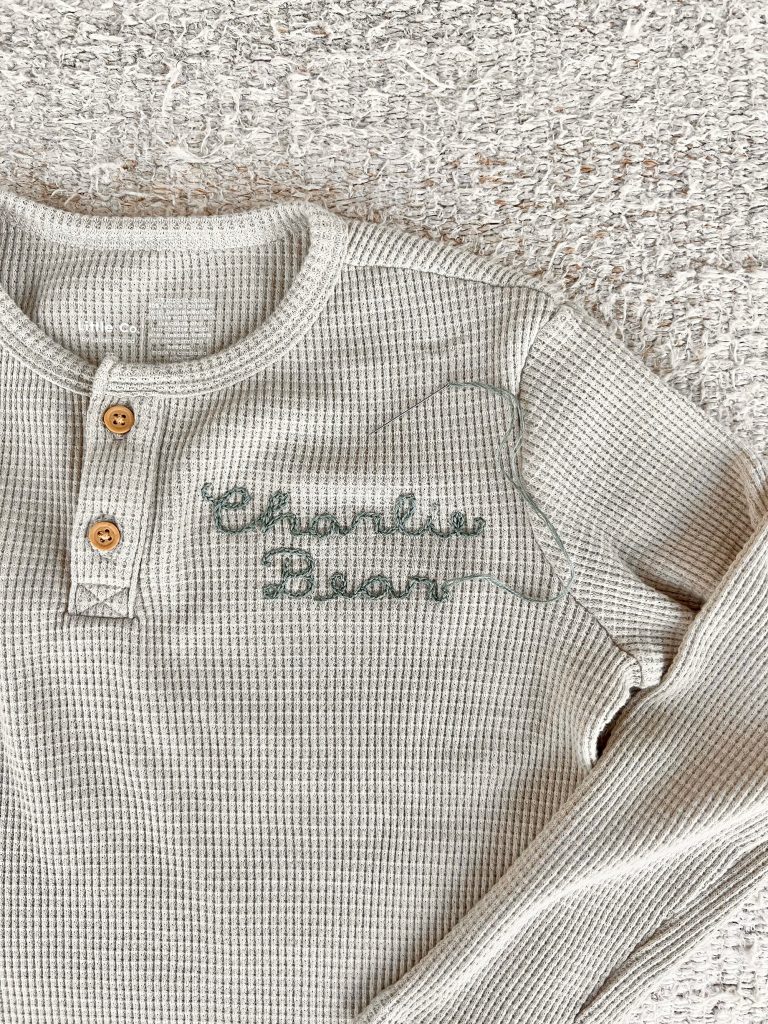
Recently, I’ve had a little fun working on a few crafting projects. Last week I posted about chain stitching the names of my sons onto their Little Co. waffle shirts, and I received a ton of questions about how I made these designs. Because you all loved the design so much, today I’m showing how to DIY chain stitch on your favorite clothing items. Don’t be fooled by the elegant look of the letters; they are surprisingly easy to stitch! Here’s how I did it…
Little Co. by Lauren Conrad Long-Sleeve Henley, $18
1. Lightly draw the word or shape that you want to embroider onto the fabric. I recommend a washable pen in case you make any mistakes. I usually just steal a Crayola marker from my kids.
2. Once you’ve drawn out the word or shape that you want to embroider, choose a color of thread that will show up on the fabric you are embroidering.
3. From the back side of your fabric, pierce the needle and pull your thread through. Then, using that same hole, take your need through the fabric again, leaving a small loop {do not pull this tight!}.
4. Pierce your needle through the back side in the same hole, going through the loop you left over. You just made your first chain stitch!
5. Continue this method along the word or shape you drew until you have a finished product.
Who’s trying this at home?
It really makes everything cuter.
XO Lauren
Shop the waffles styles from Little Co.by Lauren Conrad…

Photos: Lauren Conrad
Affiliate links may have been used in this post.
