Edible Obsession: The Easiest Cake Lettering Tutorial Ever
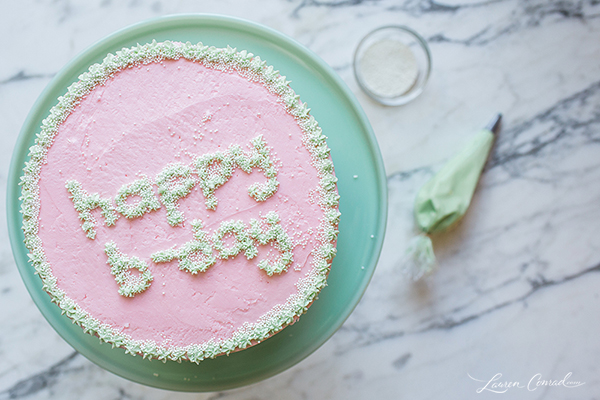
The Easiest Cake Lettering Tutorial
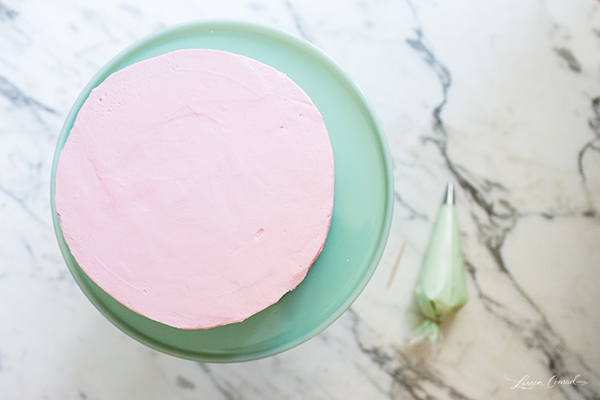
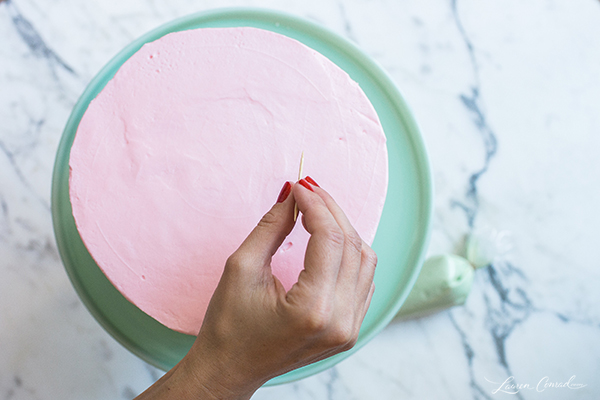
1. First you’ll need a cake. You can either buy a store bought cake or use Lauren Lowstan’s instructions to make one of these ombré cakes (they’re delicious and oh-so-beautiful). Once you have your plain cake, use a toothpick to outline your letters with tiny dots. Think of them as dotted letters. This will help you map out your spacing, and if you make a mistake it won’t be noticeable after the lettering is finished.
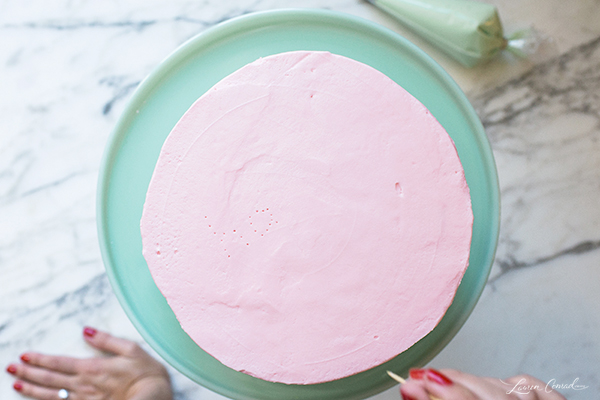
2. Then, with a piping bag full of icing (color of your choice), go over the toothpick dots with little dots. I recommend using two hands—one to guide the tip of the piping bag and one at the top to squeeze out the icing as you go.
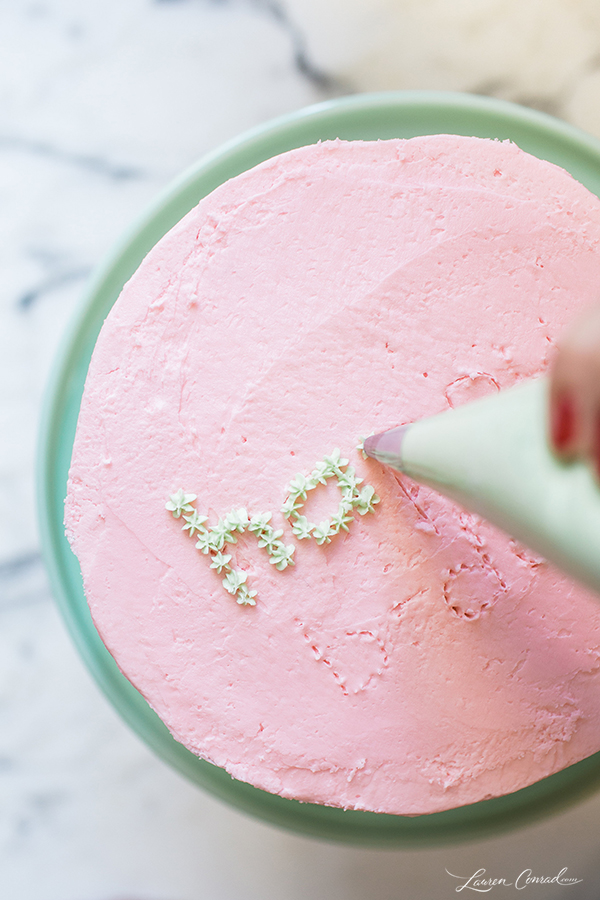
3. Continue tracing your letters until you finish your phrase, whatever it may be.
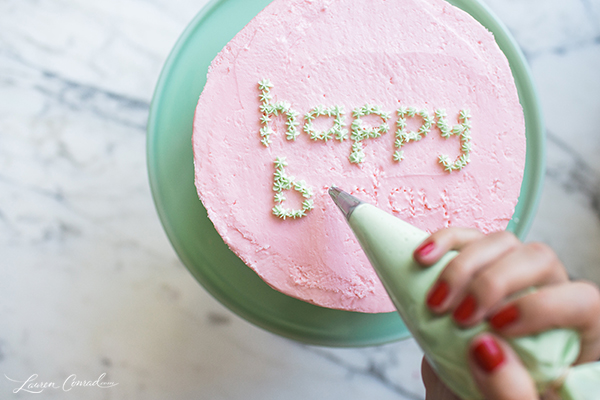
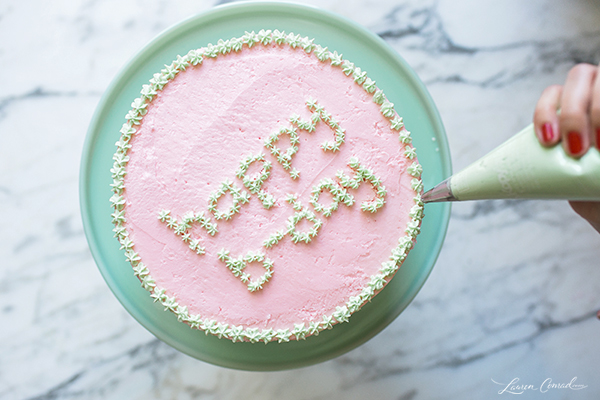
4. After we had our letters, we had a little fun with decorating the rest of the cake. We used the same dotting technique to outline the edge of the cake and we added some sprinkles. Why not, right?
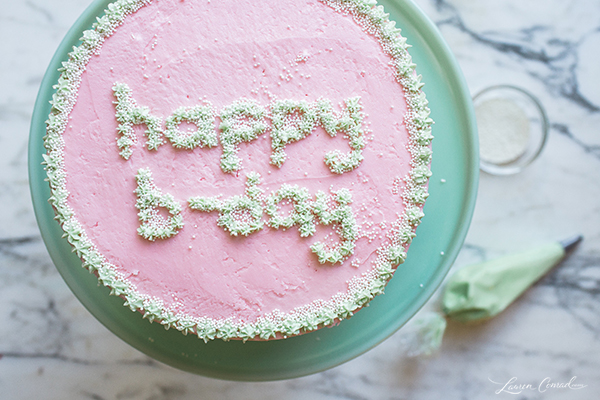
And there you have it! How easy was that?
What dessert DIY tutorials would you like to see us do here on the blog?
Let me know…we might even make your request at our next photoshoot!
XO Lauren
