Beauty Note: I Tried Dermaplaning and Here’s Everything You Need to Know
Hi everyone! Jessi from Team LC here to let you in on a little skincare treatment that will have you glowing and going back for more. I’ve always enjoyed the firsthand reviews on anything beauty related that we have here on LaurenConrad.com. From haircut advice to laser hair removal, you can always count on our editors to give you their honest take. That being said, I was beyond thrilled to be the guinea pig for this next blog post. To give you a little backstory, my own mother worked in the skincare and cosmetics industry while I was young, and I honestly didn’t appreciate it until I was in my early 20s (sorry, Mom!). Now that I’m 27, I’m well plugged into my own skincare routine and am always willing to try something new. That brings me to today’s post and noteworthy technique.
I personally didn’t know much about dermaplaning until I saw one of my favorite bloggers and LC.com contributors, Amber Fillerup Clark of Barefoot Blonde, getting it done on her Instagram story. I knew that there was a scalpel and some sort of hair removal involved, but that was pretty much it. If you’re like me and know next to nothing about dermaplaning, let me give you the full rundown of my experience. Keep scrolling to learn more…
What is dermaplaning?
Dermaplaning is a physical exfoliation method (remember that term from this post?) that helps remove dead skin and hair from your face and neck. This technique is administered by an esthetician with a small scalpel or razor that gently grazes your skin to remove said skin and hair. And yes, it is painless!
Here’s my experience…
I chose to have my dermaplaning appointment set at Kate Somerville in West Hollywood. Not only do I love her skincare products, but I’ve had the best facial experiences in her clinic as well. My treatment was done by the lovely Lori, and I had her walk me through the entire process so that I could share it with all of you!
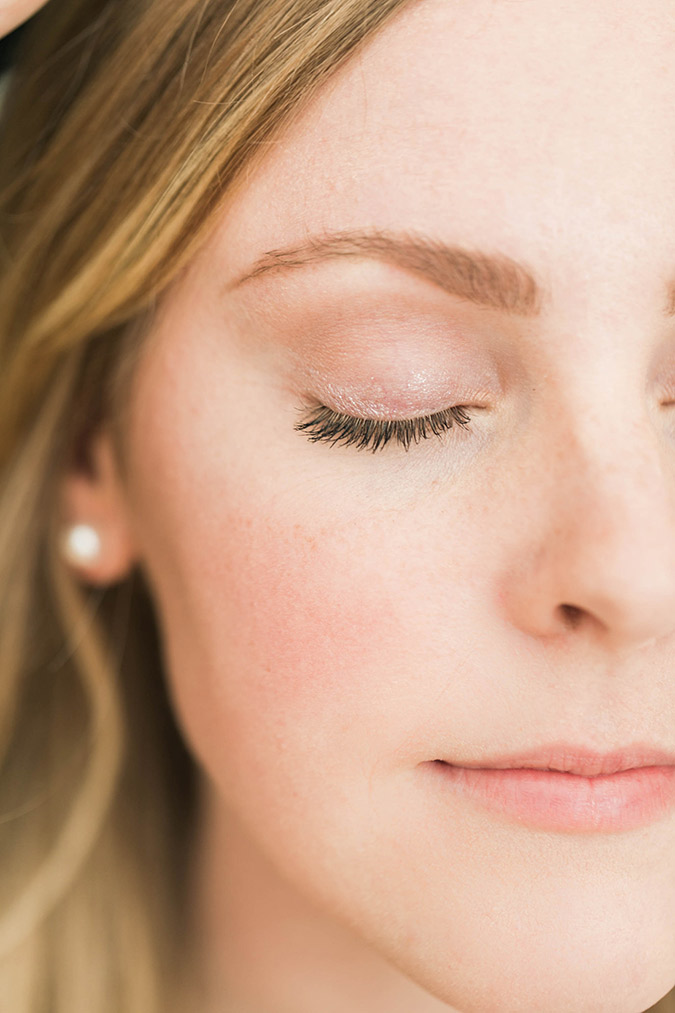
To prepare for my dermaplaning treatment, I made sure to thoroughly wash my face and remove any makeup before going to my appointment. Once there, Lori cleansed my face with an alcohol swab just to make sure that my skin was completely makeup and dirt-free. After that, it was time to start the dermaplaning! Lori used a very small scalpel in gentle sweeping motions to remove all of my peach fuzz and dead skin. She barely had to apply any pressure to remove it all and I was genuinely surprised to see just how much hair I had on my face!
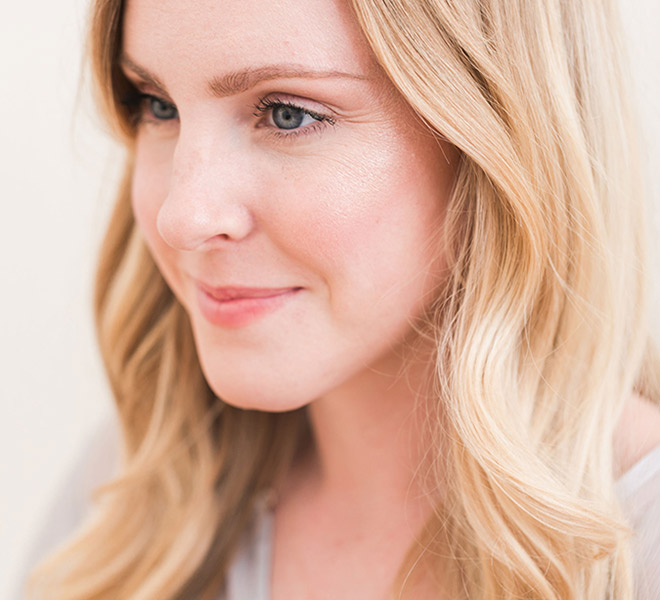
The entire treatment took about 15 minutes from start to finish and left my skin looking and feeling incredible. As much as I wanted to touch my face, Lori advised that to avoid breakouts I should not run my fingers over my skin (ha!) and clean my makeup brushes thoroughly before using them. Lori also recommended that for the best results this treatment should be done about once a month, or every four weeks. That way your skin will be dead skin-free and ultra-soft.
Now that I’m a few weeks out and almost ready for my next dermaplaning appointment, my face has continued to feel rejuvenated and clear of unwanted dead skin. I could not recommend this treatment enough. However, one thing to note is that consistency may be important. I’ve had friends tell me they noticed their peach fuzz growing back thicker after the treatment, so you would need to keep up with it to keep your skin feeling smooth.
Have you ever tried dermaplaning?
Let me know if this is something you love, or if you’re willing to try it in the comments below!
xo
Jessi
Team LC
Photos: Valorie Darling for LaurenConrad.com
Affiliate links may have been used in this post.


