DIY Grocery Store Floral Arrangements With Sister Blooms
Today, we’re so excited to share a new DIY tutorial for you all, courtesy of Sister Blooms, a black-owned floral design house based in Los Angeles. They’ll be sharing their tips and tricks to create a DIY Grocery Store Floral Arrangement that rivals an arrangement you’d buy from a professional florist. To learn how to create your own gorgeous arrangements, keep reading…
It is no coincidence that flowers decorate so many different moments in our lives, from graduations to birthday celebrations to weddings to reconciliations and recoveries. Though they tend to sit in the background, their purpose shines through during every occasion. The presence of flowers trigger encouraging thoughts, enhance feelings of gratification and have positive effects on our overall wellbeing in ways far beyond what we imagine.
Now more than ever, we have been forced to recognize what’s truly important. For months we’ve had to slow down, sit still, and just breathe. We’ve had to reach within to find happiness and actively seek the simple things to bring us energy and joy. Whether you’ve switched up the paint color on a wall, eliminated things that no longer serve you, or channeled your inner Mozart, we have all leaned into our homes to provide us with the necessary vigor to feel alive and well.
We are Sister Blooms, a black-owned floral design house created by two sisters who together, aim to uplift others by providing stunning flower arrangements for any moment, large or small. With every set of blooms, we push to tell a story and cultivate an energy that will not only enrich the moment but inspire and motivate you in your space.
One of the simplest ways to rejuvenate your mindset and spice up your interior decor is to add a flower arrangement. When you aren’t supporting your local florists, you too can create your own impressive arrangement using simple grocery store blooms. Today, we’re here to show you how!
DIY Grocery Store Flower Arrangements
First, we recommend visiting more than one grocery store, if possible. Every store has something different to offer, so finding the best blooms from each store provides a nice variety. A few of our favorites to shop are:
- Trader Joe’s (plenty of options for a great price)
- Whole Foods (always fresh with seasonal and specialty styles)
- Ralphs (wide assortment of colored roses).
Once you’ve decided on a store…
I. Choose a color palette.
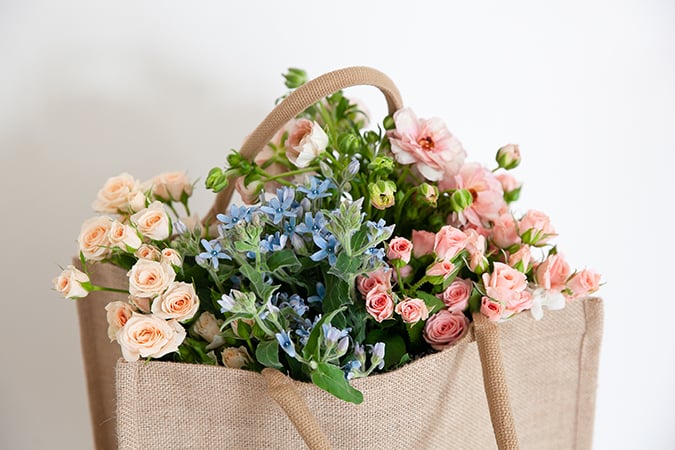
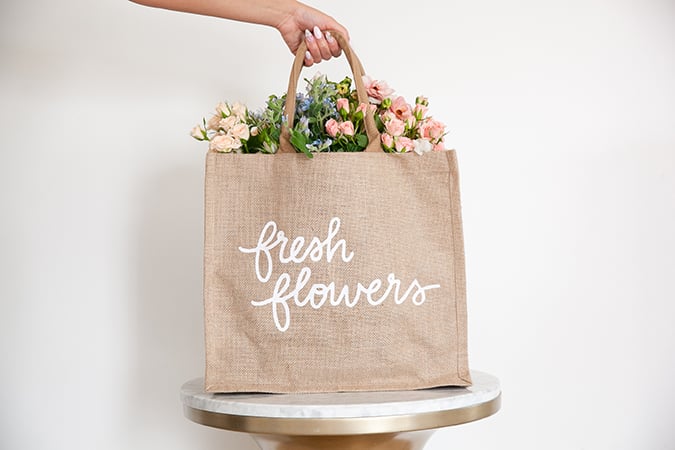
Photo by: Tayo Ola
The Little Market Round Rattan Serving Tray, $88
As soon as you walk into the grocery store, you will be greeted with an array of flower options on display. Take a quick survey of what they have to offer, then decide on a color palette. Start with a mix of three different colors that nicely complement one another. This will set the mood of your blooms. Warm and vibrant tones bring a fun and upbeat energy, while cool, soft tones produce a more relaxed and calming energy. Additionally, pairing deep and dark colors will bring on a sensual and moody vibe. An all-white arrangement, on the other hand, will have a classic elegance.
II. Play with different shapes, sizes, styles, and textures (3-4 different types is good to start).
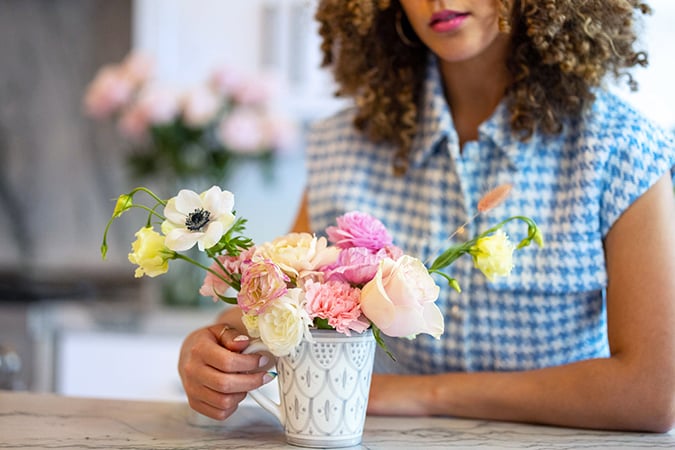
Photo by: Tayo Ola
Start to gather flowers within your color palette that have various shapes, sizes, and textures. This will help take your arrangement to the next level. The more different they are, the better! If you can, locate at least one specialty flower. It’s the one style within each of our arrangements that stands out amongst the rest and is typically on trend for the season. We like to call this baby “the star of the show!”
As you’re gathering flowers, pinpoint some long-lasting styles that have good longevity such as: carnations, roses, spray roses, and lilies. If you can’t find any of these styles, look for flowers with thick and hearty stems.
Some of our favorite specialty styles & shapes to use are dahlias, peonies, lisianthus (round), ranunculus, tulips, anemones (cup-shaped), stock, snapdragon (linear).
III. Find a neutral flower.
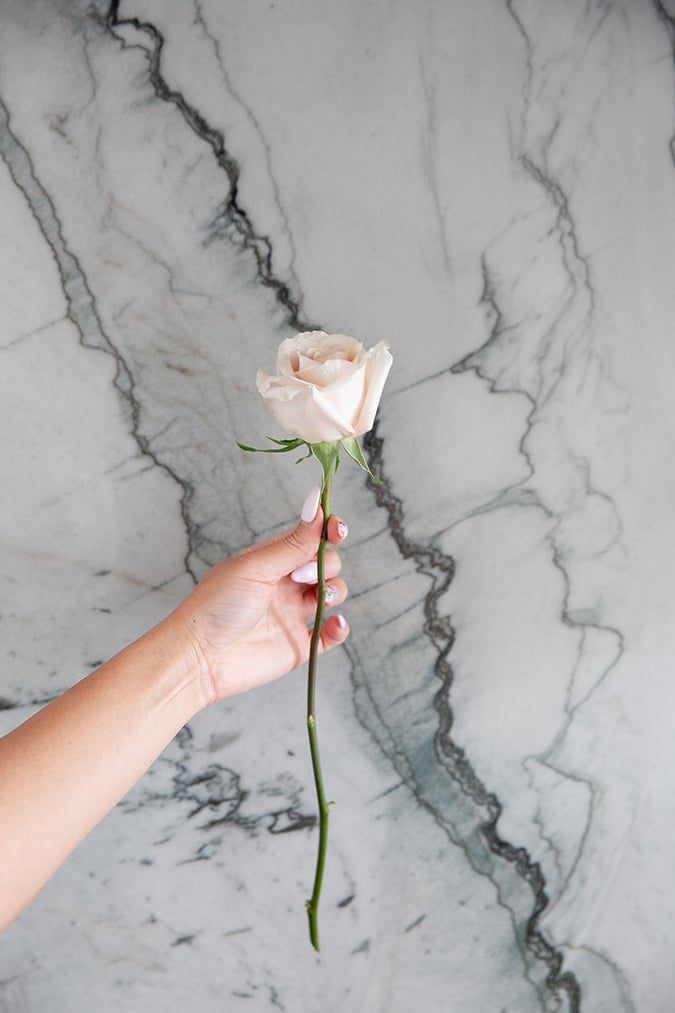
Photo by: Tayo Ola
No matter what color palette you choose, it’s always good to include a neutral-toned bloom. These flowers will complement any color and help balance your arrangement. Neutrals also make the colors pop!
IV. Get some greens and or foliage.
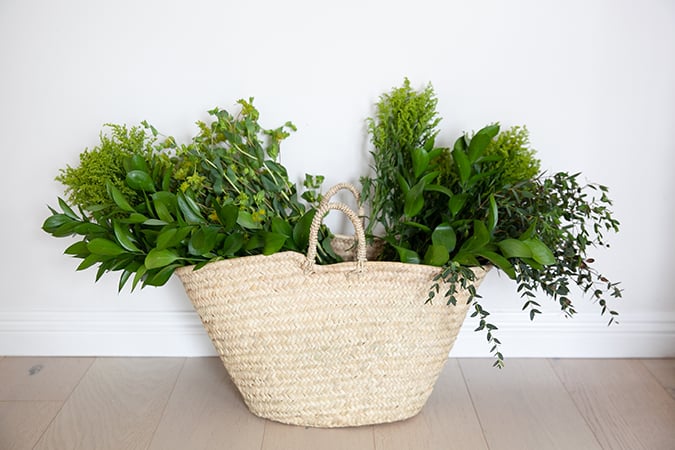
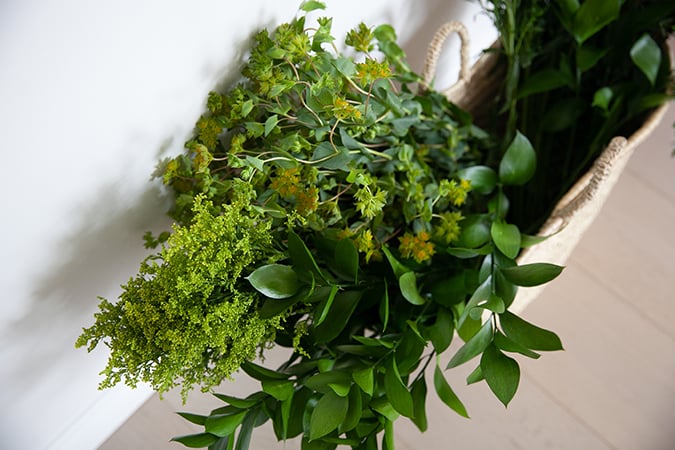
Photo by: Tayo Ola
The Little Market Palm Market Basket, $68
Oftentimes called “the unsung hero” of floral arrangements, green foliage is truly the major foundation of styling an arrangement.
Gather a few different greens that will support your arrangement and create fullness. We recommend at least two different styles. Some stores even have pre-bundled mixed greens or foliage. Our favorites include silver dollar eucalyptus and Italian ruscus.
V. Time to prep.
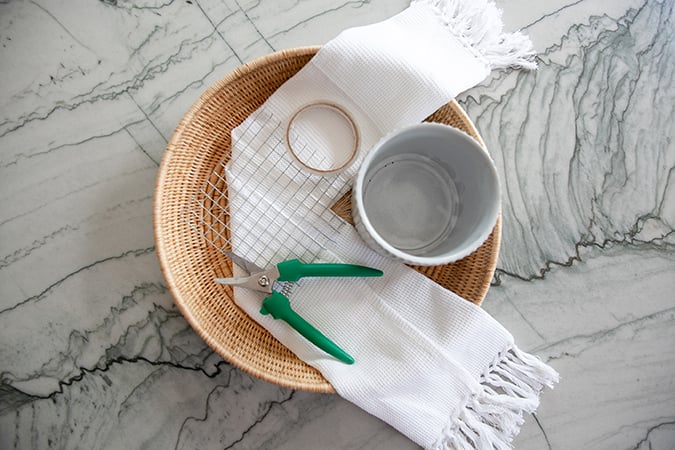
Photo by: Tayo Ola
The Little Market Round Rattan Serving Tray, $88
Now that you have all your ingredients it’s time to prep your blooms!
Items you’ll need:
- Your flowers of choice
- Scissors
- A vessel (vase)
- Gardening gloves
- Chicken wire or tape (we suggest floral tape if possible).
1. Strip & Clean
- Always cut each flower stem at an angle. (This allows the flowers to absorb more water.)
- Get rid of all leaves attached to the part of the stem that will sit under the water. (Keeping the water clear of bacteria will help your blooms last longer.)
- Strip the petals on the flowers that do not look fresh by pulling from the bottom of each petal with your thumb.
2. Use Tape or Chicken Wire
- Tape: Cut a piece of tape the length of the vase’s opening. Make sure it’s long enough to rest over the rim. Place the strip of tape vertically across the vase opening, sticky side down. Repeat this step until there are multiple strips of tape stretching vertically across your entire vase opening. Next, repeat the steps above this time placing each piece of tape horizontally across the vase opening. After following these steps, you should have a grid on top of your vase. (Be mindful not to make the grid too tight as you want your stems to be able to get in between the spaces and sit comfortably.)
- Chicken Wire: Cut a square of chicken wire that completely covers the opening of your vase, with just a little extra all around. Next, start to form your chicken wire into a ball shape making sure the joining pieces of wire are flat. Place the ball inside the vase. (The chicken wire should be spanning the entire width of the vase.)
3. Add Water to your vase.
VI. Time to Arrange!
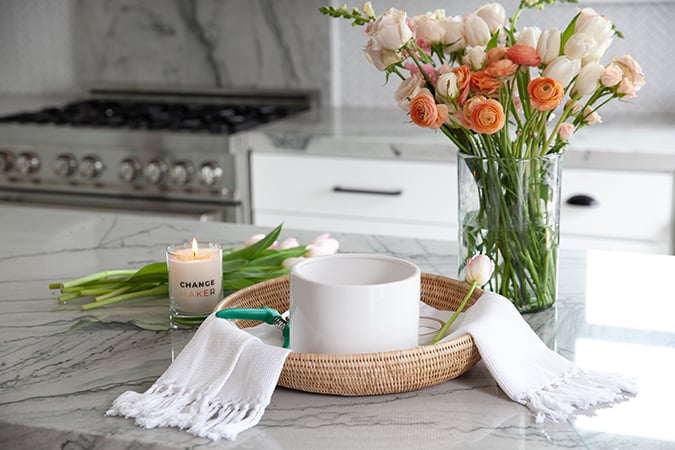
Photo by: Tayo Ola
The Little Market Round Rattan Serving Tray, $88
The Little Market Changemaker Candle, $38
The Little Market Etched Glass Vase, $76
The Little Market Waffle Weave Fringe Towel, $24
First, set an intention for your arrangement. What will your blooms represent? Love? Balance? Strength? Hope? Now set a direct intention for your life based on what your blooms represent. Let’s make it one simple sentence, like this:
- Representation – “My arrangement will represent balance.”
- Life Intention – “I intend to make time for my creative passions.”
Remember, you do not have to be a professional florist to arrange a beautiful bouquet. There is no right or wrong way to express yourself.
1. Turn on a playlist that will put you in the vibe of your blooms. Our go-to playlist is: “Women of R&B” on Spotify.
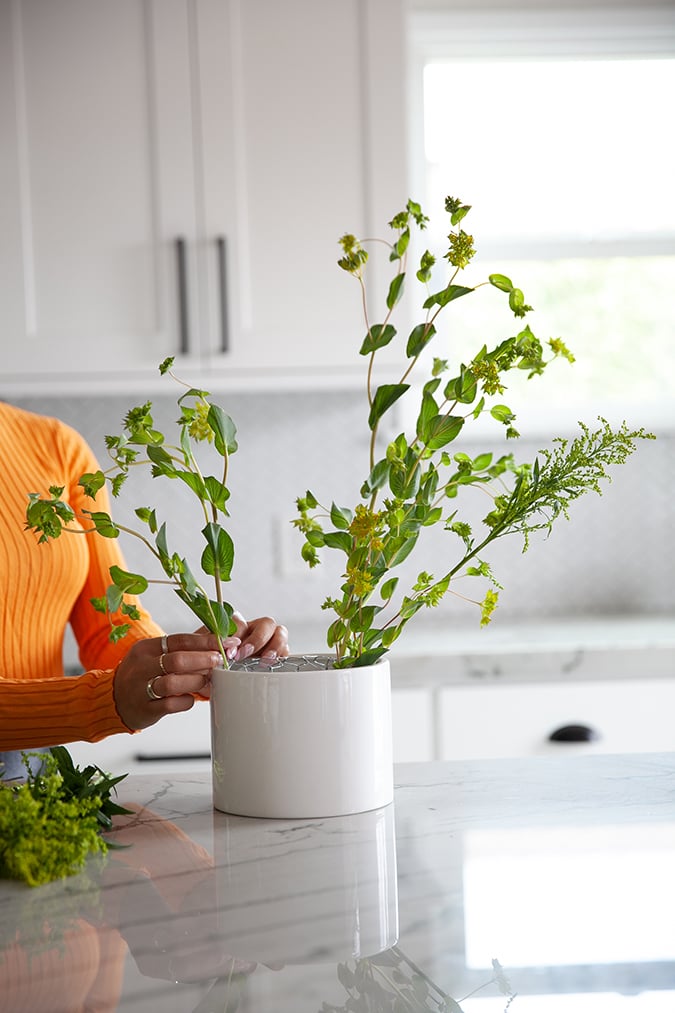
2. Start with your greens or foliage to create shape and structure. This truly is the key to designing a professional looking arrangement. Make sure you are playing with the height and placements. We like to start off with a high point and a low point.
If you have any linear flowers start to add these alongside your greens.
Photos by: Tayo Ola
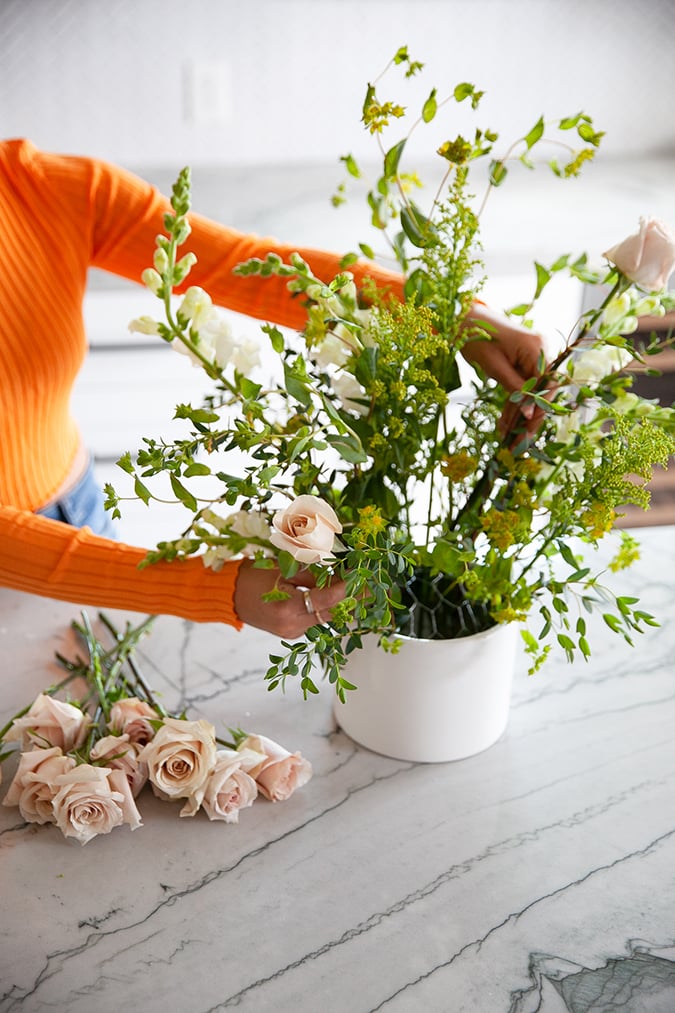
3. Next, add your round-shaped flowers. Try not to have too many of the exact same style right next to each other. Continue to vary the heights of each bloom, following the structure you’ve created with the greens and foliage.
4. Add one specialty flower to the front and continue building around it by evenly placing the various colors and neutrals throughout (still playing with the heights of each bloom).
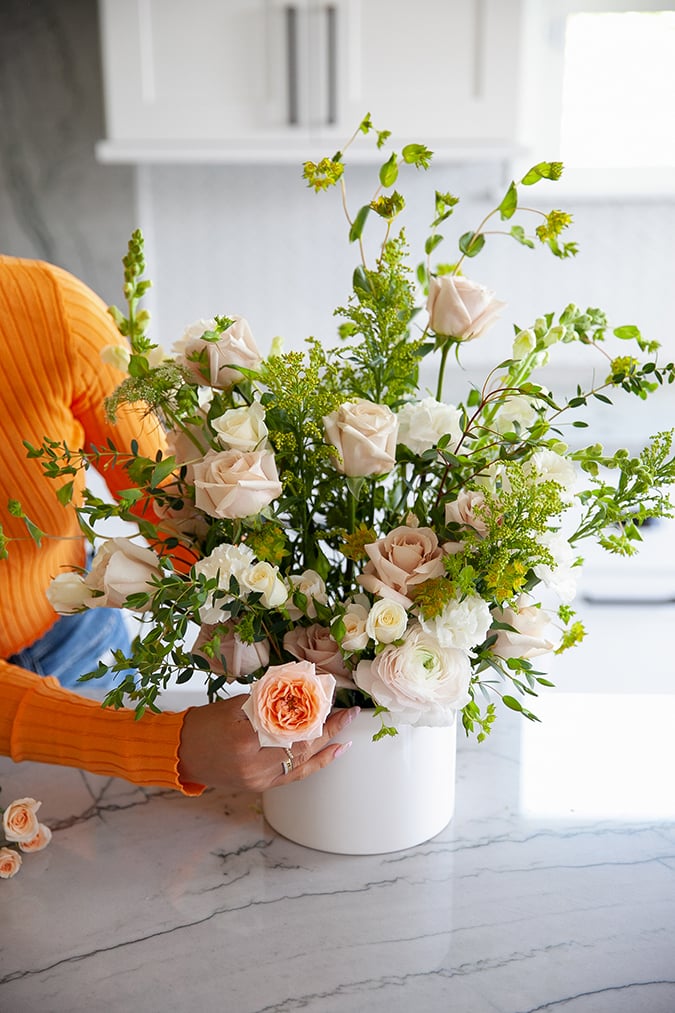
Photos by: Tayo Ola
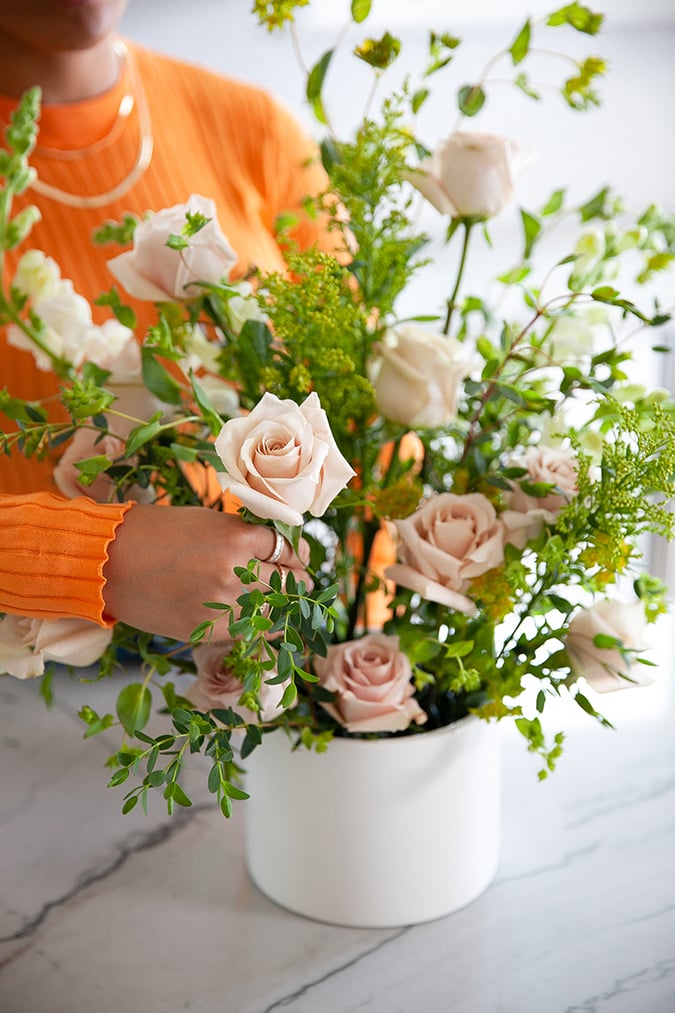
5. Add spray roses to center and around the rim of the vase so they begin to skirt the arrangement.
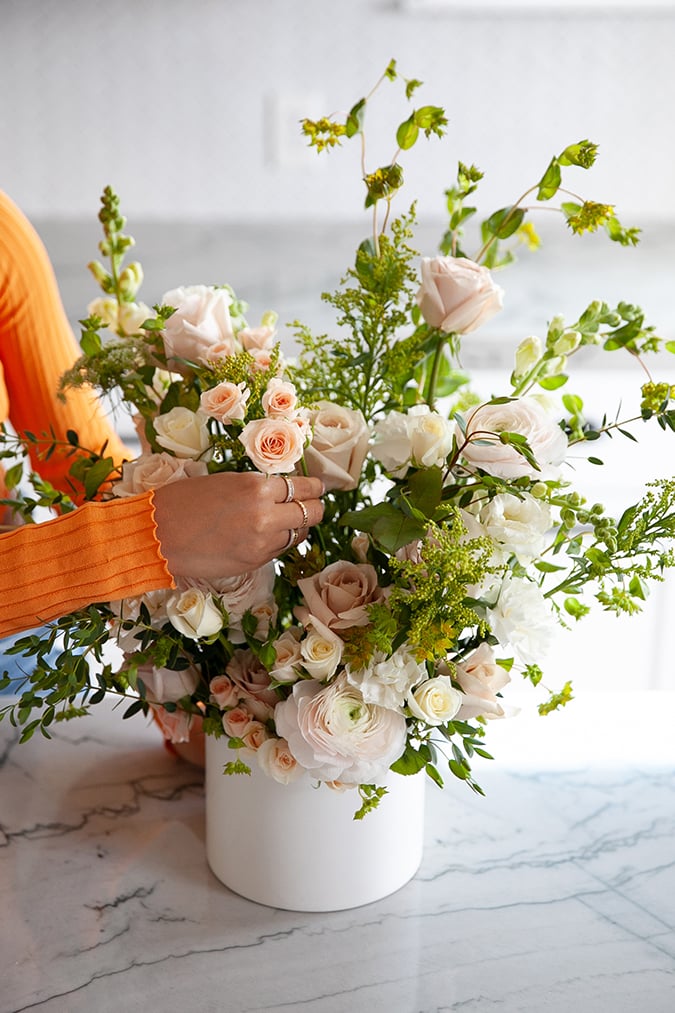
Photos by: Tayo Ola
6. As you continue, be sure to occasionally spin your arrangement checking for any empty spaces. This will help you decide what needs to be added to make every angle complete and full.
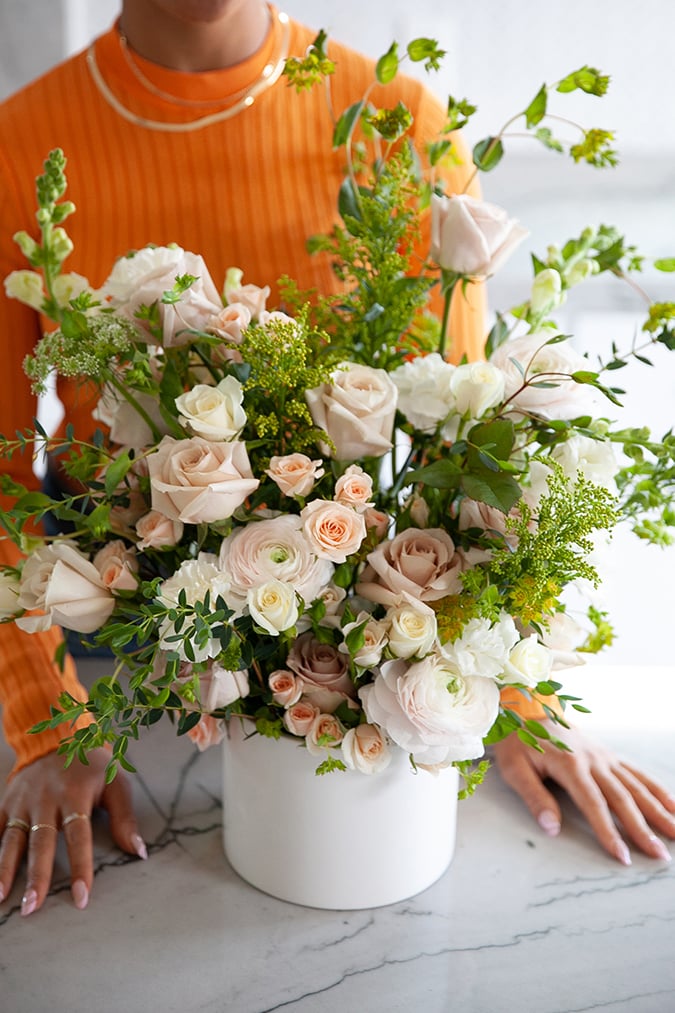
Photos by: Tayo Ola
7. Add more greens and any remaining specialty style flowers that have not been used.
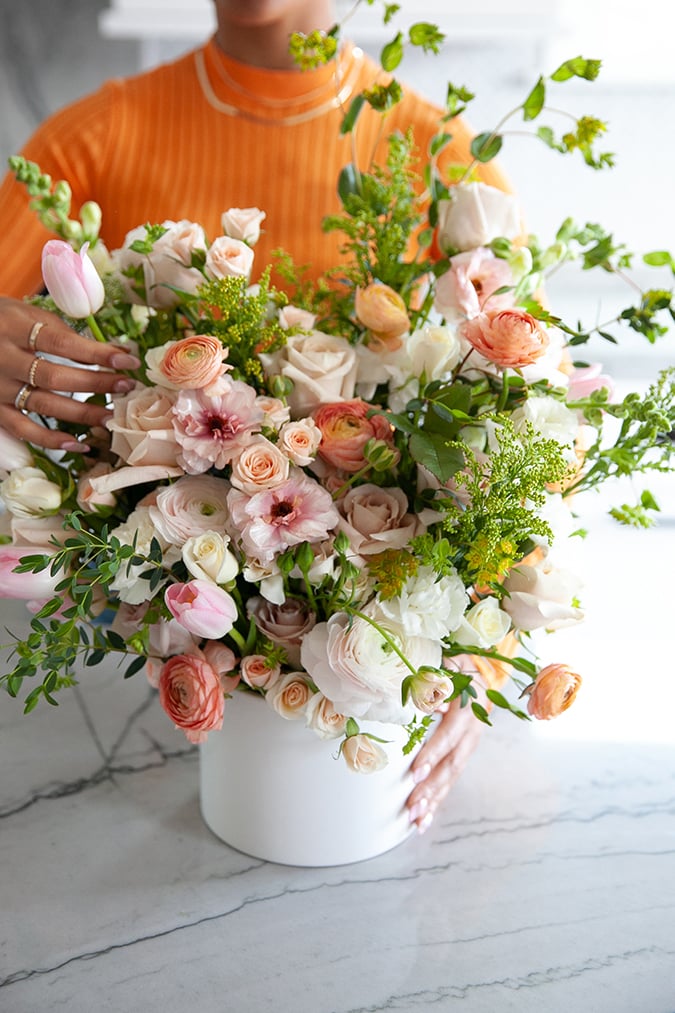
Photos by: Tayo Ola
8. Adjust the placement of specific blooms if necessary. Add any final touches.
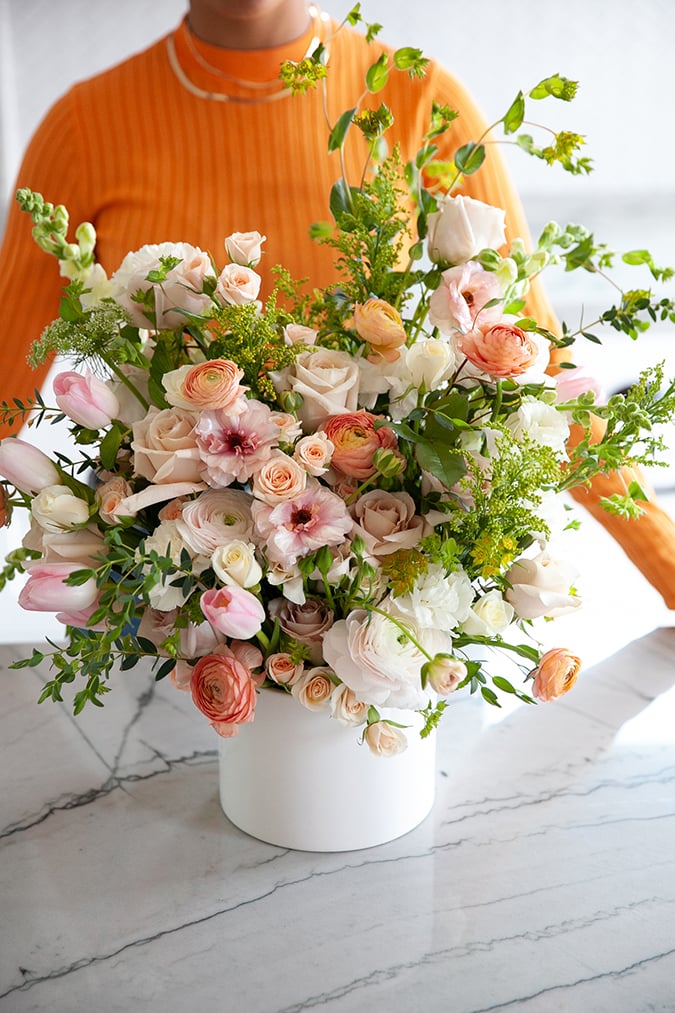
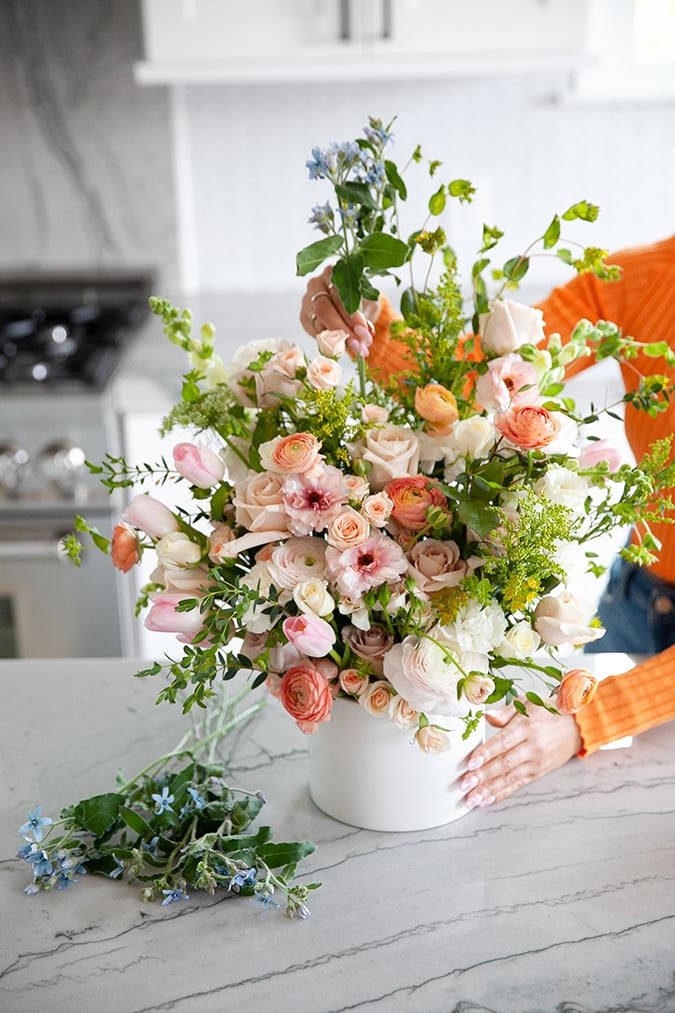
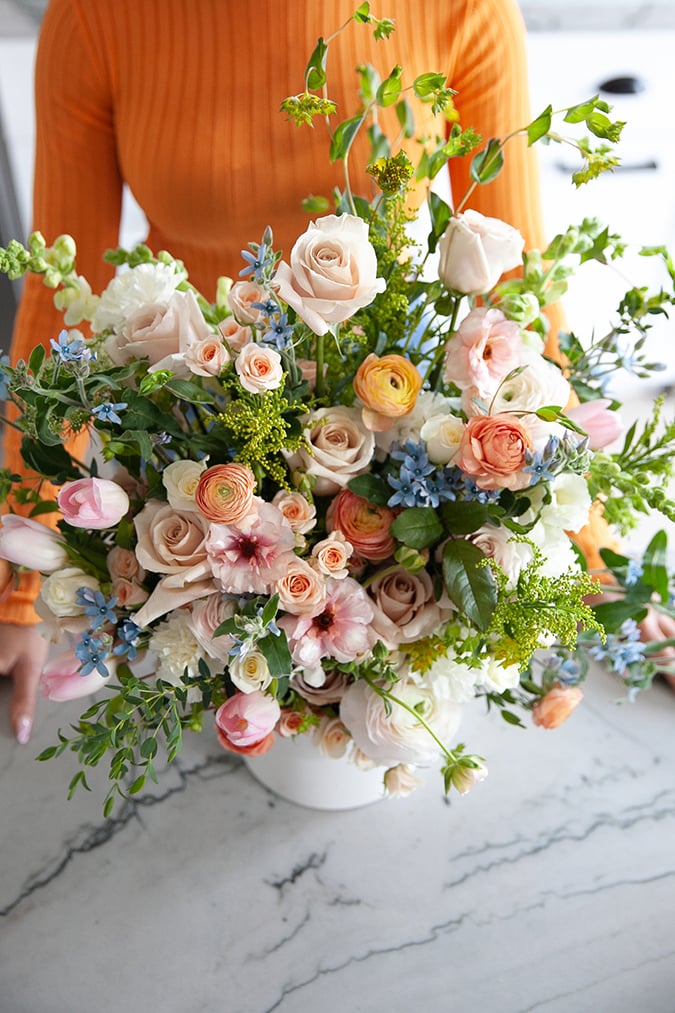
Photos by: Tayo Ola
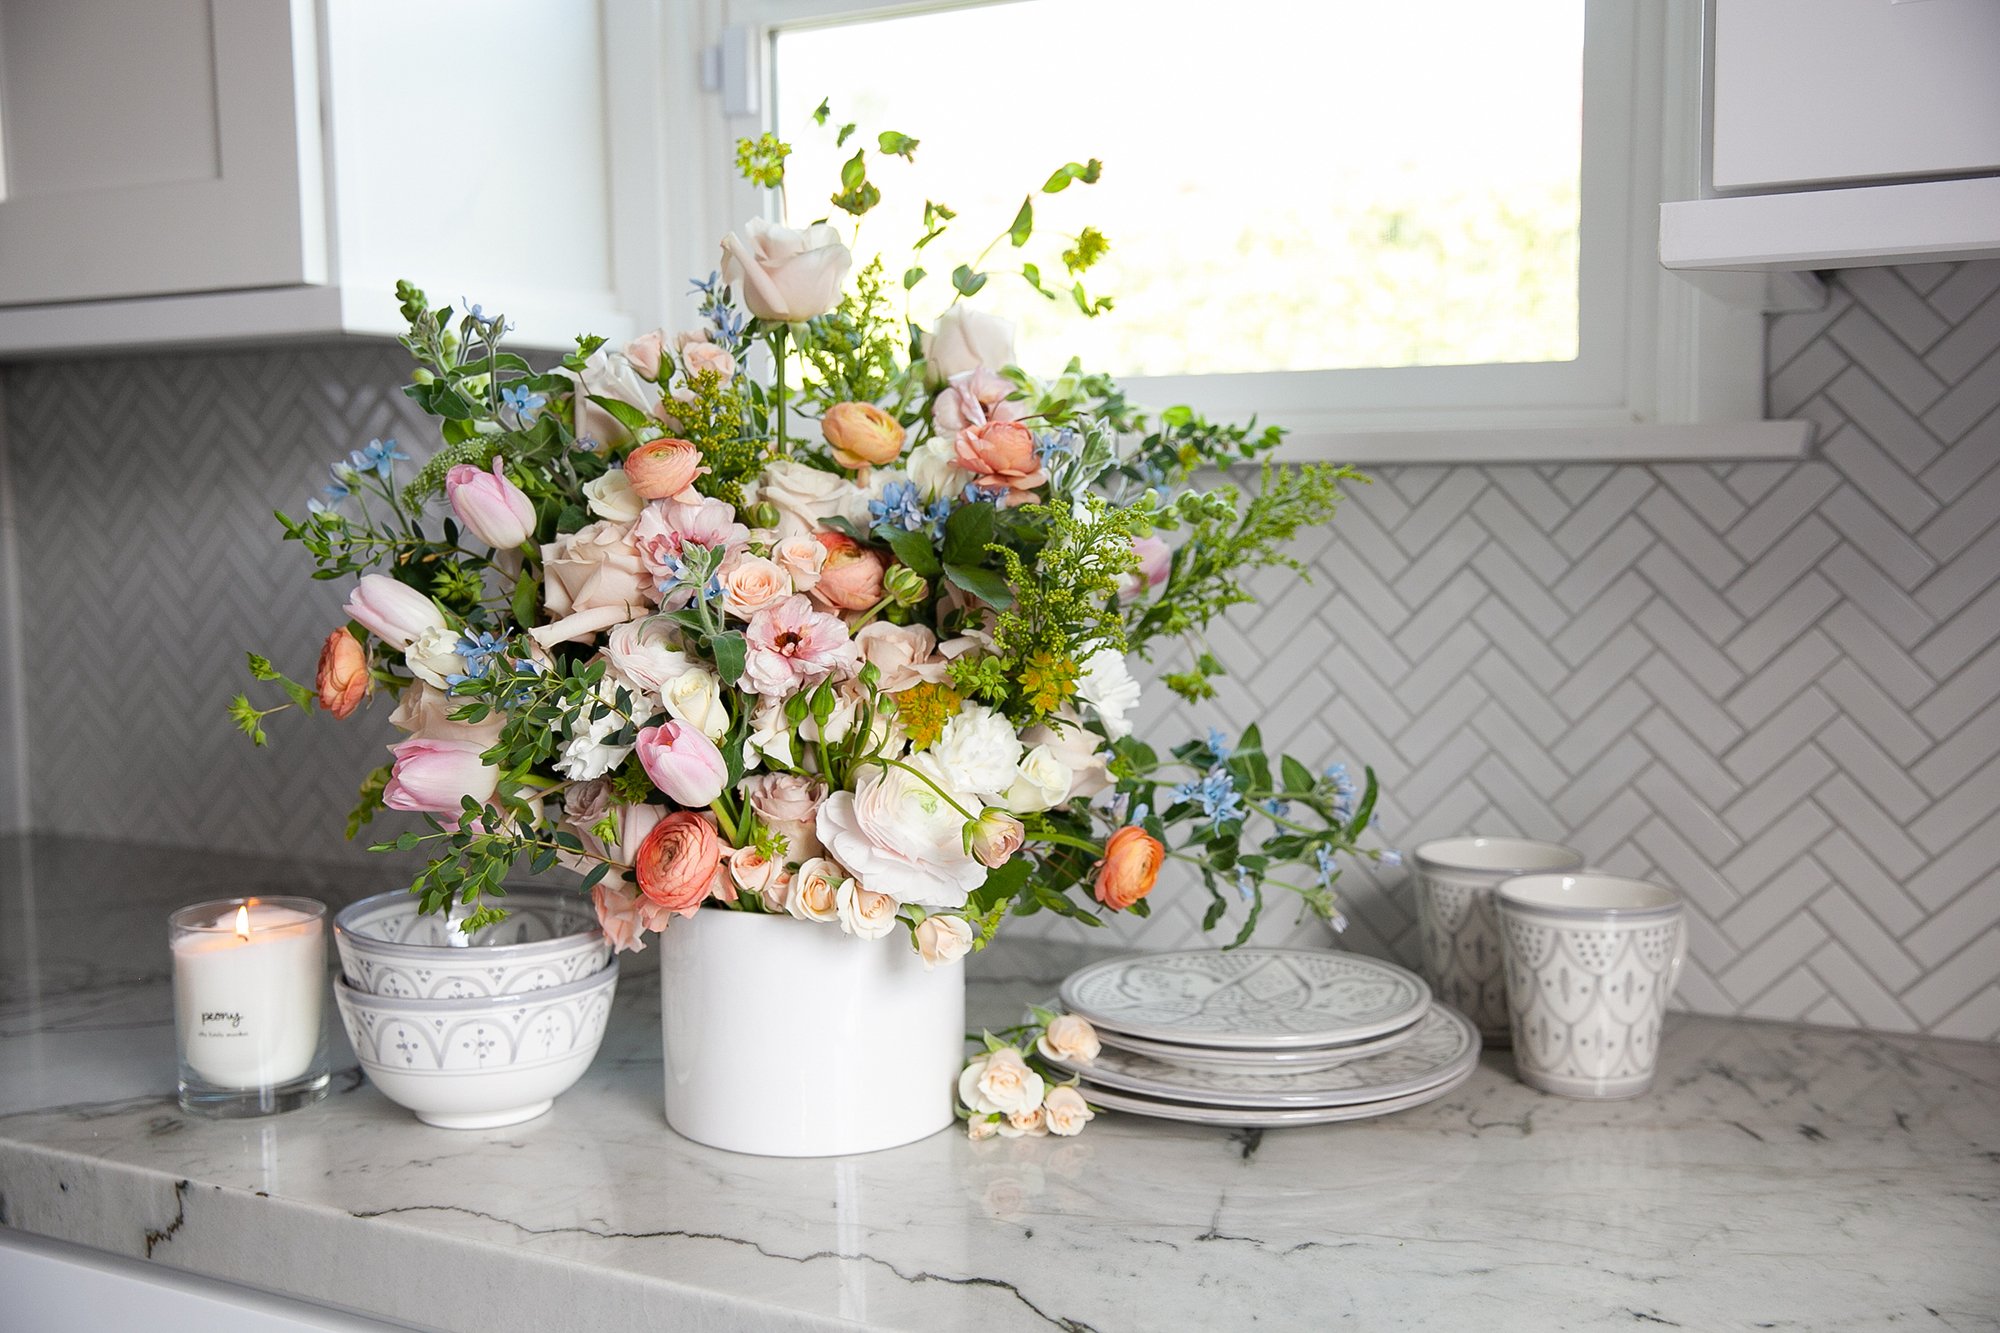
9. Step back and take a look at your beautiful creation. Now repeat the intention you set for your life aloud.
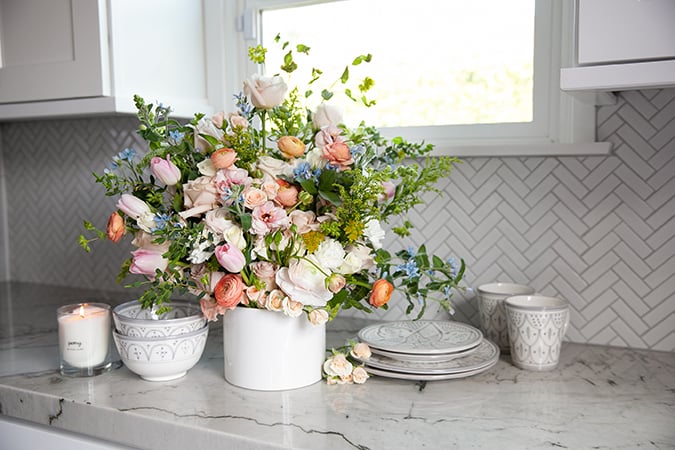
Photos by: Tayo Ola
The Little Market Dinner For Two Bundle, $172
The Little Market Peony Candle, $38
As you’re in a rush to figure it out and get it all done, let these flowers remind you of your intention and inspire you to embody it every day. We urge you to continue going and growing! We are your sisters and we are here to see you bloom!
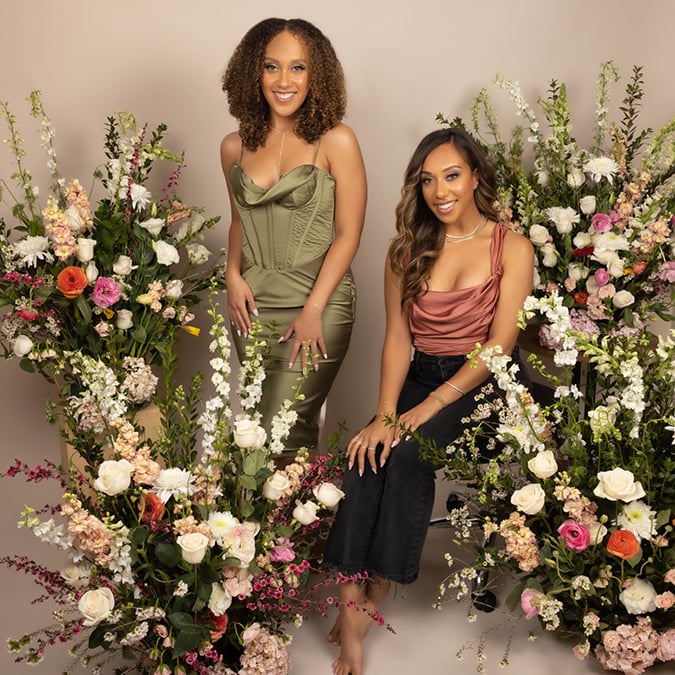
The Sister Blooms Team, Photo by: Jarrod Williams
Tips to keeping flowers fresh:
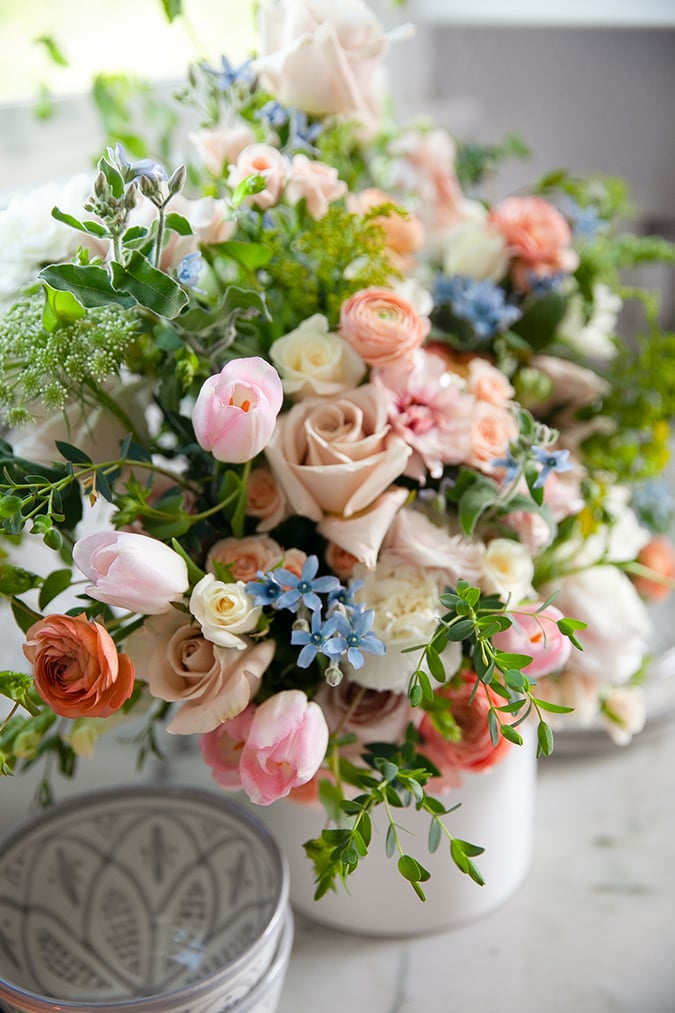
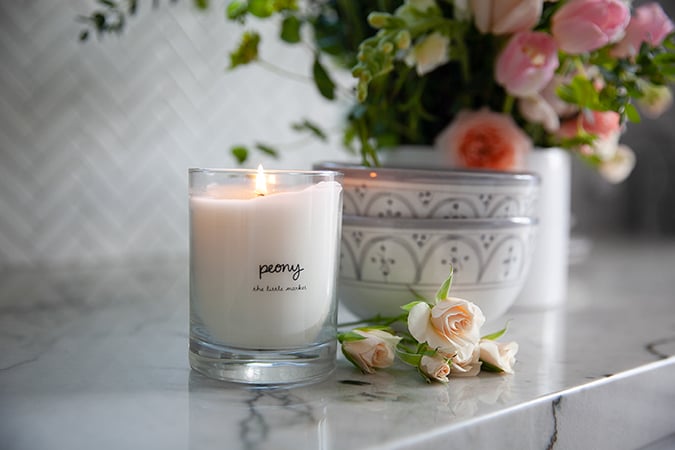
Photos by: Tayo Ola
The Little Market Dinner For Two Bundle, $172
The Little Market Peony Candle, $38
- Keep out of direct sunlight
- Place arrangements in cooler areas around your home
- Refresh water every 3-4 days
Have you tried making your own flower arrangements before?
Tag @sisterblooms and @laurenconradco with your final grocery store blooms! We’d love to share and see your beautiful creations.
XO Sister Blooms
Photos of Flowers: Tayo Ola
Photo of Sister Blooms Team: Jarrod Williams
Affiliate links may have been used in this post.
