DIY Natural Fabric Dyes
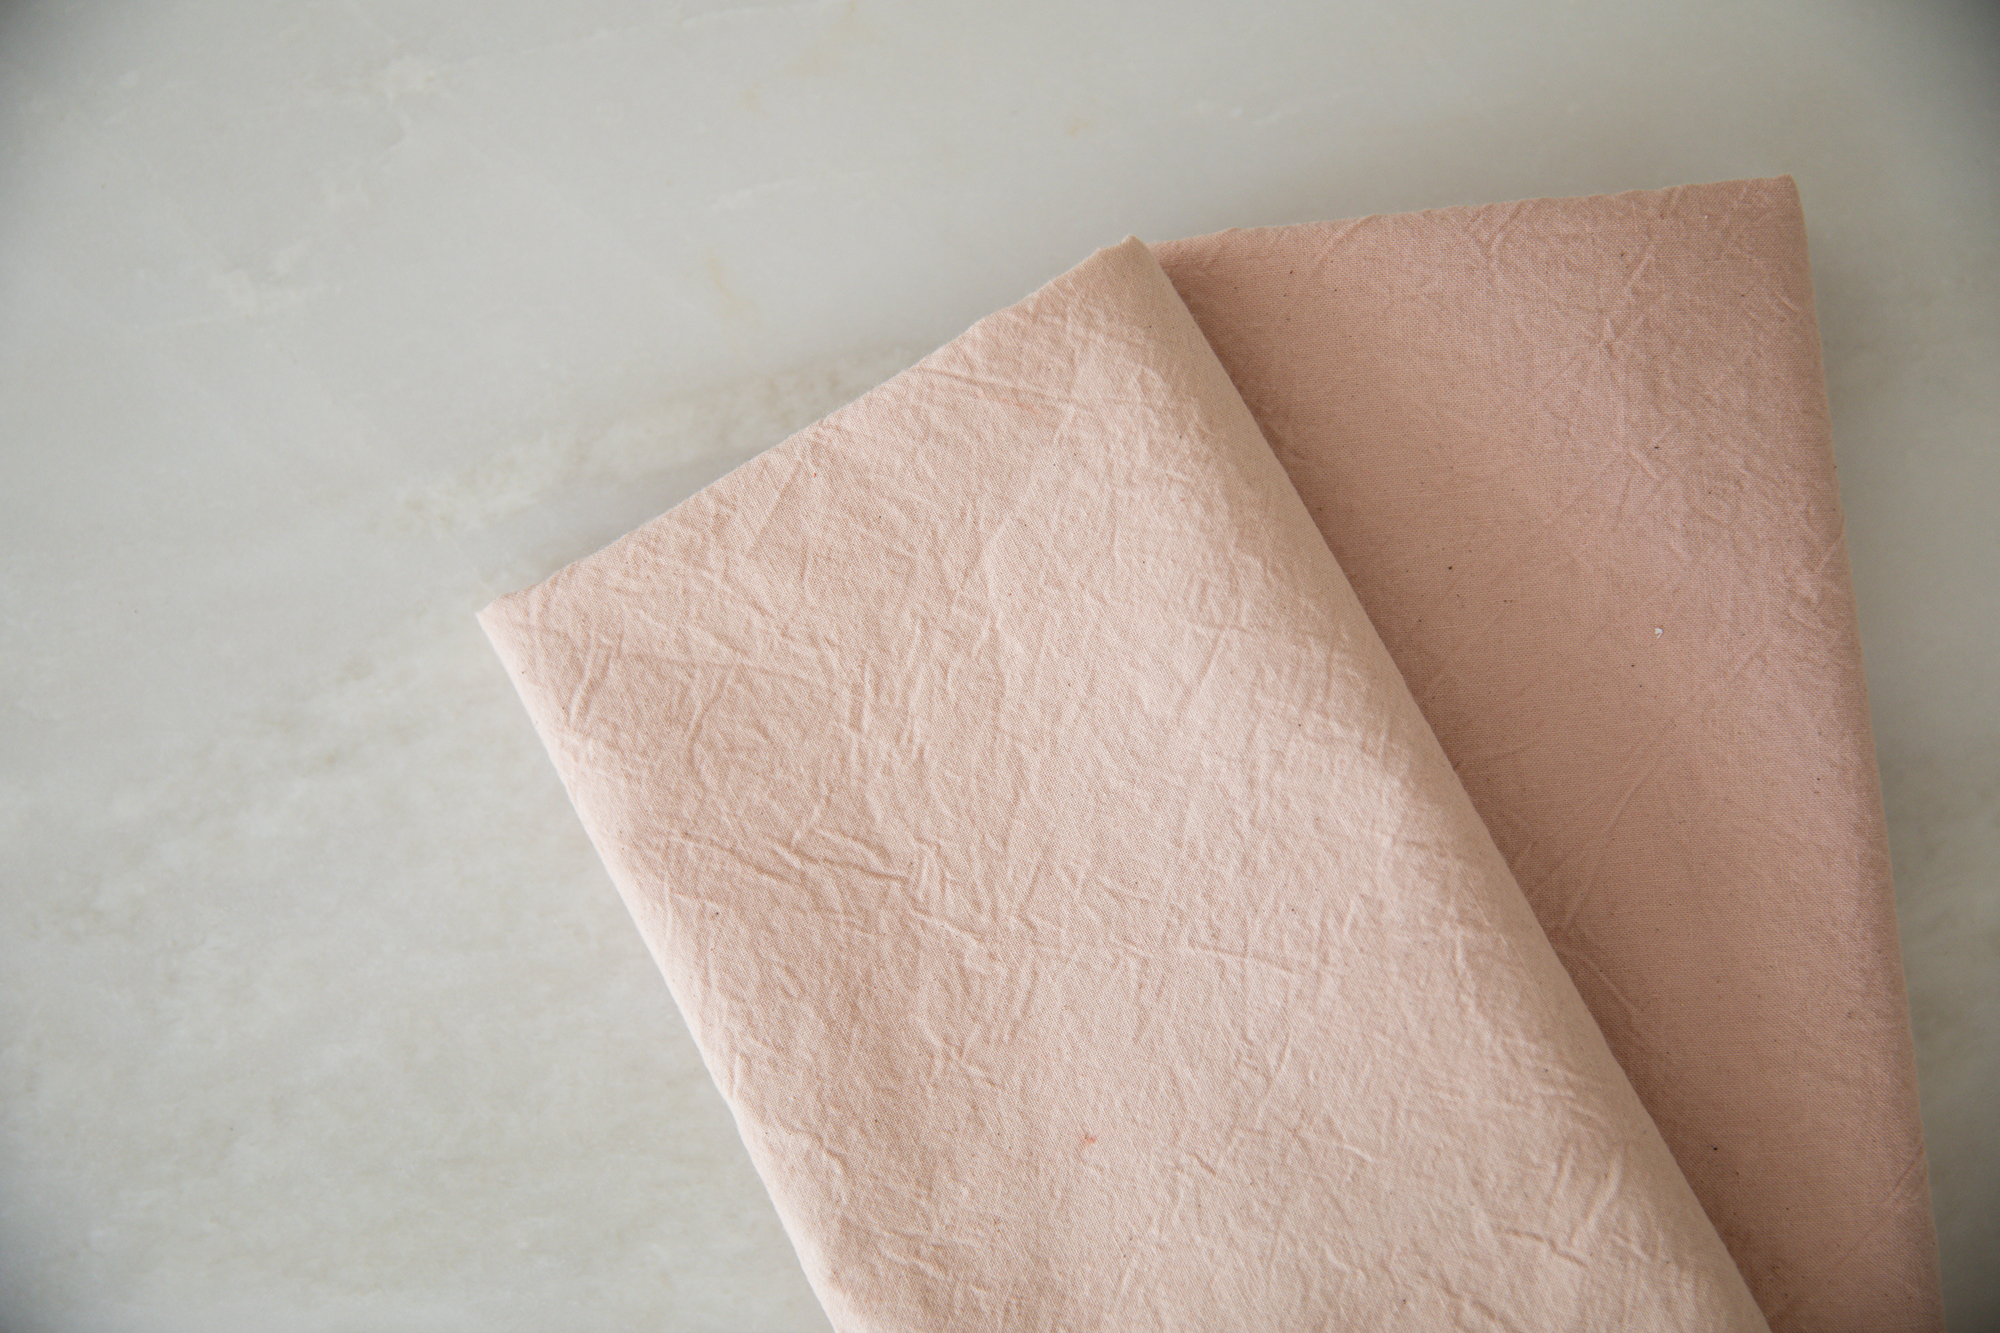
Over the last year, I’ve had fun experimenting with natural dyes. I have dyed bolts of fabric to make into quilts and aprons. I have dyed white napkins and dish towels that have become a bit dingy over time. I have also dyed a few garments, but it’s hard to know how the piece will take the color since the materials are usually treated before you buy them. There are a lot of variables that affect the color you end up with, between the fabric you choose, the water you use, and the fruit itself, so you never know what to expect…and that’s part of the fun.
I tried cabbage leaves, which gave me beautiful blues and greens, black beans for shades of blueish greys and orange peels for a pale yellow. But my favorite by far is the pink you get from avocado pits and skins. There are many different methods you can use to dye your fabrics, but today, I thought I would share mine in case anyone else wanted to give it a try. Though this process takes a little bit of time, most of it is inactive, so you’ll definitely be able to carry on with other tasks while your dyes work their magic. Here’s how I made them…
DIY Natural Avocado Pit & Skin Fabric Dye
Here’s what you’ll need:
- Avocado skins & pits
- Fabric or yarn (I use natural options like linen or cotton)
- Large pot
- Water
Instructions
1. Start by collecting a bunch of avocado pits and skins. Clean them well by scrubbing off any remaining avocado and store them in a bag in your freezer until you’re ready to use them. The more you collect the more dye you can make, so the number of avocados you need will be determined by how much fabric you hope to dye.
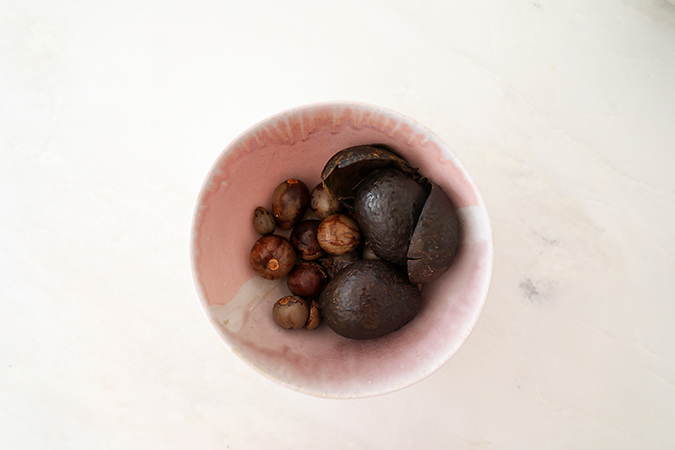
2. Prepare whatever fabric or yarn you are planning to dye by soaking it in warm water for at least an hour beforehand.
3. Put your pits and skins into a large pot and fill it with enough water to cover them. I usually add an extra inch or two because water evaporates as they cook. Note: I use an old pot that I don’t cook in because avocado seeds can be toxic.
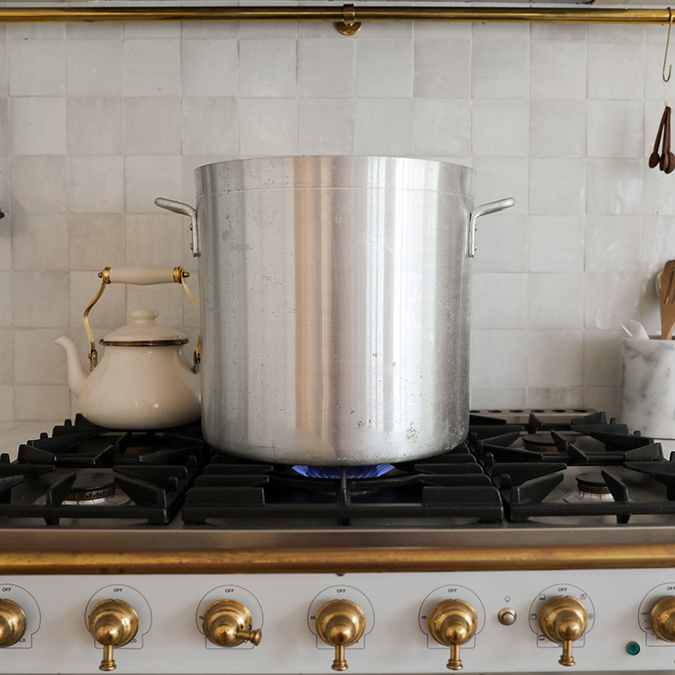
4. Bring the pot to a boil and then let the water simmer for an hour or so. Sometimes I’ll let it go for a few hours to get a darker color. If you do this, just remember to keep adding water because it will continue to evaporate.
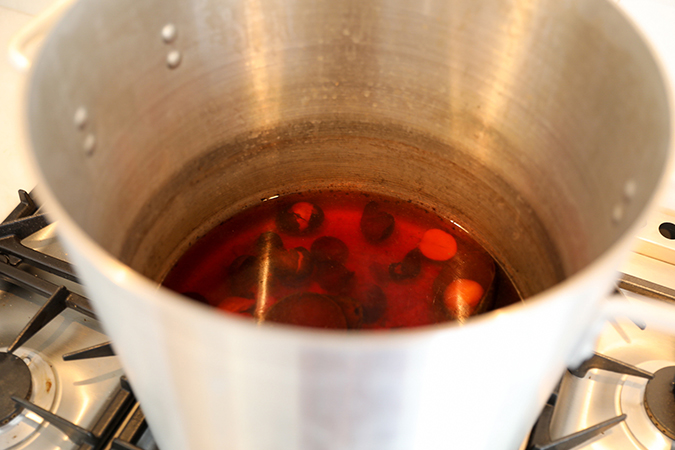
5. Once your dye develops a deeper color, you’ll want to remove all the skins and pits. It’s best if you are able to strain the liquid since little bits of skin can stick to your fabric and create inconsistencies.
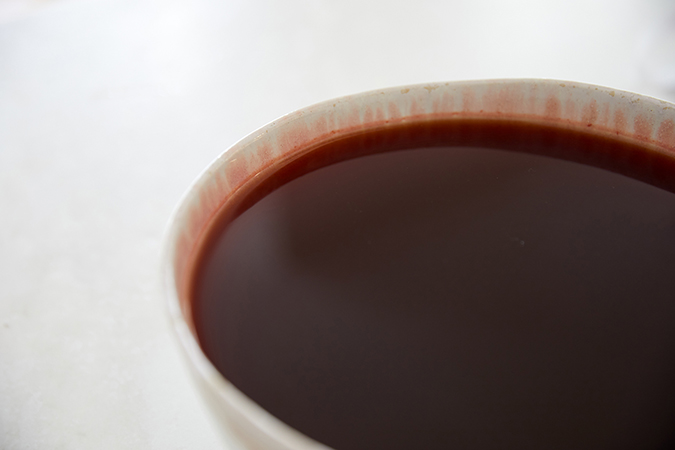
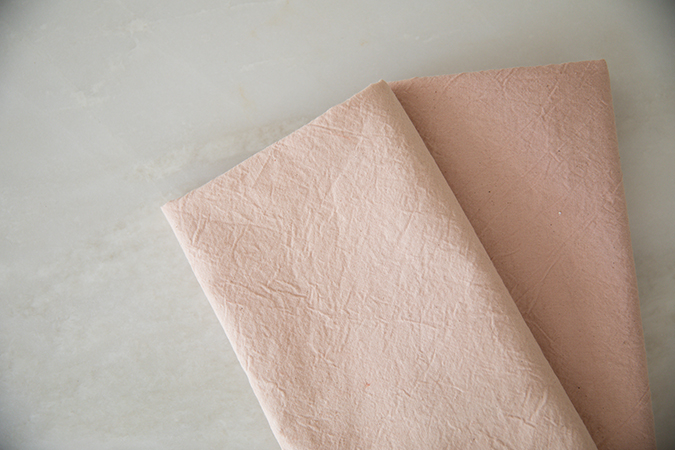
6. Now it’s time to dye your fabric. The longer you leave it in your dye, the deeper the color will be. Below are 2 pieces of the same fabric that were left in for a different amount of time. I soaked the lighter piece for about an hour and left the darker one in for half the day. The difference is pretty subtle, but the longer your fabric stays in the dye, the darker the color will be.
Though it can take some time, using natural dyes is a fun way to spruce up any fabrics and old cloths you may have. I hope this has given you a little inspiration to start experimenting with natural dyes at home too.
Will you try naturally dyeing fabrics at home?
If so, let me know how it turns out in the comments below.
XO Lauren
Photos: Lauren Conrad
Affiliate links may have been used in this post.
