My DIY Fall Leaf Garland Mantel Décor

If you haven’t guessed it by now, my team and I are a little {okay, a lot} obsessed with fall. I’ve been making use of the extra time spent at home this year by crafting quite a bit, and with the fall season in full swing, I wanted new fall mantel décor that was cute, easy, and required very few items to create. Enter these DIY Kraft Paper Leaf Garlands. They’re simple yet festive, and liven up my living space. With a little time, and lots of paper and pipe cleaners, you can create this rustic décor that’ll make the fall season feel even more special. Here’s how to make it…
DIY Leaf Garland
Here’s what you’ll need:
- Brown paper bags or brown craft paper
- Pipe cleaners
- Hot glue gun
- Marker
Instructions
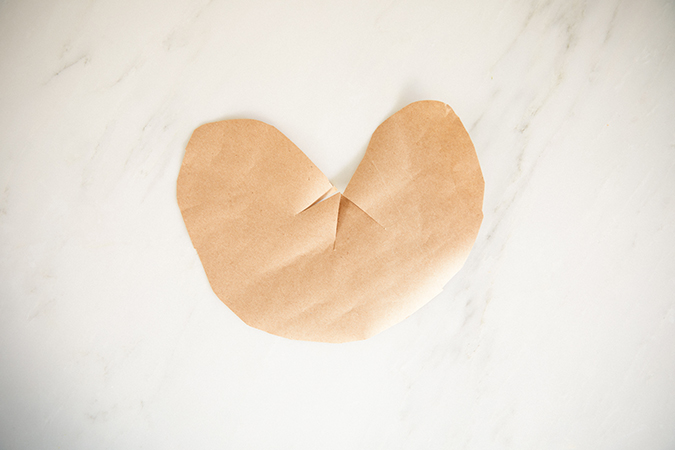
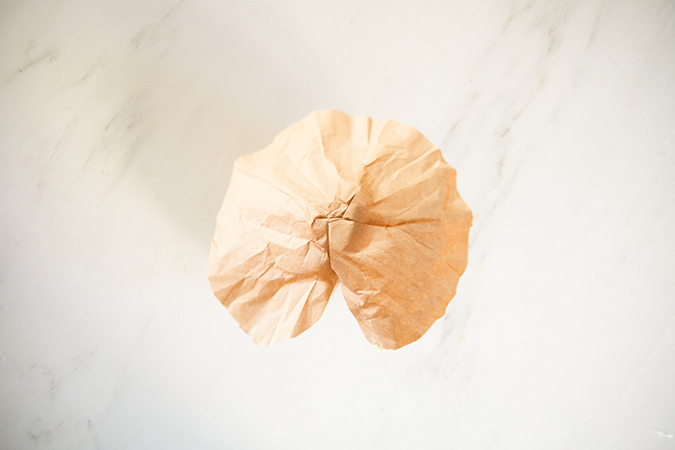
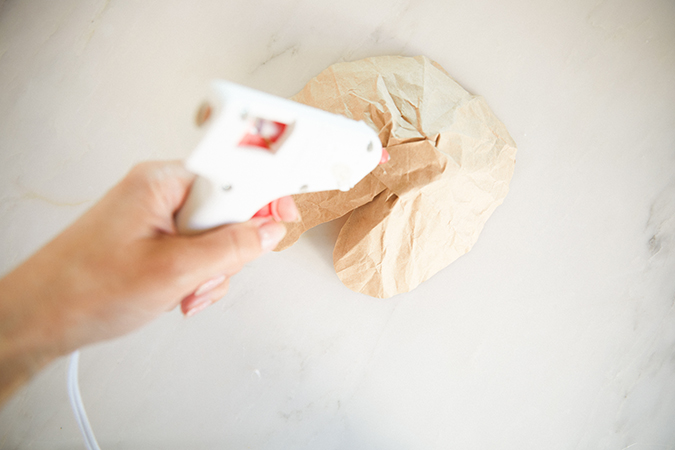
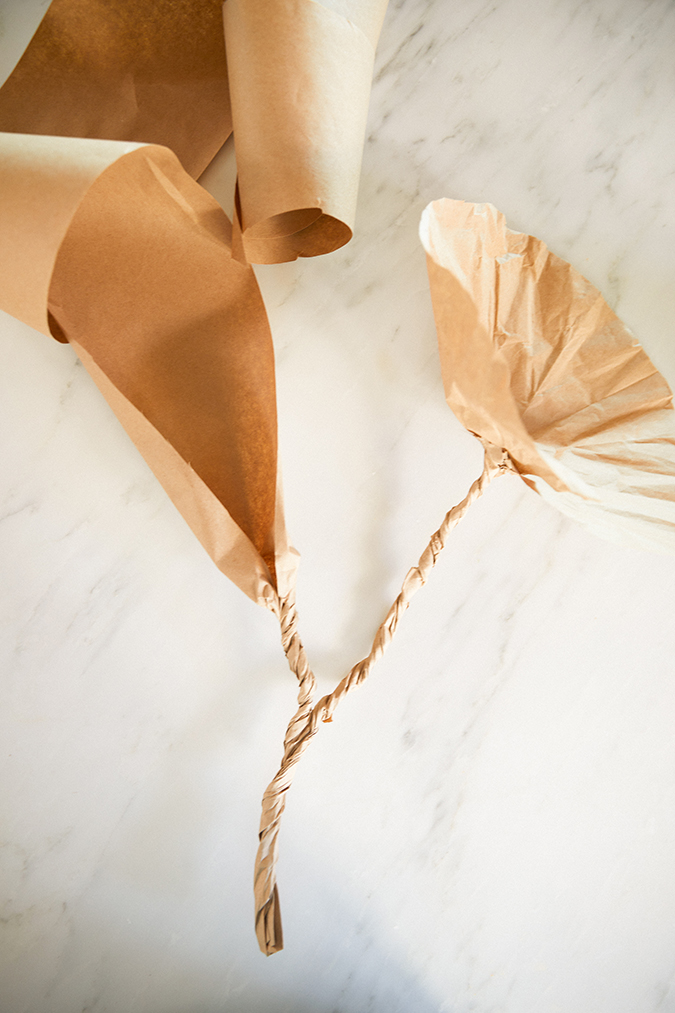
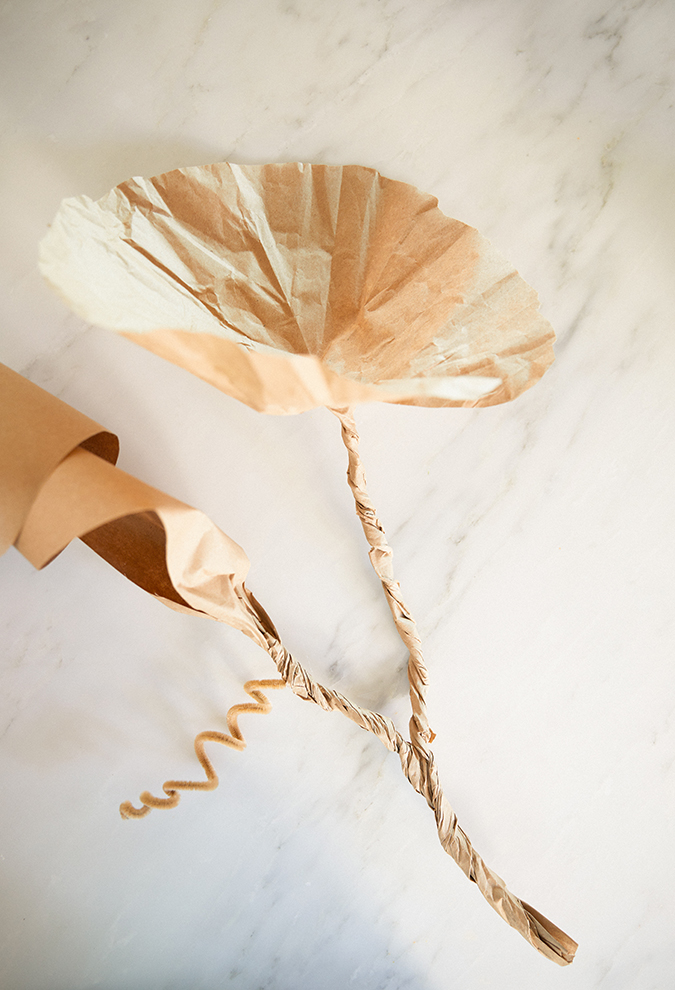
- To make the leaves, start by cutting out the shape of a leaf with your paper. It’s okay if the shape isn’t precise. Once you cut your leaf, crush the paper together to create texture and folds.
2. Open your leaf up back up to its original size. Gently cinch the leaf in the middle, pushing the leaf concave into a curved shape. With a hot glue gun, dab a pea-sized amount of glue into the center of the leaf on both sides, and press down, solidifying the shape. Hold it down until the glue dries.
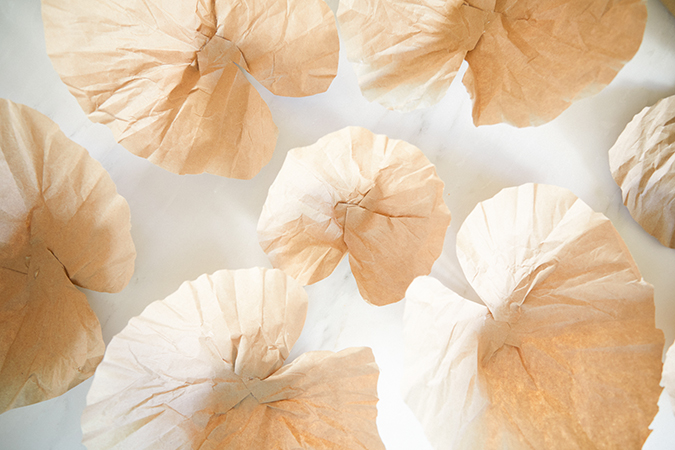
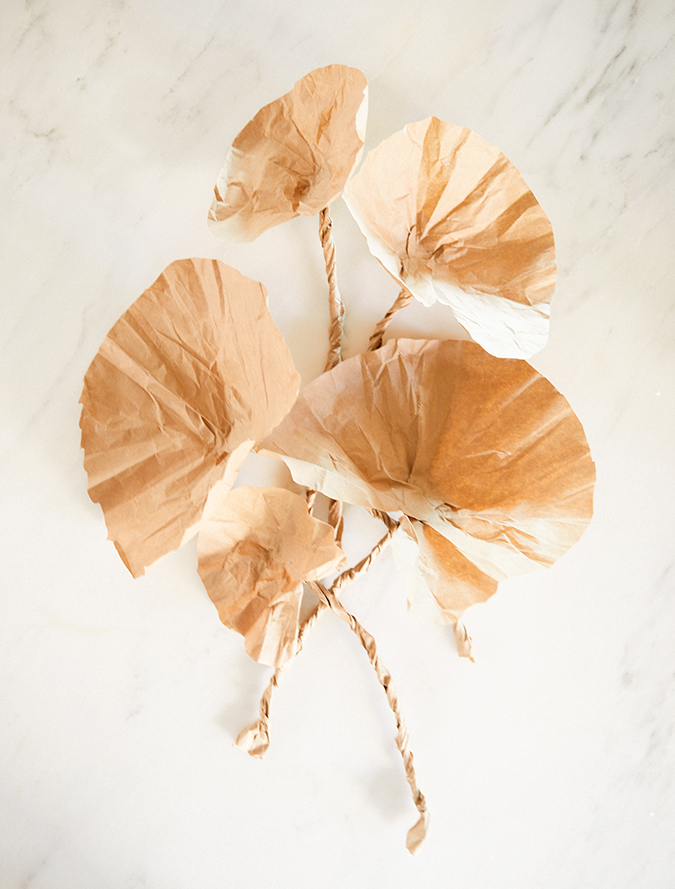
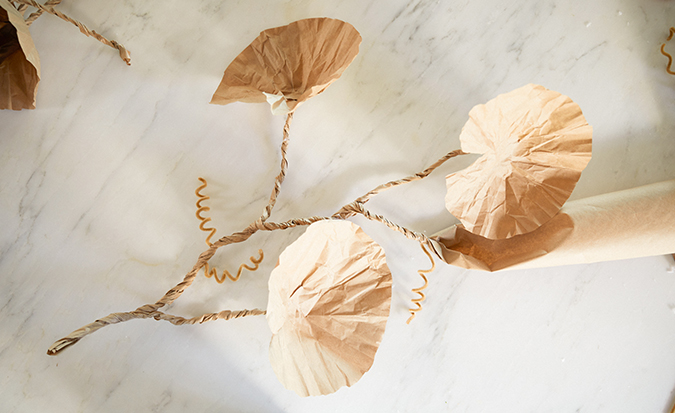
3. The amount of paper you use will depend on how long you want your garland to be. I was able to make 2-3 leaves per paper grocery bag. I used a few paper bags and a roll of craft paper when I ran out of bags.
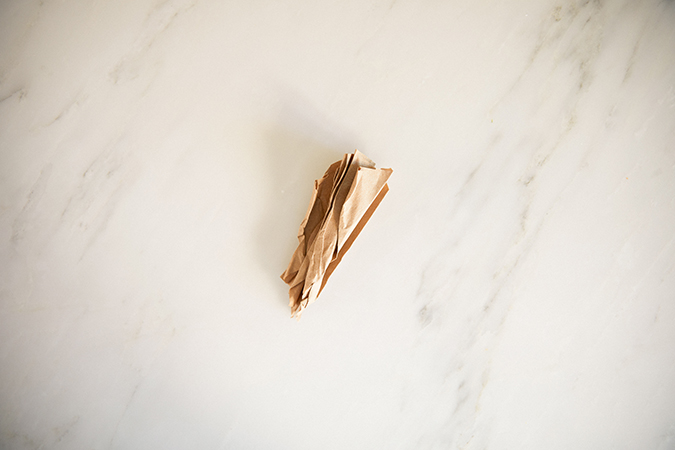
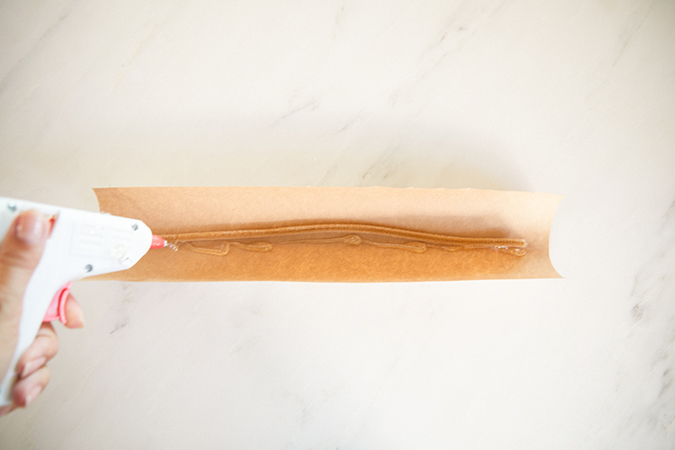
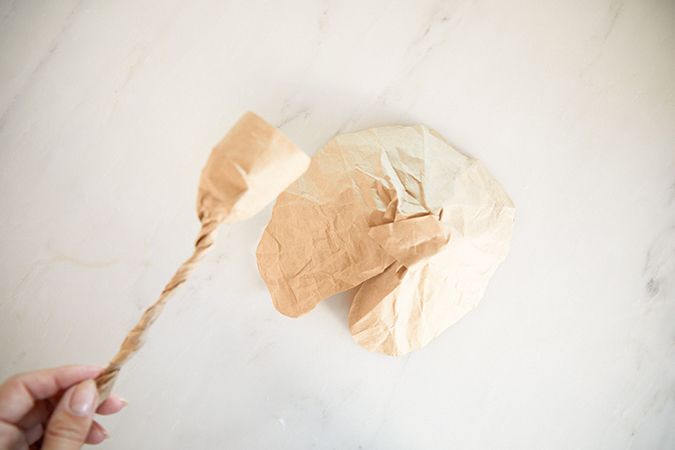
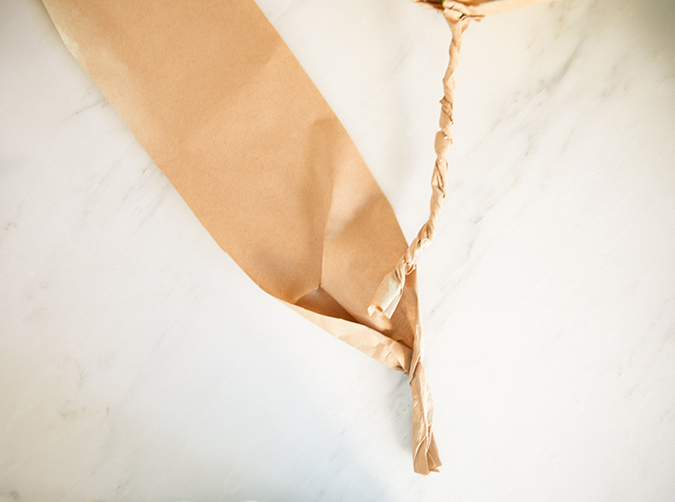
4. To make the stem, cut your paper into a long rectangle. Glue a pipe cleaner in the middle of the paper and then twist the paper around the pipe cleaner, leaving a portion of the pipe cleaner exposed and paper untwisted.
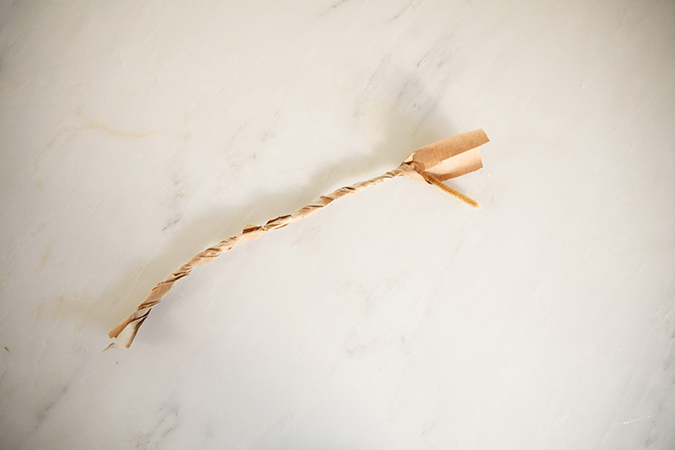
5. Glue the untwisted paper of your stem onto the convex side of the leaf.
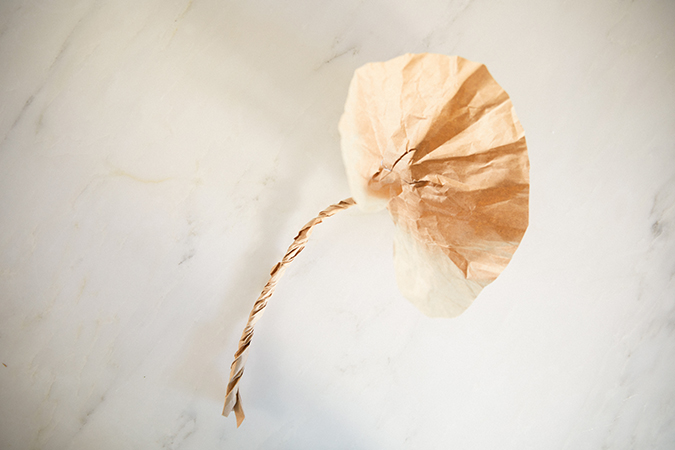
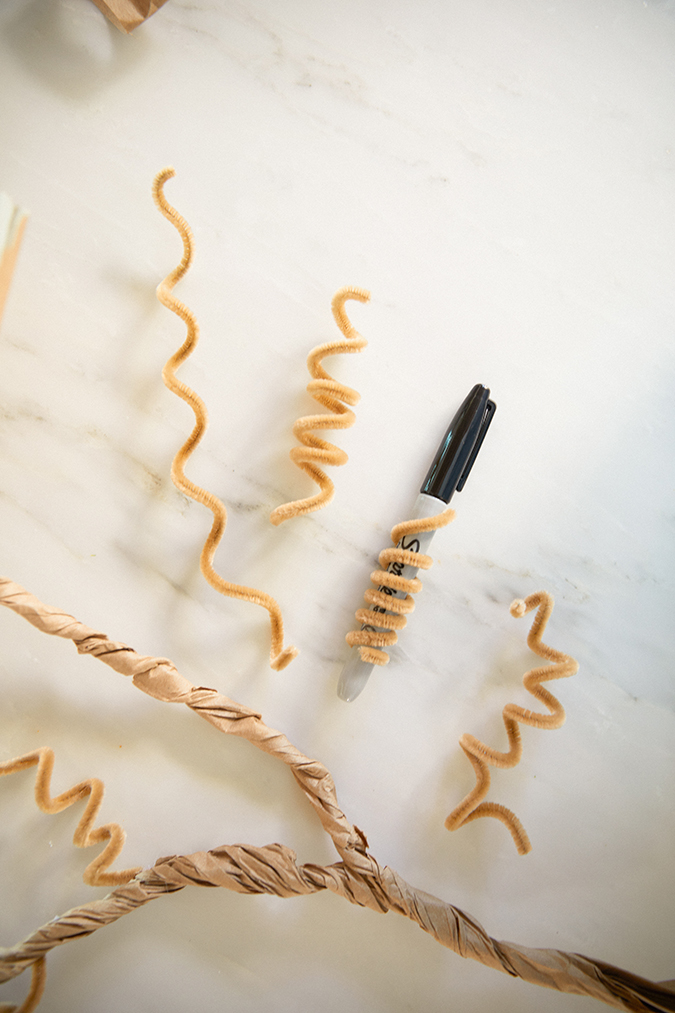
6. I varied my leaf and stem sizes to mimic curling and growing vines too.
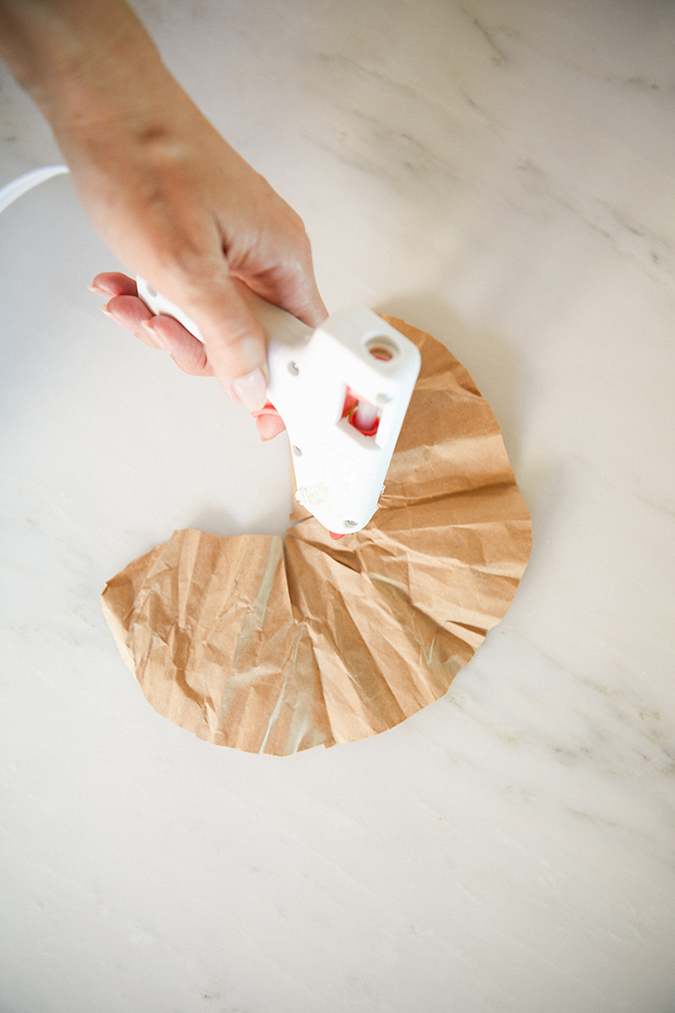
7. To make the garland, cut a long strip of paper, about a 3-4 feet long and 6 inches wide. Twist a small portion of that paper strip’s end, then take one of your pre-made stems and glue it to the inside of the twisted paper.

8. Once the glue dries, begin twisting the long strip of paper the same way you twisted the stems to create a large branch.
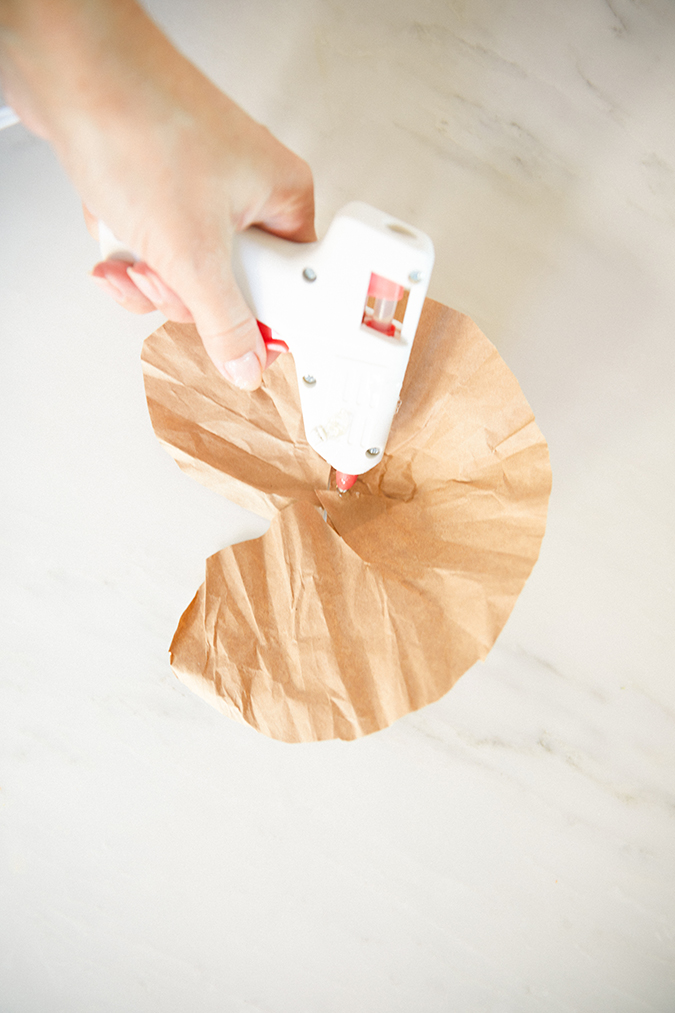
9. Take unused pipe cleaners and twist them around a thick marker or pen to recreate curling vines, then glue it to in the inside of your branch.
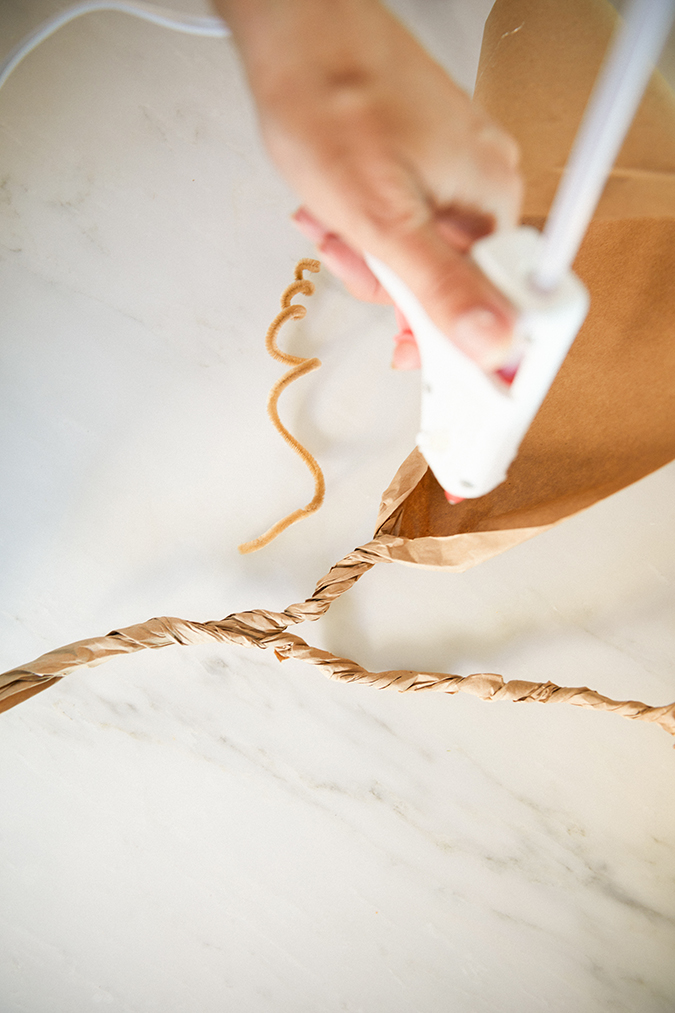
10. Continue twisting your long strip of paper and gluing on stems and curly pipe cleaners until you have used them all up. Once finished, place it on your mantel. I made two garlands so they could drape over both sides of my mantel.
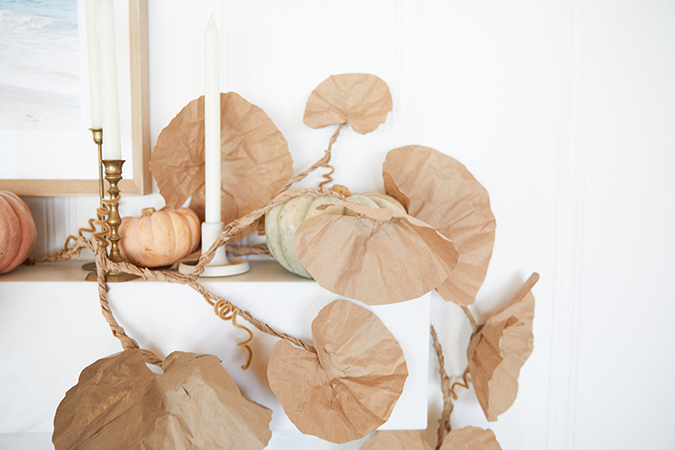
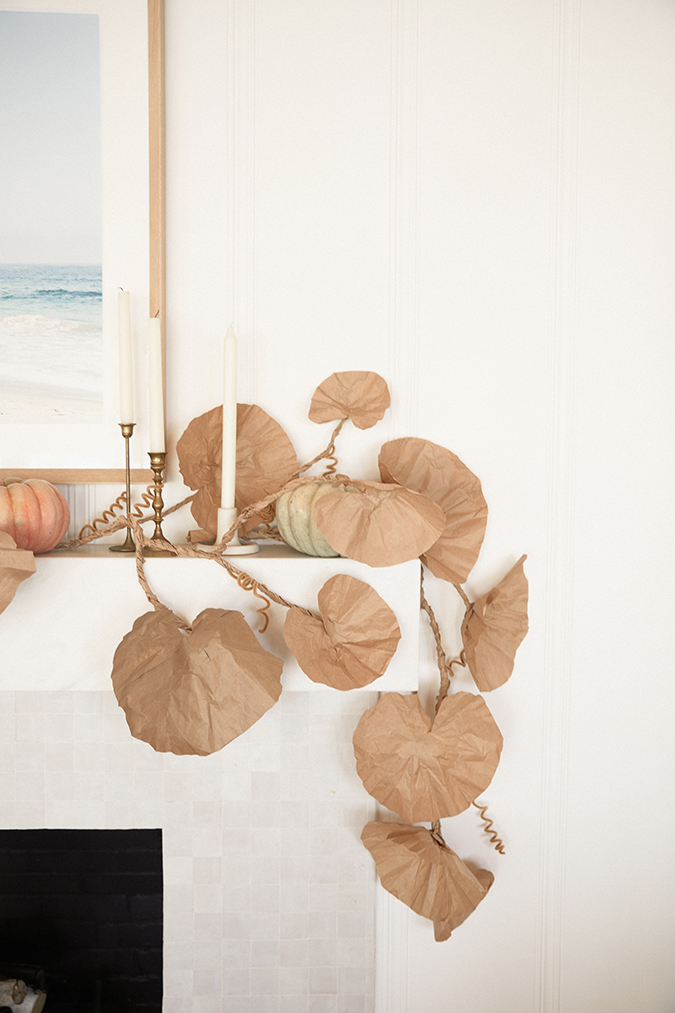
And that’s it! I hope you all like my latest mantel décor and give it a try too.
How are you decorating your home for fall?
Let me know in the comments below.
XO Lauren
Photos: Lauren Conrad
Affiliate links may have been used in this post.
