Nail Files: DIY Gel Polish Recovery Treatment
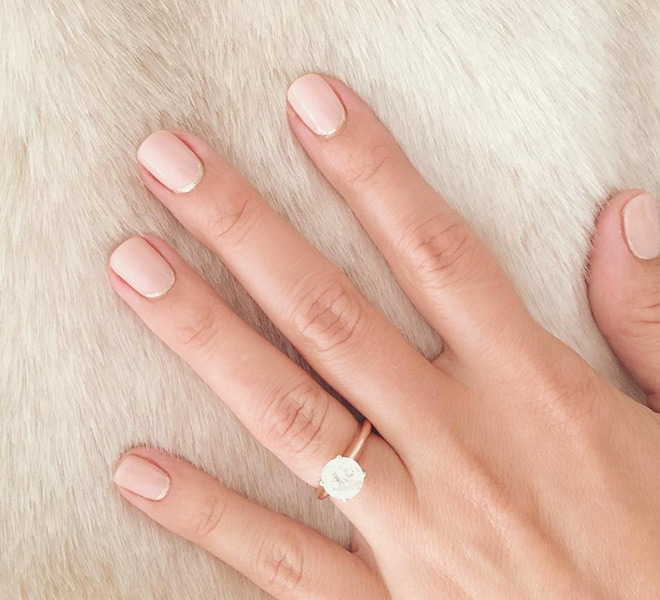
Since I like to change my polish color often, I usually stick with regular nail polish over gels. But every once in a while, there is an occasion that calls for a longer-lasting manicure than regular polish can provide. I recently got gels for my LC Lauren Conrad Runway Collection pop-up shop because I knew I would be working the shop for several days straight without time for a manicure. So, to make sure my nails looked pristine the whole week, I went with gels. I did enjoy my no-chip mani, but when I had my gels removed I noticed that my nails felt weaker and more brittle than usual. I’ve heard this complaint from a lot of my friends who get gels regularly, so I decided to do something about it. I did a bit of research and consulted some of the manicurists I know, and came up with a DIY gel recovery treatment that you can make at home.
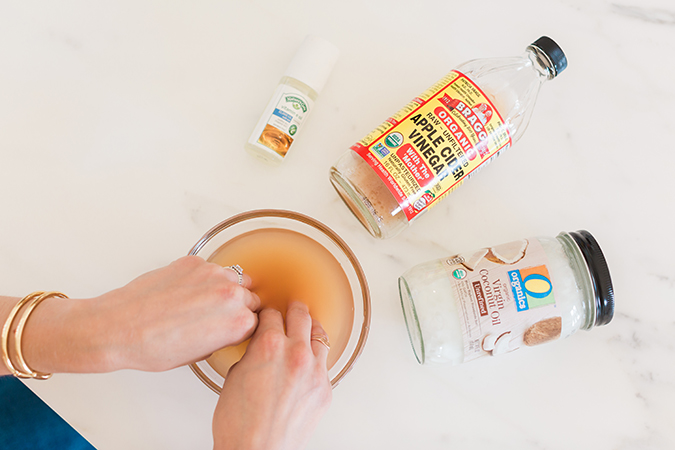
The three ingredients in the treatment are all common pantry staples that you can find at a Whole Foods or other health food stores. The apple cider vinegar is loaded with nutrients like potassium, magnesium, calcium, and iron that are healthy for your nails. The coconut oil is nourishing, works as a moisturizer for your cuticles, and has antibacterial properties to prevent many kinds of nail infections. Adding Vitamin E oil to the mix will keep your nails moisturized and hydrated.
After applying this treatment even once, I saw a noticeable difference in how soft, smooth, and healthy my nail beds appeared to be. It sounds too good to be true, but I really could see a difference immediately! Whether I get gels again or not, I plan on applying this nail treatment regularly to keep my nails strong and healthy. Check it out below…
DIY Gel Polish Recover Treatment
Here’s what you will need:
Instructions:
1. Mix equal parts apple cider vinegar and water in a small bowl or ramekin to dilute the vinegar. Soak your fingertips for at least 5 minutes, or up to 30. Gently rinse off the vinegar.
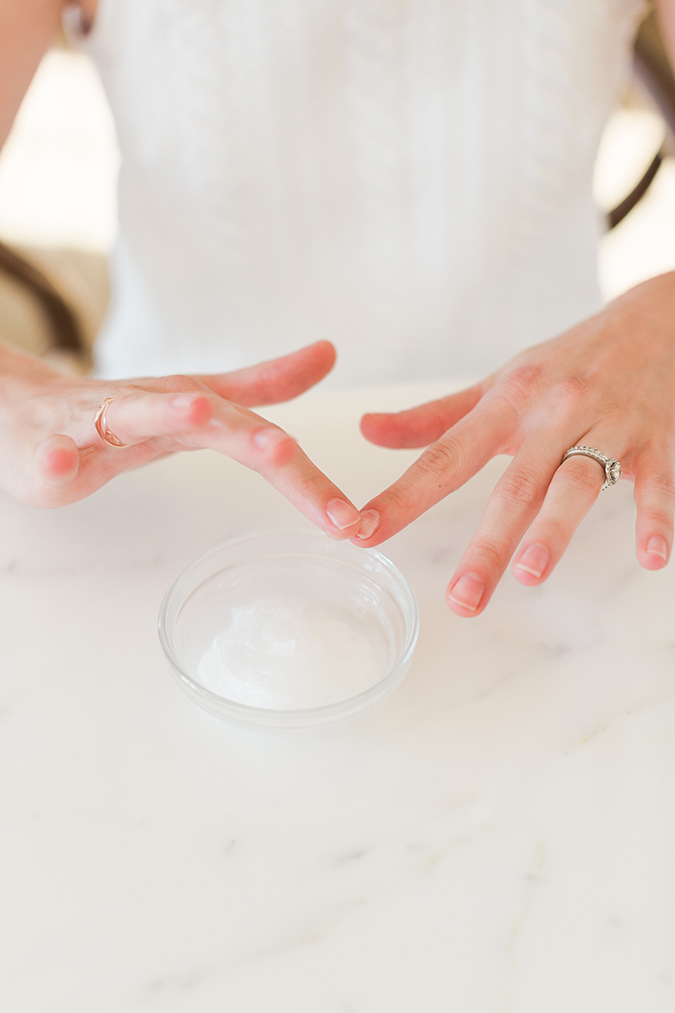
2. Mix in a few drops of the vitamin E oil into a couple tablespoons of coconut oil. Spread the mixture onto your nail beds and let sit for at least 5 minutes or up to an hour for added moisturizing benefits. You can wear moisturizing gloves over the mixture if you would like to keep it on longer. Gently wipe the mixture off of your nails.
3. Repeat the entire treatment weekly for best results.

Are you going to give the beauty treatment a try?
I’d love to hear how it works for you!
XO Lauren
Photos: @LaurenConrad via Instagram, Valorie Darling Photography for LaurenConrad.com
