Inspired Idea: DIY Gilded Roses
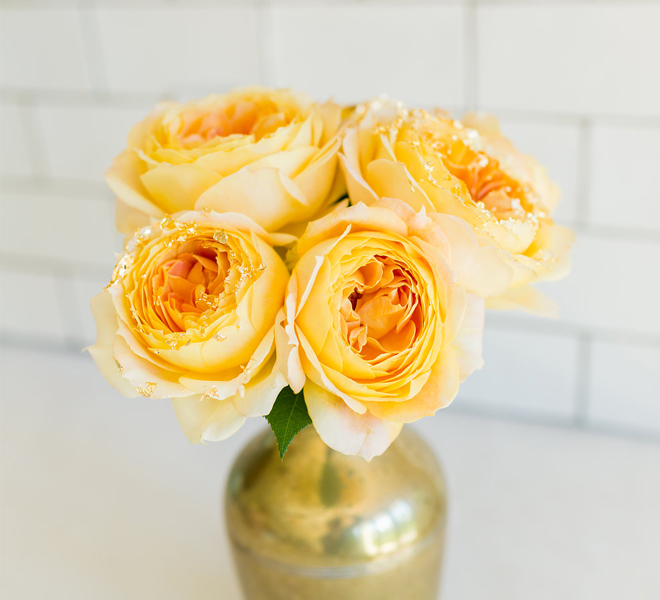
It’s no secret that flower arranging is one of our favorite pastimes. And, since at this point we have most of the basics down pat, we’re always looking for ways to add an extra special touch to our arrangements. Recently, Lauren’s friend and wedding planner Cassandra Bette shared her tutorial for gilded roses with us. This DIY is stunningly simple, but it adds a dramatic, glamorous touch to any centerpiece or arrangement. And with May being our wedding-themed month here on LaurenConrad.com, we especially love the idea of adding some gold leaf to your bridal bouquet. Check out the tutorial below…
How to Make DIY Gilded Roses
Here’s what you will need:
- spray adhesive
- roses or other flowers of your choosing
- gold leaf, crumbled into flakes
- a small paint brush

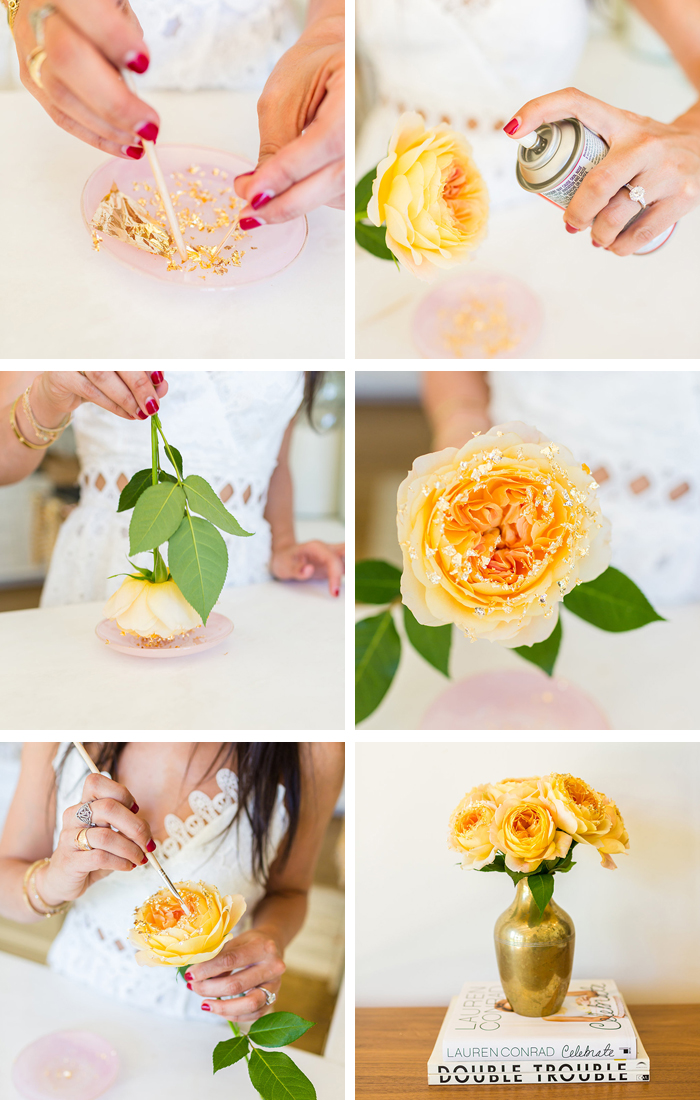
Here’s how to make them:
- Sprinkle some gold flakes onto a flat, clean surface.
- Spray a bit of adhesive on the rose head, and then wait 15 seconds.
- Dip the sticky rose head into the gold leaf.
- Turn the rose head over, and use the paintbrush to push down any edges of the gold leaf that are sticking up.
- Repeat as many times as desired. Then, sit back and admire your product!
Are you going to give this floral DIY a try?
Let us know in the comments!
And a big thank you to Cassandra of Cassandra Bette Events for sharing the tutorial with us!
XO Team LC
