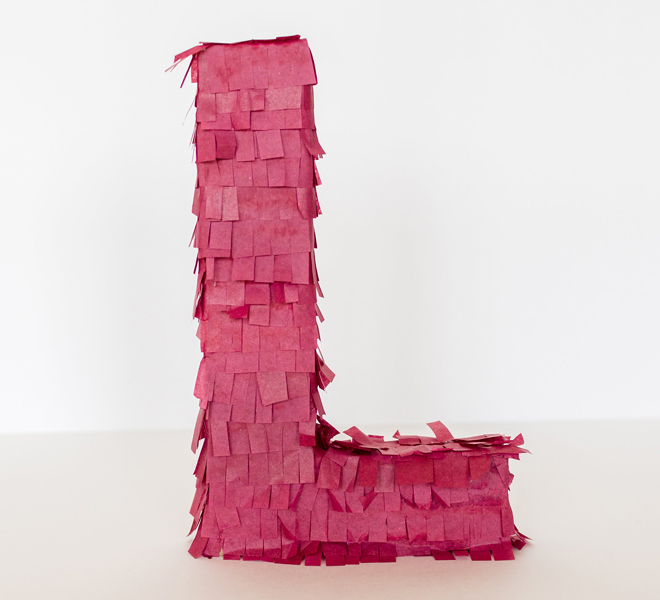
DIY: Piñata Letter Signage
If you have a soiree in the near future (a baby shower, engagement party, or birthday would be perfect!), this craft is worth your time. These mini piñata letters require minimal materials and are so much fun to create. So roll up your sleeves, invite some of your favorite ladies over, and start crafting with this simple tutorial…
Here’s what you will need:
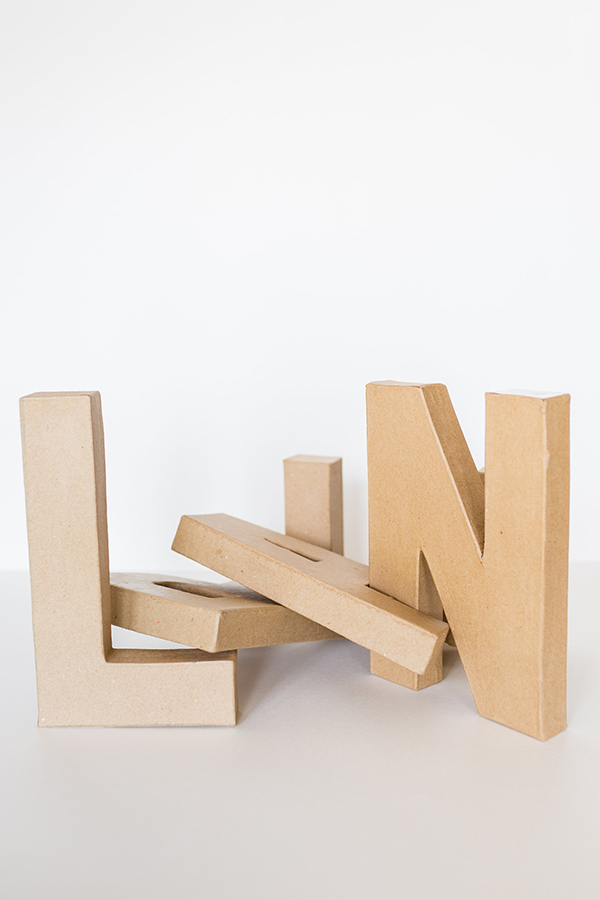
- cardboard letters (we found ours at Jo-Ann’s, but you can purchase them at many craft or paper stores, or on Amazon)
- multicolored tissue paper (or color of your choice)
- liquid glue
- scissors
Instructions:
1. Begin by cutting your multicolored tissue paper into 2-inch strips. We layered several sheets of tissue paper on top of one another before cutting to save time.
2. Keeping the tissue paper together, fold your 2-inch strips like we did in the photo below.
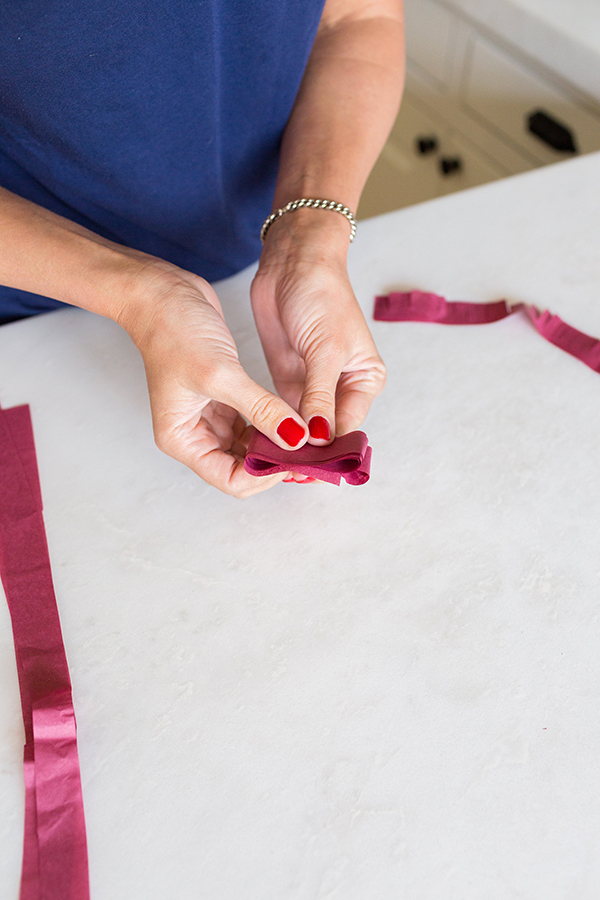
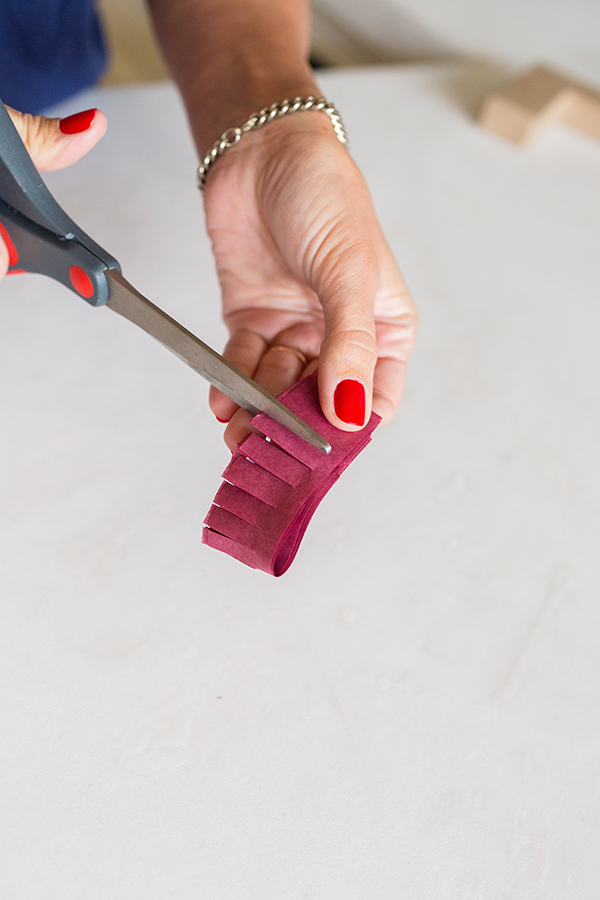
3. Create your fringe by cutting the tissue vertically. Be sure to leave about half an inch of tissue paper per strip so that you can glue them onto the cardboard letters.
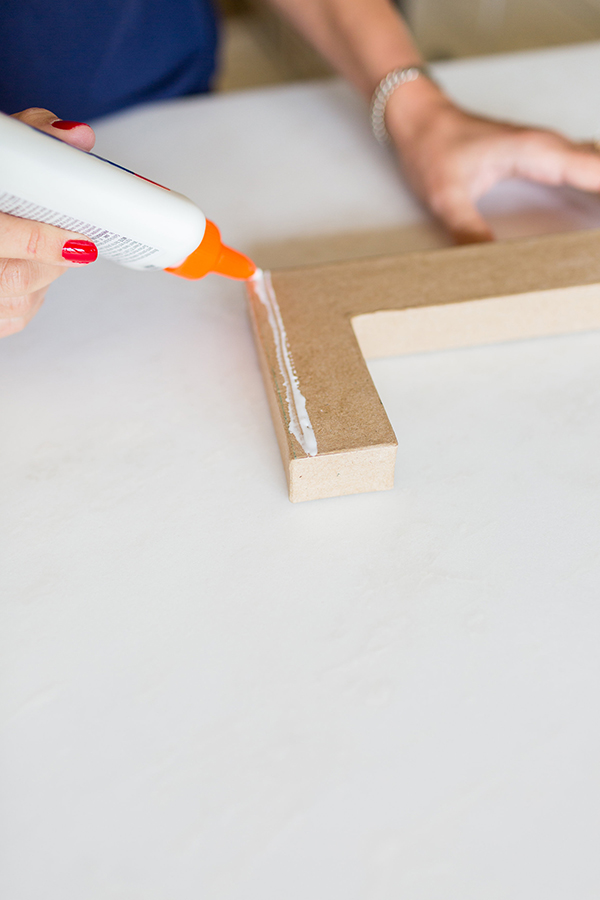
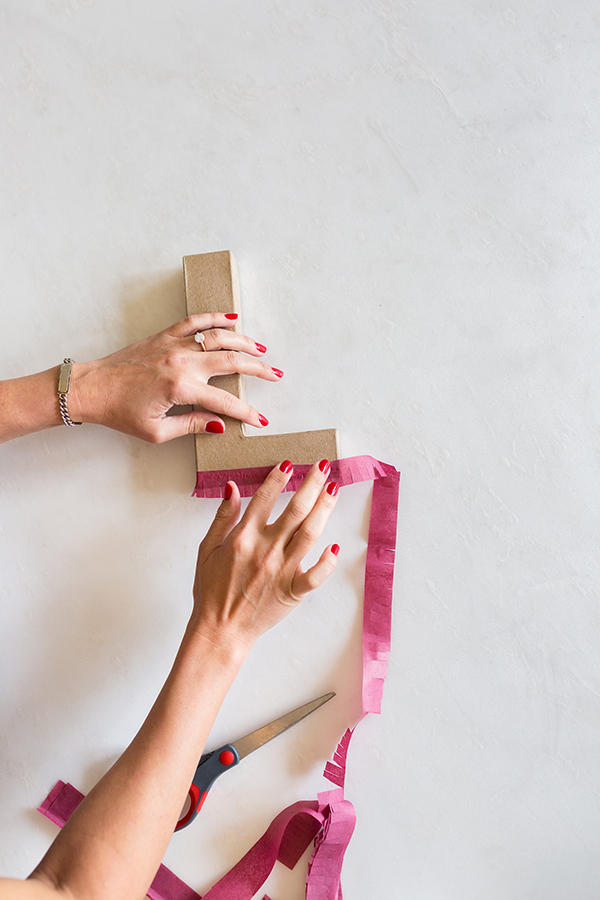
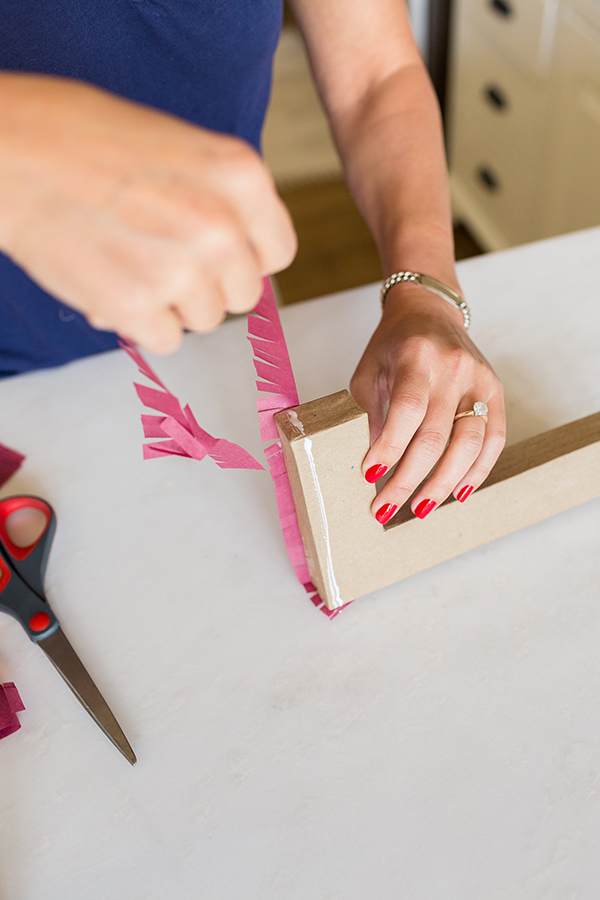
4. Starting from the bottom, glue your tissue paper into place as your wrap it around the cardboard letters. Work your way to the top of each letter, gluing along the way.
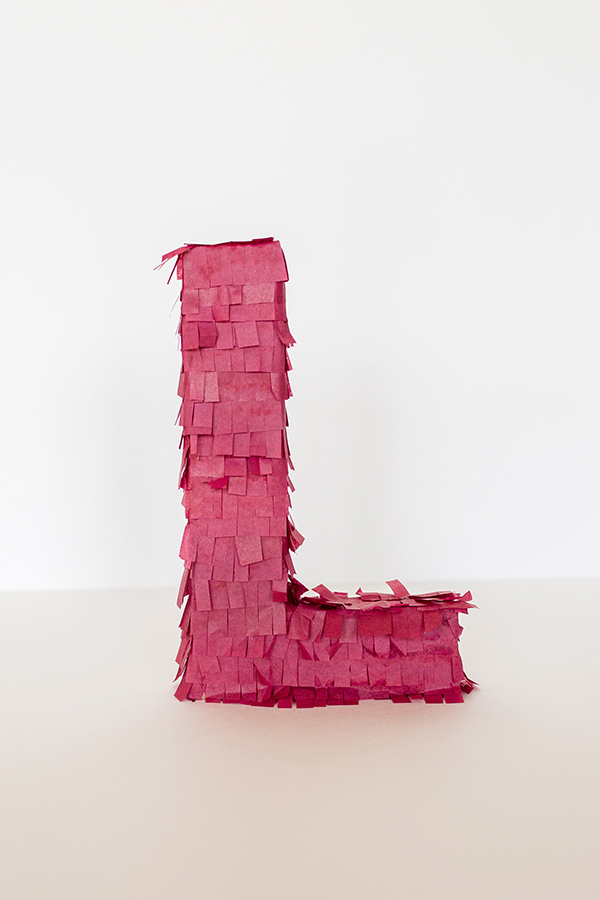
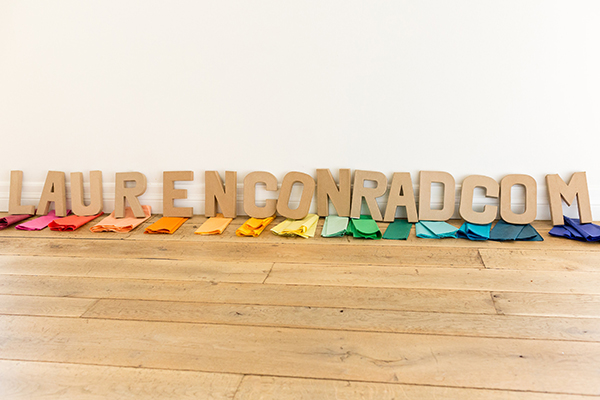
There you have it! This is a perfect craft to do with your girlfriends, especially if you’re spelling something as long as ‘LaurenConrad.com.’ No crafternoon would be complete without a glass of wine and getting your hands messy with your besties!
Will you be recreating these mini piñata letters?
Let us know in the comments!
XO Team LC
