Edible Obsession: Mini Pumpkin Mousse Pies
Mini Pumpkin Mousse Pies
Ingredients:
- 5” scalloped round cookie cutter
- mini cupcake pan
- plastic pastry bags
- star piping tip
For the crust:
- 4 cup flour
- 3 tbsp. granulated sugar
- 2 tsp. salt
- 1 ½ cup vegetable shortening
- 1 egg
- ½ cup cold water
For the filling:
- ½ cup coconut milk
- ¾ cup pumpkin puree
- 2/4 cup granulated sugar
- 1 tsp. cinnamon
- 1/8 tsp. nutmeg
- 1/8 tsp. ginger
- 1/8 tsp. allspice
- 2 cups cold heavy cream
- 1 tsp. vanilla
- ½ cup powdered sugar
For the caramel topping:
- ½ cup canned dulce de leche
- 1 tbsp. heavy cream
Instructions:
For the crust:
1. In a food processor, pulse the flour, sugar, and salt until blended. Add the shortening and pulse just until the mix is crumbly. Add the egg and cold water, and pulse just until blended.
2. Divide the dough in two and shape into flat discs. Wrap each one in plastic wrap. Place one in the refrigerator for at least 20 minutes, and the freeze the other for future use!
3. Take your chilled dough out of the refrigerator and roll out to about 1/8” thickness. Using a 2.5” circle cookie cutter cut out as many circles as you can get from the dough.
4. Spray your mini cupcake pan heavily with vegetable spray. Place the dough circles gently into each cavity. Bake in a 350 degree preheated oven for about 12 minutes, or until light golden brown.
5. Immediately after taking the baked mini crusts out of the oven, take a teaspoon and press gently into each crust, pushing them down a bit. The crusts will rise in the oven, and this will help give more room for the pumpkin filling. Let the crusts cool completely, then pop out of the mini cupcake pan.
For the filling:
1. Combine coconut milk, pumpkin puree, sugar, and spices in a medium saucepan. Simmer the mixture over medium heat for about 5 minutes, or until the sugar is no longer grainy. Place in the refrigerator and cool completely.
2. In a stand mixer fitted with a whisk attachment (you could always use a hand mixer as well), whip the heavy cream, powdered sugar and vanilla until soft peaks form.
3. Fold half of your whipped cream into the cooled pumpkin mixture, until fully incorporated. Save the other half for your whipped cream topping.
4. Add your pumpkin mousse into a large piping bag (you don’t need a piping tip) and cut off the corner for the tip. Pipe the mousse evenly into the baked, cooled crust shells.
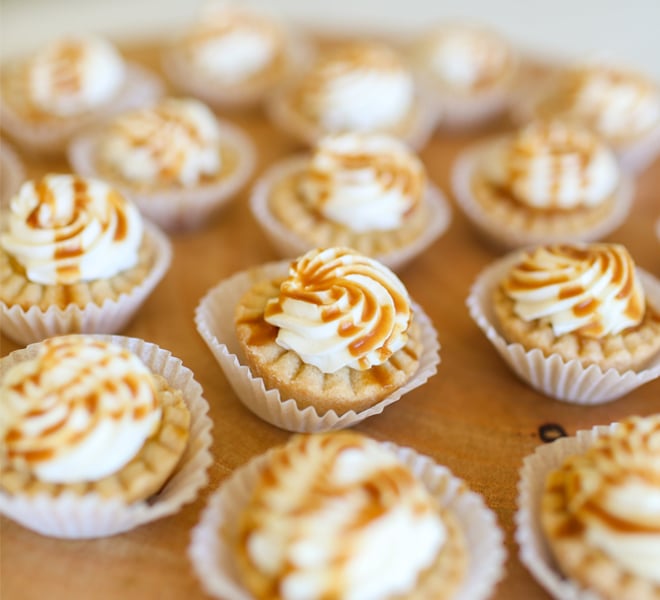
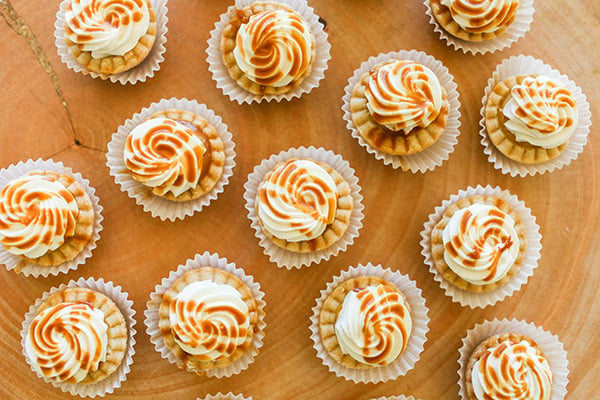
5. Fill the leftover whipped cream into a piping bag, fitted with a large star-piping tip. In a circular motion, pipe a little heavy cream onto each mini pie. If you’d like a little extra decadence, you can always drizzle the tops, like we did, with caramel!
6. Melt the dulce de leche and heavy cream in the microwave for about 30 seconds just until the consistency is a little thinner. Fill into a piping bag and cut the smallest amount off the tip of the bag. Drizzle the tops of the whipped cream to create a pretty design!
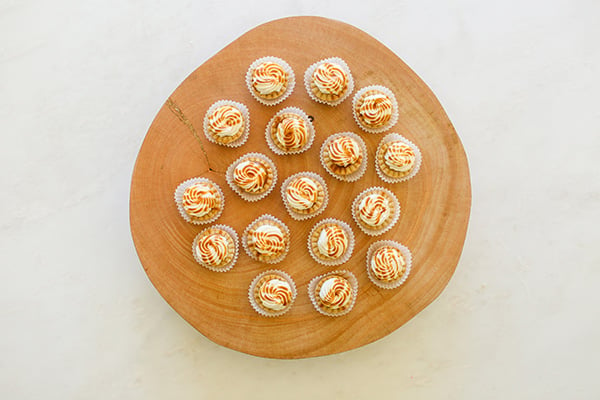
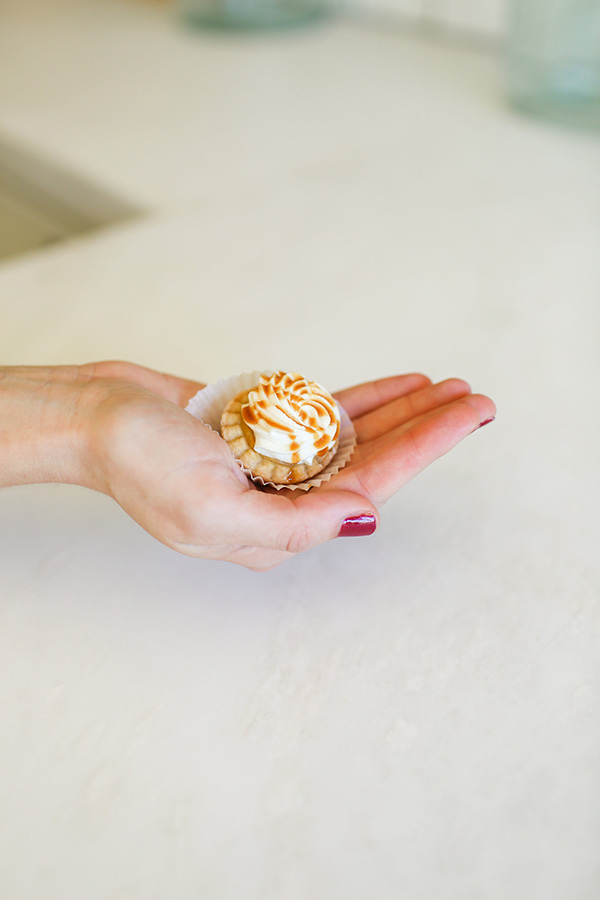
These mini pumpkin pies are as cute as they are delicious.
Will you be adding these to your Thanksgiving menu?
I know I can’t wait to recreate this recipe for my annual Friendsgiving!
XO Lauren
