Hocus Pocus: 5 Pumpkin Carving Hacks

1. The Cookie Cutter Trick
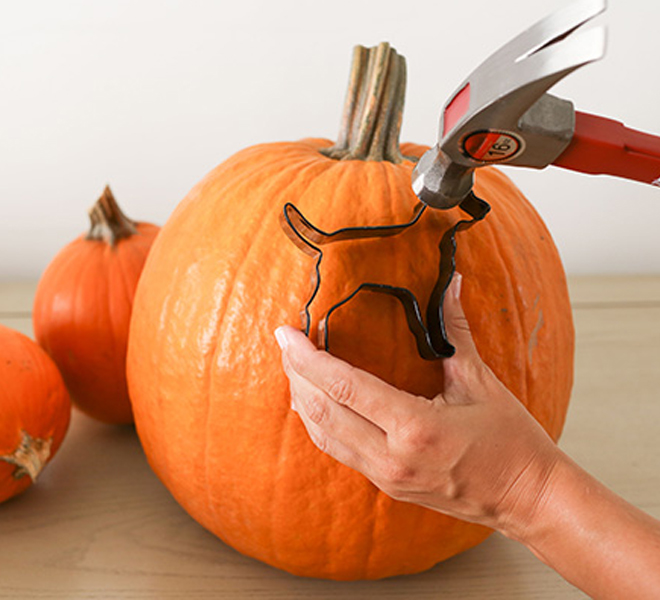
No, this first pumpkin-carving hack doesn’t involve baking! Carving jack-o-lanterns can be a bit tricky (have you seen how elaborate they can get?), so this hack is for those of you who struggle in the carving department. You only need two items for this: the cutest cookie cutter you can find and a rubber mallet. Once you’ve decided what you want your pumpkin to look like, gently hammer the cookie cutter shape into your pumpkin with the mallet. You can lightly hammer the impression of the cookie cutter into the pumpkin and use it as a stencil, or punch the cookie cutter all the way through.
2. Petroleum Jelly
Carving pumpkins can be a time consuming and sometimes laborious activity. The last thing you want to see is your masterpiece shrivel up or start to mold, especially before the holiday is even here. Don’t worry, there’s a hack for that! Not only is petroleum jelly a quintessential beauty product (hello soft skin!) but it can also be used to preserve your carved pumpkins. After you’re finished carving, coat the inside of your pumpkin with a thin layer of petroleum jelly. That way your jack-o-lantern will last as long as your trick or treating.
3. Power Tools
Believe it or not, electric drills make for perfect pumpkin carving tools. Depending on the drill bit, you can create circles in all kinds of different sizes. One of my favorite ways to use this hack is to make my pumpkins look like disco balls! If you haven’t already, trust me when I say that you should give this method a try.
4. Artificial Light
One way to cut the life of a jack-o-lantern short is to use candles. Heat can quickly take your pumpkin from zero to mushy in no time at all. Luckily battery powered candles work just as well without causing damage to your pumpkin. If you don’t feel like swapping out batteries, alternatives like solar powered lights are both energy and cost efficient. Another fun way to light up your pumpkins is by using glow sticks. Instead of traditional candlelight, you can change the color of your jack-o-lanterns and have them cast a spooky, neon glow.
5. Dry Erase Markers
Choosing the face that your pumpkin is going to be wearing can sometimes take more than one sketch. Using a pencil can sometimes leave a permanent indent and let’s not even talk about Sharpies. Dry erase markers are a great way to sketch up a spooky face, especially because you can erase your mistakes and start over again mark-free. Why didn’t I think of this sooner?
Do you have any tried and true pumpkin carving hacks?
I’m looking to up my carving game this year!
XO Lauren
