Edible Obsession: Valentine’s Day Kissable Lip and Heart Cake Pops
To us, Valentine’s Day encompasses all things sweet. Whether that’s in the form of a handwritten love note or a batch of baked goods, we don’t pass up an opportunity to show our loved ones how much they mean to us. Since we’re firm believers that food is the way to most people’s hearts, today we’re sharing a dessert recipe that is sure to satisfy your Valentine’s sweet tooth. When our resident baker Lauren Lowstan created these kissable lip and heart cake pops at our latest photoshoot, we knew that they would be an instant Edible Obsession. So whether you’re delivering a batch to your sweetheart or making a Galentine’s Day dessert table that much more decadent, keep scrolling to get the complete cake pop recipes (lipstick not included!)…


Ingredients:
- 1 batch of your favorite cake recipe
- 4-8 teaspoons of your favorite frosting
- 1 pound white melting chocolate
- gel food coloring in pinks and reds
- lip silicone molds or cookie cutter
- heart silicone molds or cookie cutter
- cake pop sticks
Instructions:
1. Bake your favorite cake in a 13 by 9 inch cake pan and let it cool completely. Once the cake is cooled, crumble the entire cake with your hands in a large mixing bowl. You want it all to be in the smallest possible crumbs. Tips: You can also place the baked, cooled cake into a food processor and pulse until small crumbs form.
2. With your hands, mix 4 tablespoons of frosting with the cake crumbs. You want to be able to pick up a clump of cake and form it into a ball without it crumbling or cracking. If your cake is too dry, add in more frosting until you have reached the desired consistency.
3. Add a small amount of cake pop mix into your silicone molds. The amount depends on how big your molds are. Our molds were about 1 inch high, so we filled the cavities about half way full. If you don’t have molds, you can use a cookie cutter. Just place the cookie cutter on a baking sheet lined with parchment paper. Fill the cookie cutter half way up with cake pop mix and press firmly. Place either your silicone molds or cookie cutter in the freezer for about 15 minutes.
4. Once the cake is cold, lightly run a knife around the edge of the mold or cookie cutter and push the cake through with your finger.
5. Place the cold lips and hearts on a parchment lined baking sheet. While they are still cold, push a cake pop stick into the bottom of the cake pop. Put the baking sheet back into the freezer until your chocolate is melted.
6. Meanwhile, melt your chocolate in the microwave. Make sure to melt at 30 second intervals, stirring in between each.
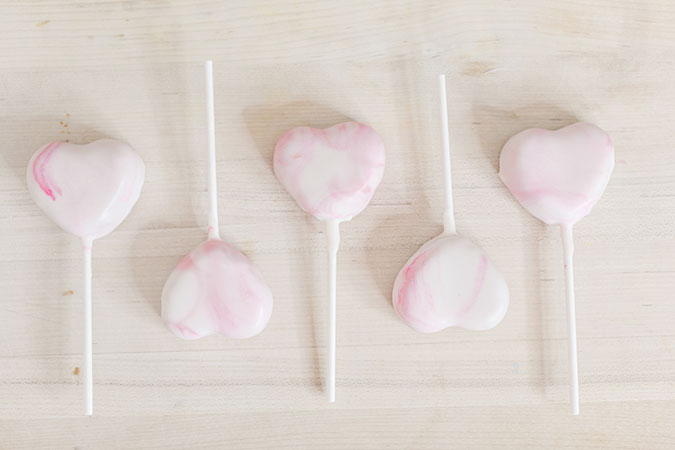
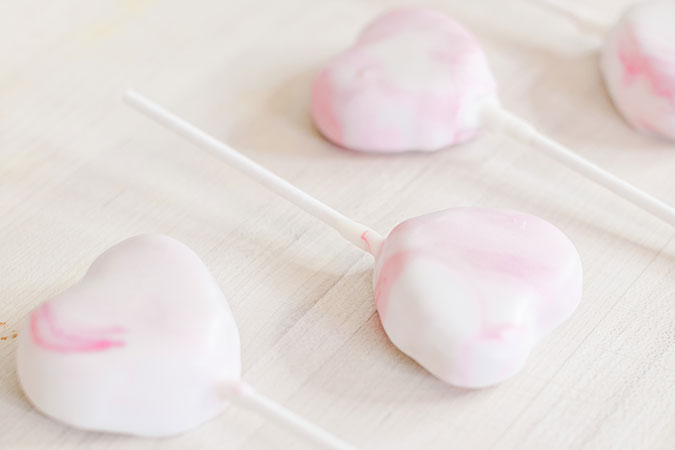
7. For the hearts, add a couple of drops of pink and red gel food coloring to the bowl of melted white chocolate. Then lightly swirl the colors around with a toothpick. Make sure to not swirl too much since the colors will meddle together when you dip the cake pops in. Once you have the colors swirled in, dip each heart into the chocolate, letting the excess drip off for 10 seconds. Place onto a piece of parchment paper and let harden.
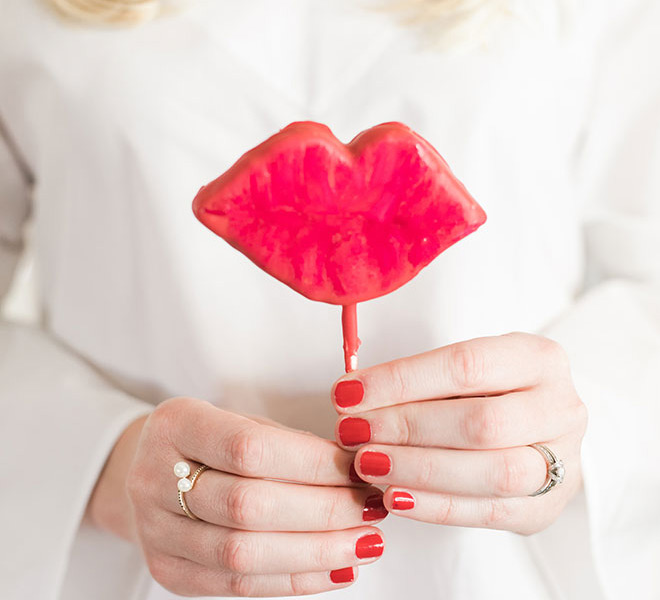
8. Once you’re done with your hearts, you can dip your lips into the melting chocolate. Just add a few more drops of food coloring to get your desired consistency. Dip each lip cake pop into the chocolate, let the excess chocolate drip off, and set onto parchment paper to harden.
9. If you want to add a little detail to your lips, dip a small paintbrush into the food coloring and brush in some line details.
10. Let dry completely and enjoy!
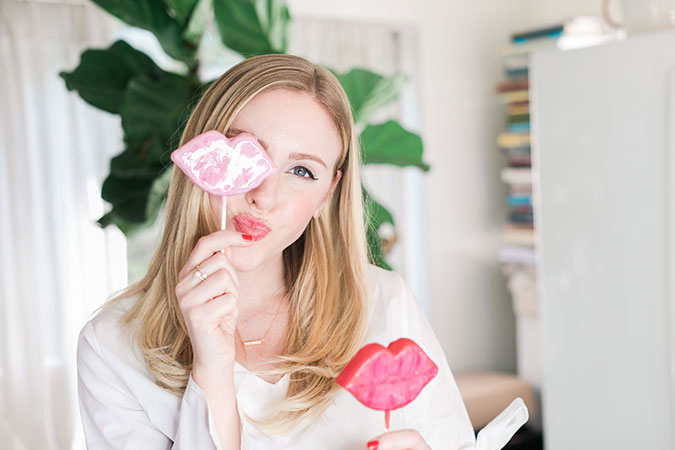
These cake pops are just as cute as they are delicious! Any Valentine would be lucky to receive a few of these sweet treats.
Will you be recreating these kissable lip and heart cake pops?
Let us know if you do in the comments below.
XO Team LC
Photos: Valorie Darling Photography for LaurenConrad.com
