Edible Obsession: Caramel Apple Cake Pops
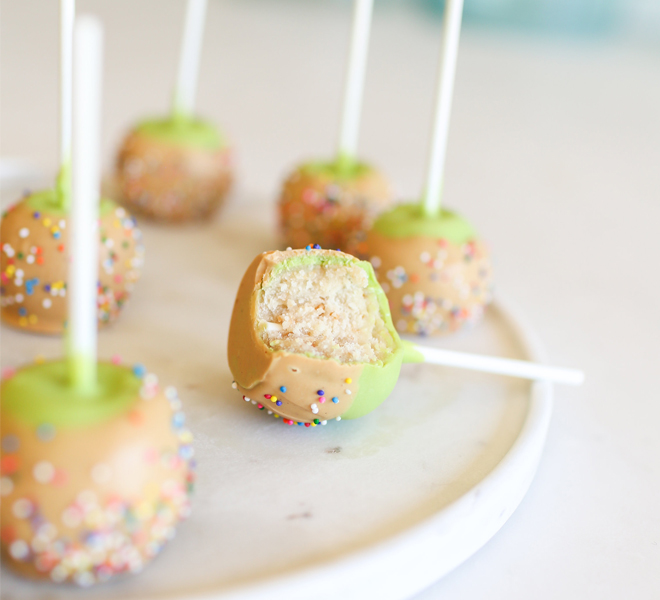
Caramel apples are such a quintessential fall treat, and they truly remind me of Halloween. Indulging in an ooey gooey caramel apple during this time of year just feels so festive! However, there is one catch: They can be tricky to eat (and tricky to make, too). So, I recently got to thinking about how we could make this Halloween sweet treat a little more effortless, and came up with the idea of Caramel Apple Cake Pops. These adorable bites are perfect to make for your next fall party when you’re serving bite-sized finger food. Because desserts are just so much cuter when they’re smaller… right?
With the help of our friend and baker Lauren Lowstan, I present to you our Caramel Apple Cake Pops. Here’s how to make them for your next Halloween soiree…
Caramel Apple Cake Pops
Makes about 48 cake pops
Ingredients:
- 1 batch of your favorite cake recipe (enough to make a 13”x9” pan)
- 4-8 tbsp. of your favorite frosting
- 48 oz. green candy melts/coating
- 12 oz. light brown/caramel color candy melts/coating
- 6 oz. dark coating chocolate or candy melts
- 2 tbsp. canola oil (optional)
- colored nonpareils
- 4-6” white lollipop sticks
Directions:
- Bake your favorite cake in a 13×9” cake pan and cool it completely. Once cake is completely cooled, with yours hands, crumble all the cake into a large mixing bowl. You want it all to be in the smallest possible crumbs. You can also place the baked, cooled cake into a food processor and pulse until small crumbs form.
- With your hands, mix/smoosh 4 tablespoons of frosting with the cake crumbs. You want to be able to pick up a clump of cake and form into a ball without it crumbling or cracking on you. If your cake is too dry, add in more frosting until you have reached the desired consistency.
- To form into balls, use a cookie scoop and scoop all of the cake/frosting mixture into balls and place on a parchment lined baking sheet. Then, with your hands, roll each into a perfect size ball. Using your pointer finger, create an indent into the top of each cake ball to create the shape of an apple.
- Cover your baking sheet with plastic wrap, and place in the fridge for at least 30 minutes, or until your cake balls are nice and cold. If the cake balls are not cold, the dough will fall apart during the dipping process.
- Once your cake balls are chilled, melt the green candy coating in a glass bowl, in the microwave at 30 seconds bursts, mixing in between. You might need to add some canola oil to coating, depending on which brand you buy. Note: Most coatings are very thick, which makes the dipping process a little harder. I prefer to add some oil to my coating after it is melted for easier dipping. Just make sure to completely mix in the oil with the coating.
- Pour some of the coating into a small glass container. I use a Pyrex 2-cup measuring cup. It is the perfect depth when dipping cake pops.
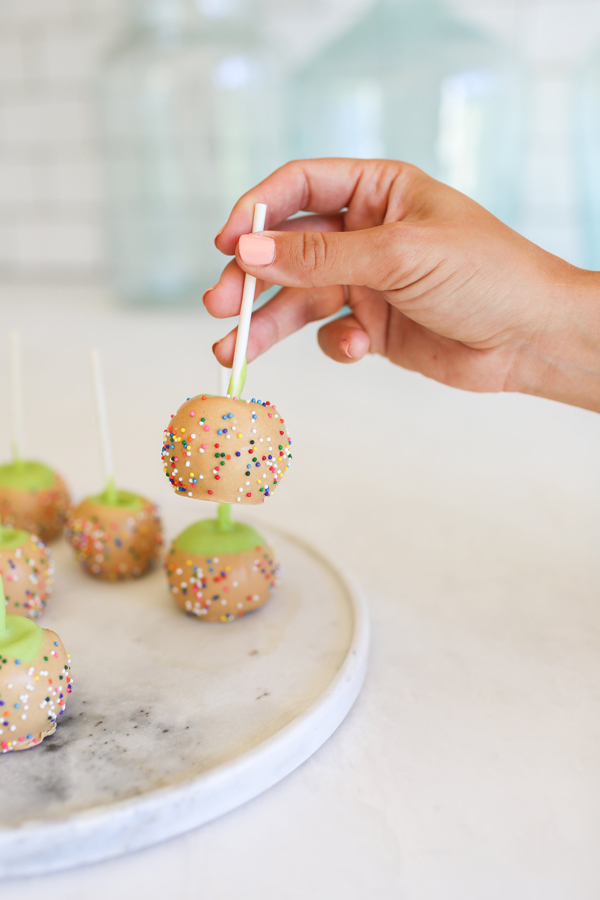
- Take your cake pops out of the fridge. Take a lollipop stick and barely dip the tip into coating, and stick into the top of the cake pop, pushing 3/4 the way down the cake ball. (You do not want the stick to puncture the bottom of the cake ball). Repeat this process until you have placed a stick into each cake ball.
- Holding the lollipop stick with cake ball attached, dip the whole thing into the melted coating until it is completely covered, lifting up in one motion.
- Gently tap the stick on the edge of the measuring cup to let the excess coating drip off the cake ball. If you missed a spot, you can re-dip the pop, until the entire ball is covered.
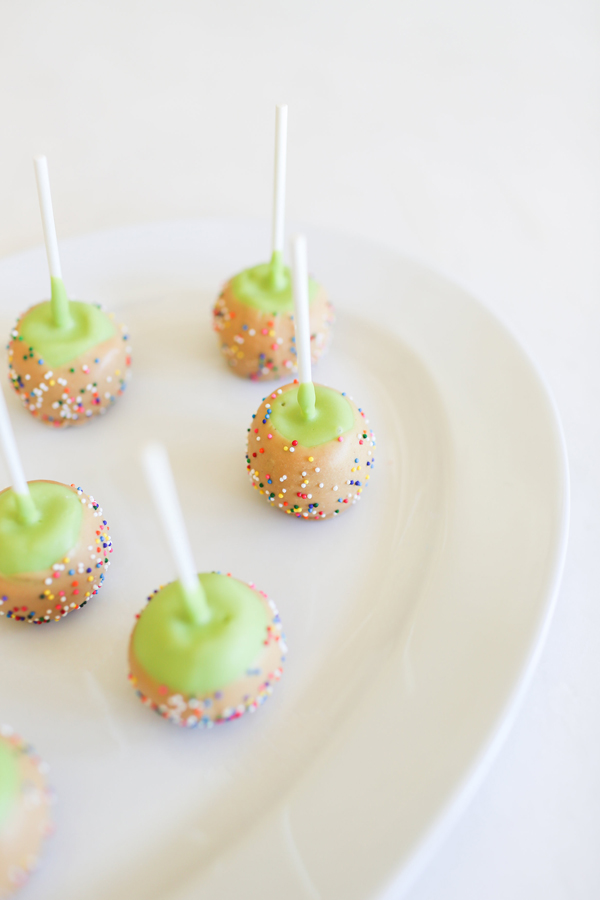
- Set the cake pop down with the stick standing up in the air onto a parchment-lined baking sheet and let sit until completely hardened. Repeat with the remaining cake pops, re-melting the candy coating if needed.
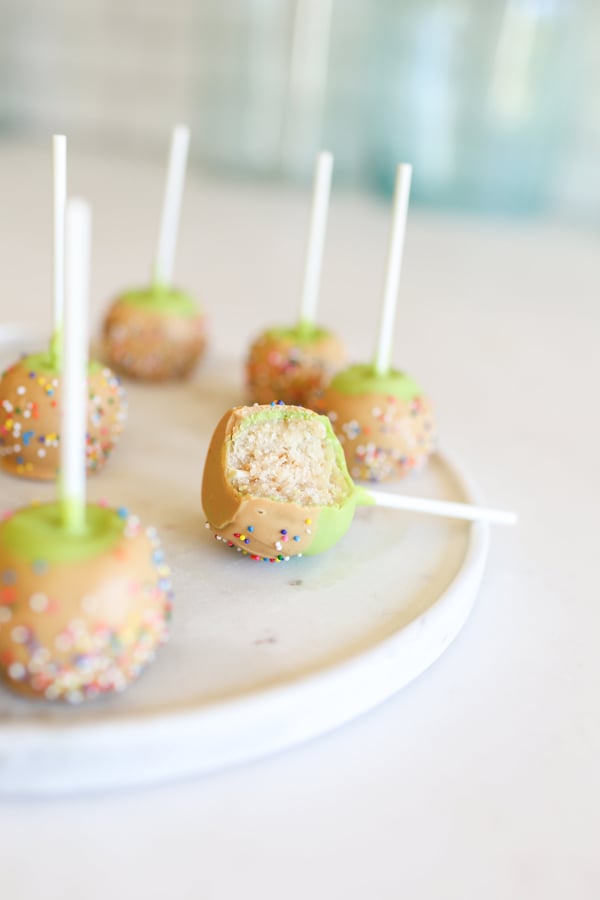
- Once all of your pops are dipped and hardened with green coating, melt your light brown candy melts. Add to another clean glass measuring cup. Dip each green pop about 3/4 down into the brown coating, and allow excess coating to drip off. Before placing the pop back down onto your parchment lined baking sheet, sprinkle colored nonpareils over the brown coating. Once the brown coating is hardened completely, you are ready to devour!
And there you have it! Your cake pops can be stored in an airtight container in the fridge for up to two weeks, so you can make them ahead of time and save them before hosting a party or get-together.
Will you try making these adorable caramel apple cake pops?
Tell me how yours turn out in the comments below.
XO Lauren
